-
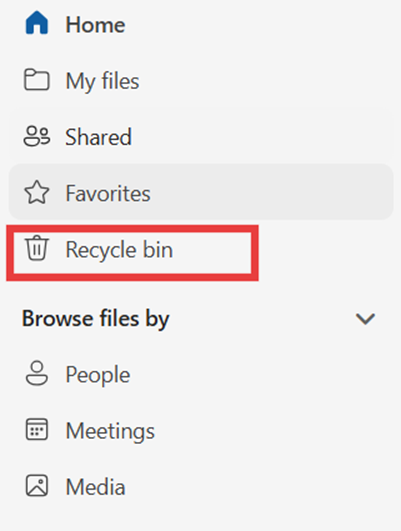
Click the Recycle Bin tab on the left.
-
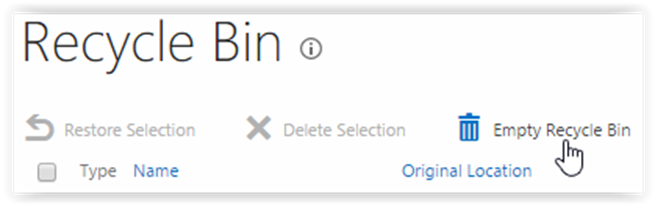
Click the Empty Recycle Bin button.
How to Clear Your Recycle Bin
-
Check your Recycle Bin: If it contains a large number of files, we recommend deleting them in batches rather than all at once.
-
Delete files from the Recycle Bin: Select the unnecessary files and delete them.
-
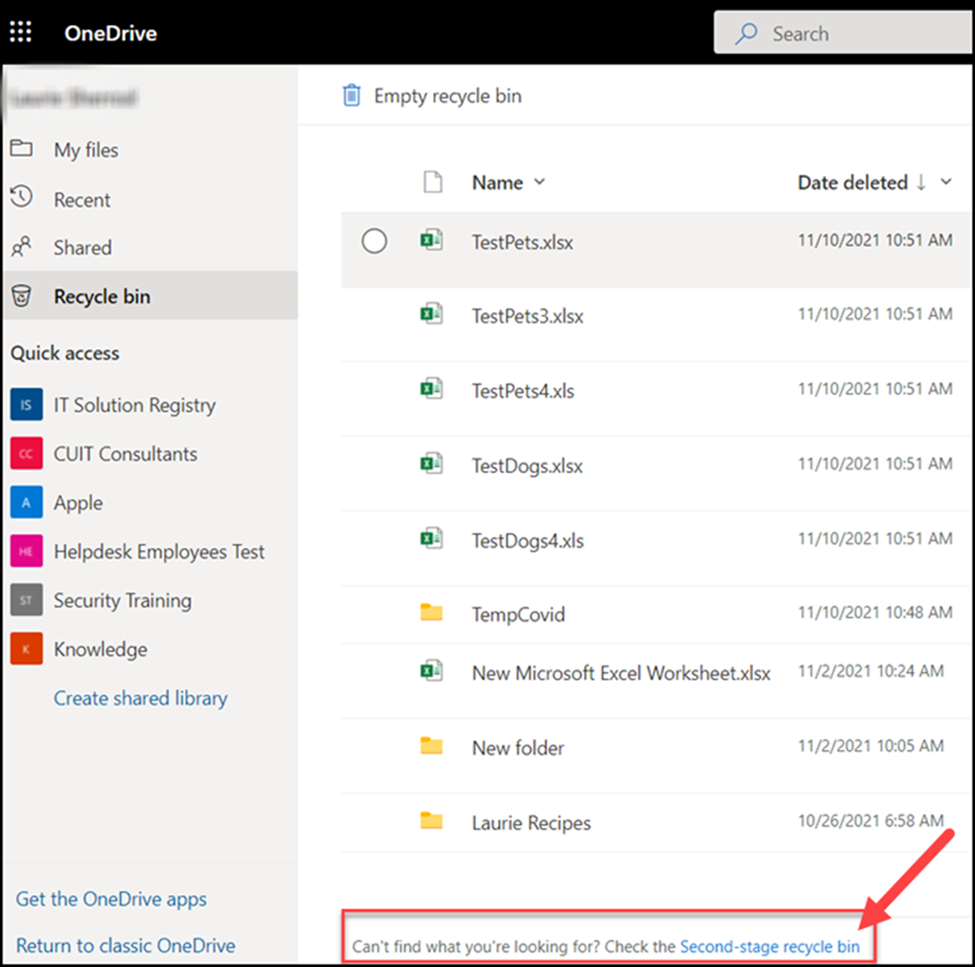
Clear the secondary-stage Recycle Bin: Files deleted from the Recycle Bin are moved here. Since these files also count against your storage quota, make sure to delete them as well.
-
Confirm completion: Ensure both the primary and secondary-stage Recycle Bins are empty to free up your storage space.
There are two stages to the recycle bin, a first stage Recycle Bin and a second stage Recycle Bin.
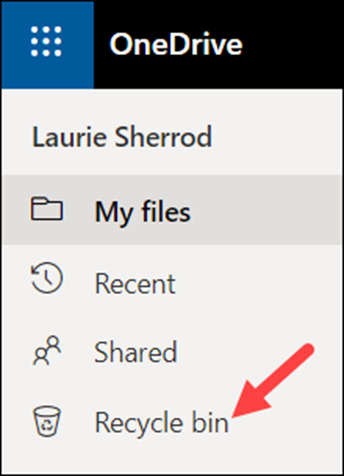
The Recycle bin can be found on the left side of your screen near the top.
First Stage Recycle Bin
If you have a file(s) selected, you can choose to Delete or Restore. If you have nothing selected, you have the option to Empty recycle bin. If you want to retrieve something you have previously deleted from the Recycle Bin, look at the bottom of your list and you will see a link to the Second-stage recycle bin.
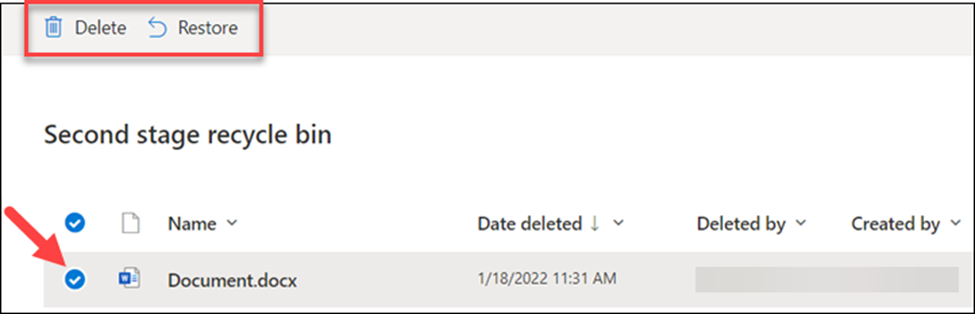
Second Stage Recycle Bin
You have the same options. Select a file. Then you have Delete or Restore selections at the top of the screen.
When you delete a file or folder it goes to the Recycle Bin which is the first stage recycle bin. If you delete it from the first stage recycle bin, then the file or folder goes to the second stage recycle bin. You will have 90 days to restore the file or folder from the day the file or folder was first deleted.
Tips: Deleting files you don't use in OneDrive will save you quota space.