You can access the Turkish content here: Wordpress Elementor Kullanım Kılavuzu-2024.pdf
What is WordPress Elementor?
WordPress Elementor is a plugin that makes your job easier in the process of building your site. With Elementor, you can design and edit pages easily and quickly. It works by drag and drop from the column on the left side to the page you built on the right side. With this plugin, you can easily add a lot of content to your page such as texts, images, and videos. It saves all the changes you make on the page and you can easily go back to the previous process/version.
Thanks to the multi-device view feature, you can check how your page looks on different screens such as tablets and mobiles.
Visit for more! http://elementor.com
What are the Features of Elementor?
-
Drag and drop page editing
-
Widget and Template options
-
Insert-insert tabs, accordions and dynamic elements
-
Option to import and export templates
-
Widget copy and style copy features
-
Undo/redo, option to work with revisions
-
Appearance on different devices
How to use Elementor?
-
Creating a Page in Elementor
-
Adding Widgets in Elementor
-
Using Heading, Text Editor, Accerdeon elements
-
Use of Content, Style, Advanced tabs
-
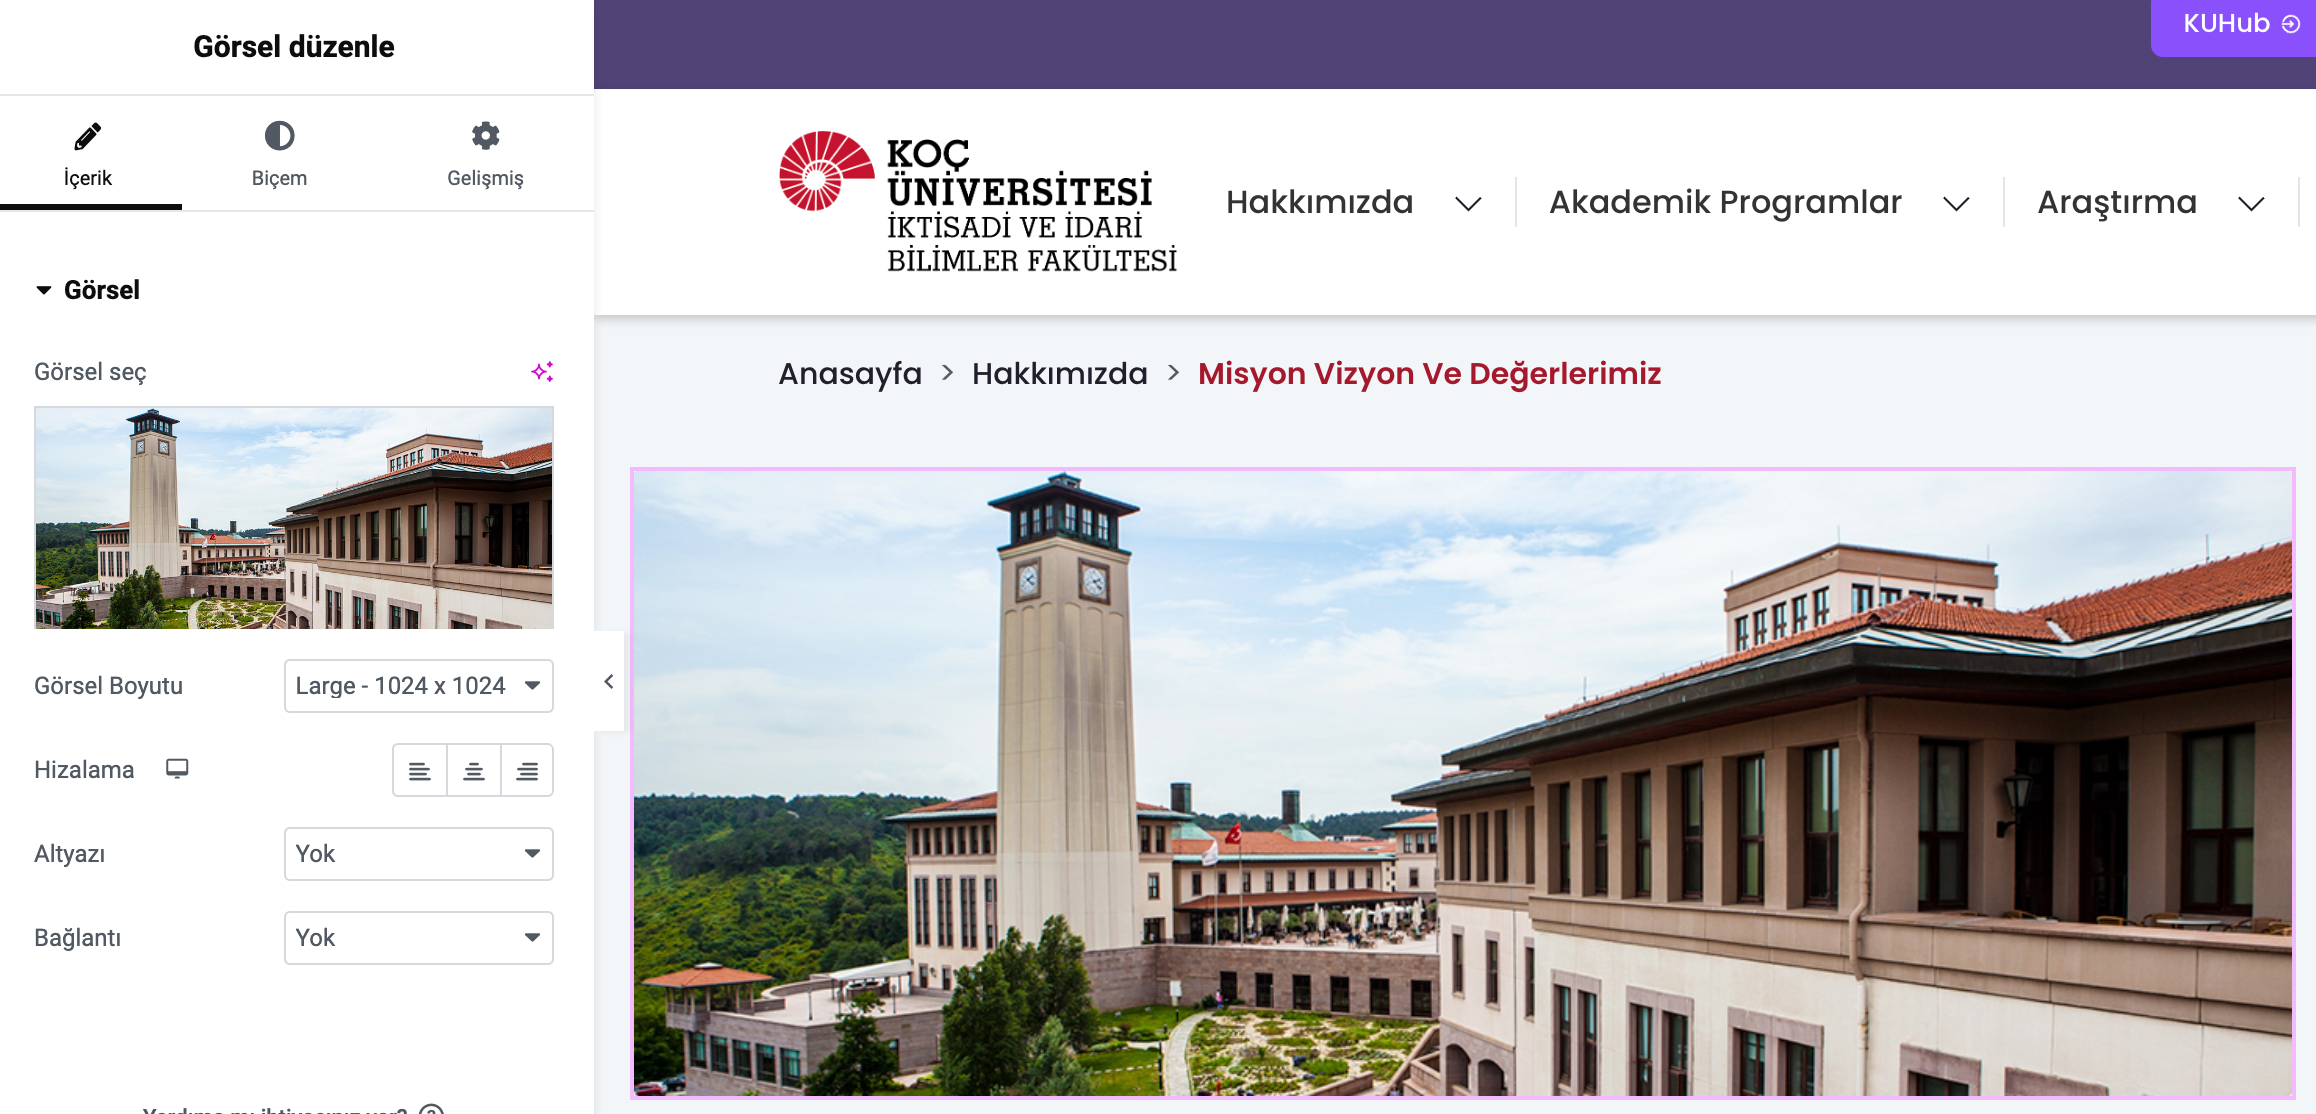
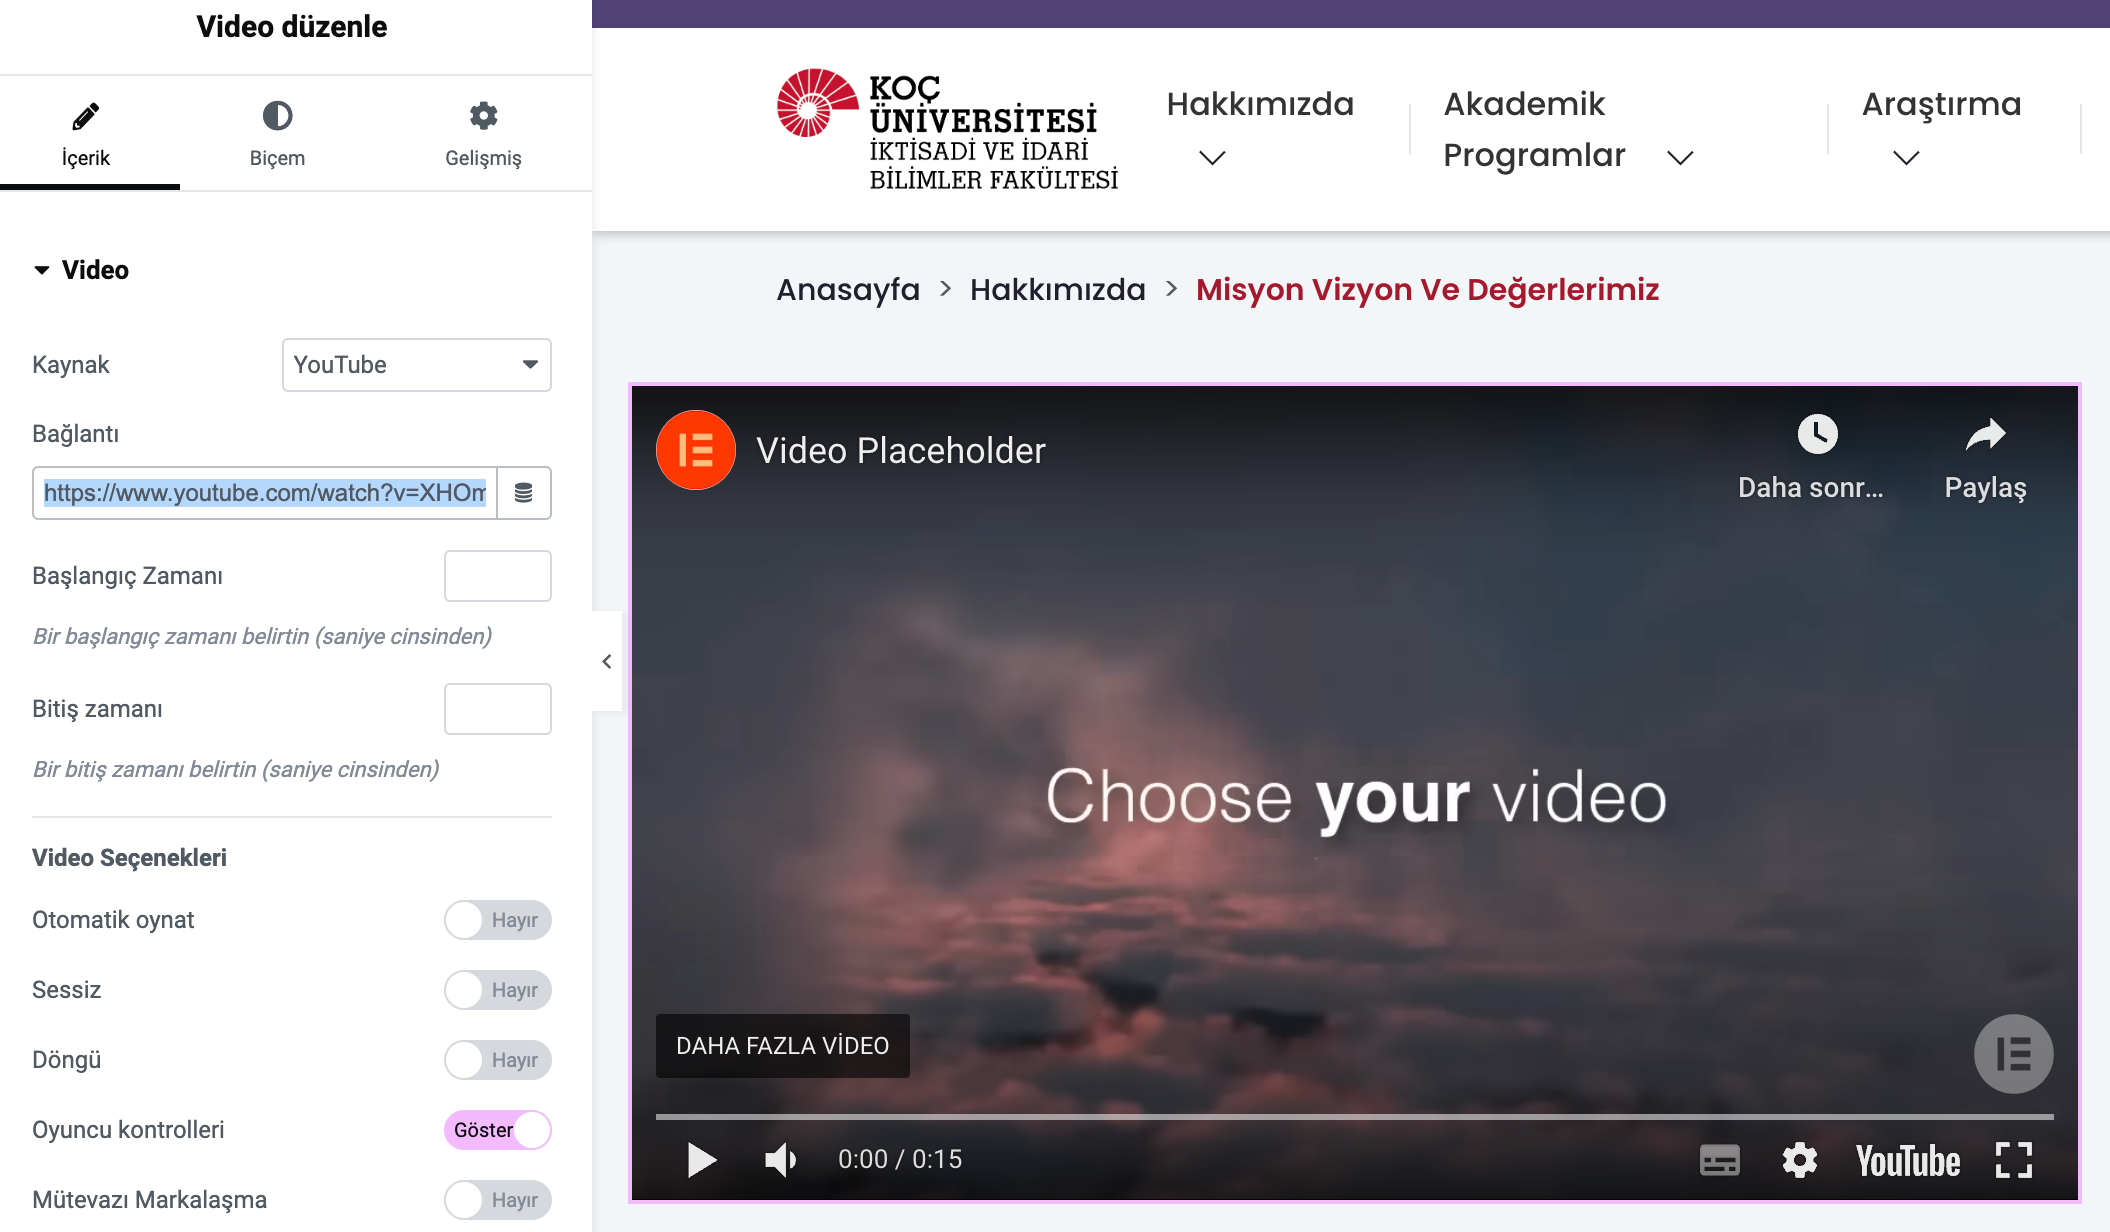
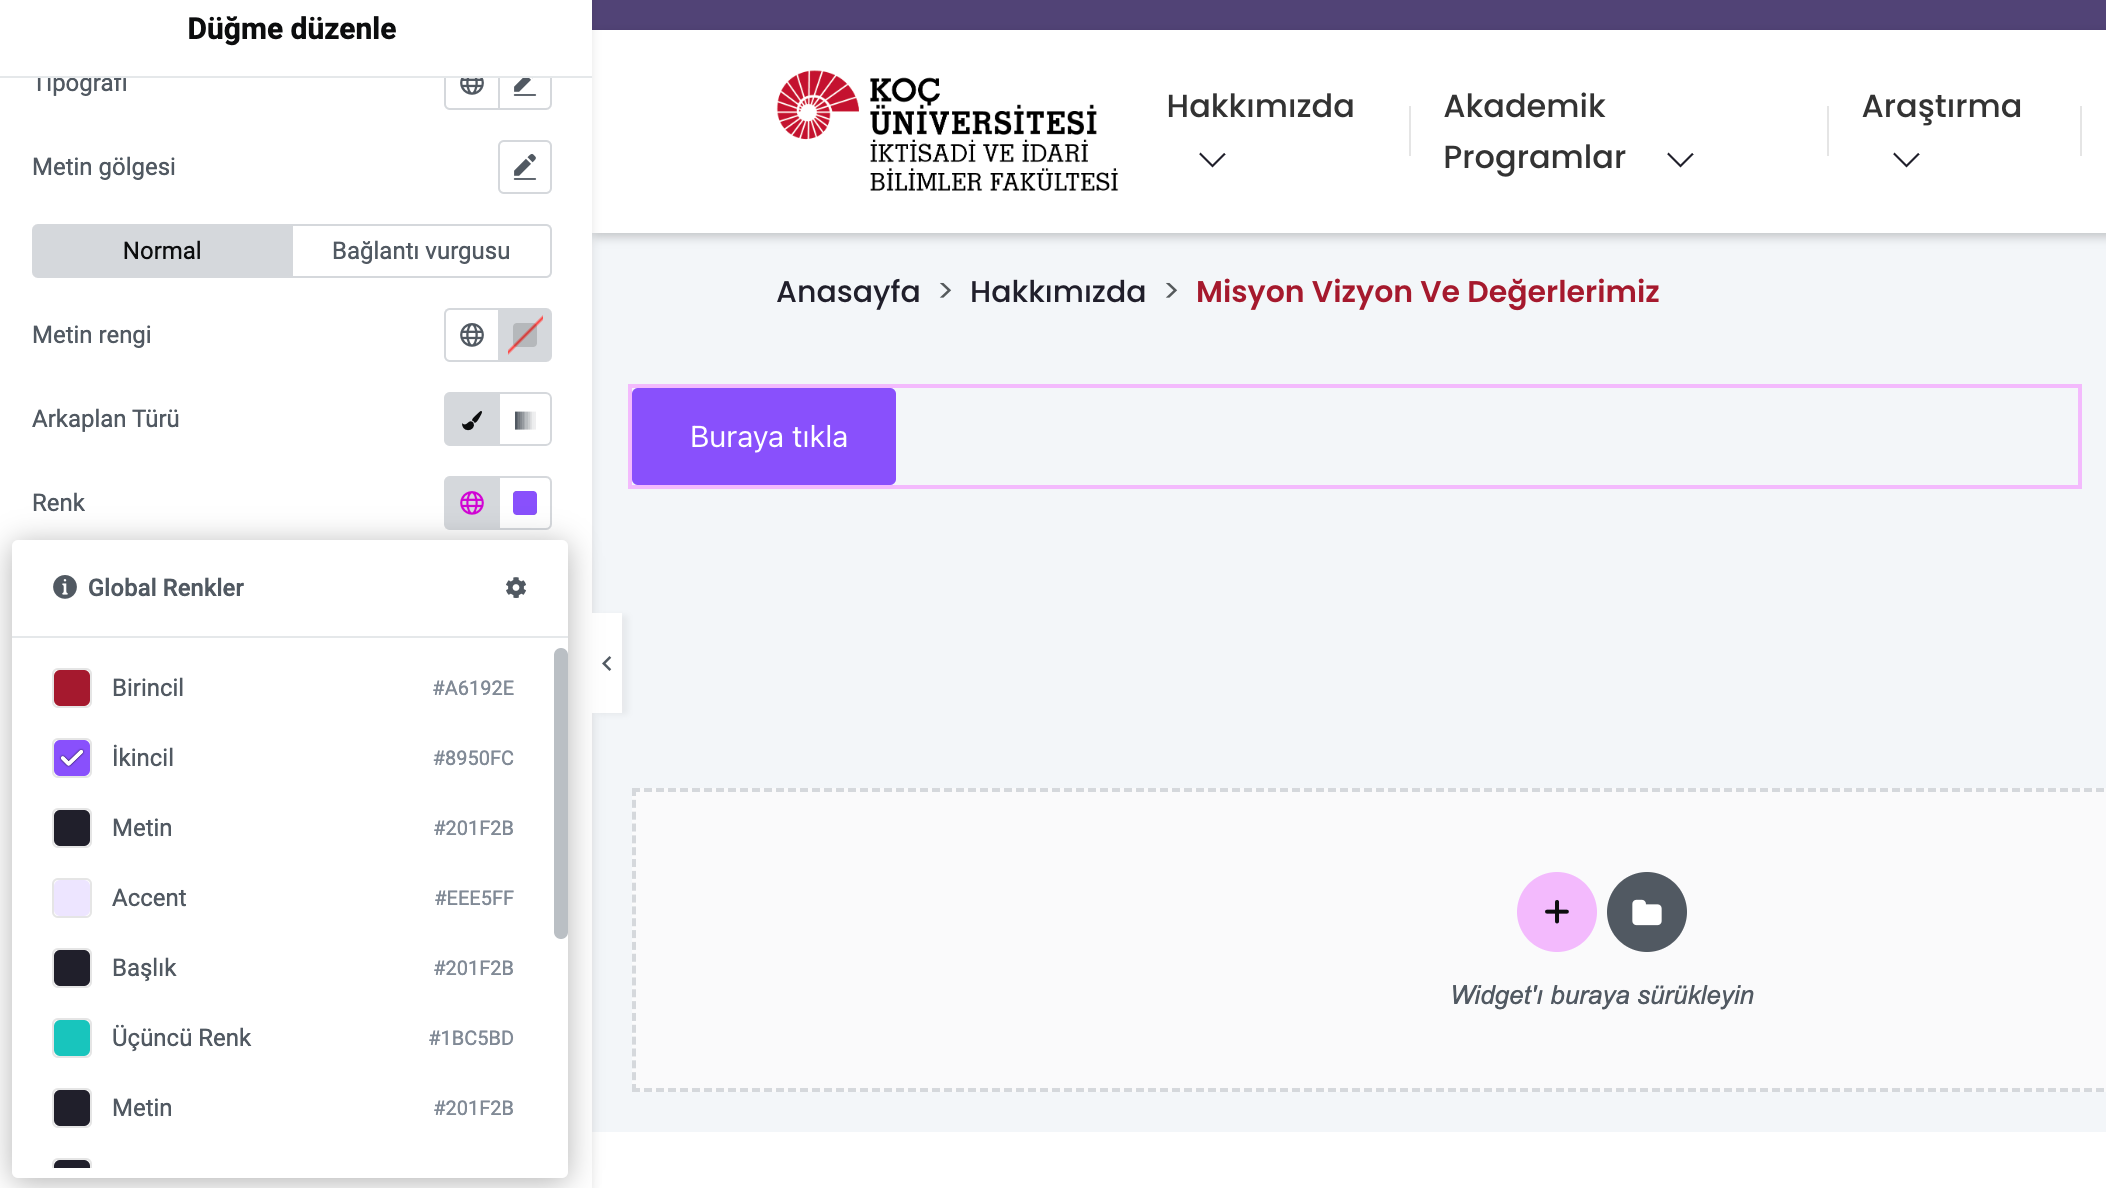
Add images, videos and buttons
-
Using concepts such as Margin, Padding, Border on the page
-
Working with ready-made templates
-
Work view on different devices

You can manage all the general settings of your website such as site identity, global colors, global fonts, etc. in one place.

You can navigate through all page elements or layers, change the order, right-click on an element to copy and delete it, and save your element to templates.

Click on the tab with three horizontal stripes at the top of the left column on the far left and general site settings will open.

Clicking on the tab with the leftmost layer line at the top of the left column will open the general site settings.

You can right-click on any element, widget, column or section to cut, copy, paste. The shortcuts CTRL+C and CTRL+V also work.

With the Paste Style feature, you can copy the styles of the elements from the element you want and easily paste them to other elements.

To continue working on your page before publishing it, you can save it as a draft with Save Draft. With the Save as Template option, you can save your page as a template and use your design by adding it to another page.

You can undo your last action with CTRL+Z. Under the Actions tab, you can track your changes by moving back and forth between each action. Under the Revisions tab, you can switch between your revisions and go back to any previous version.
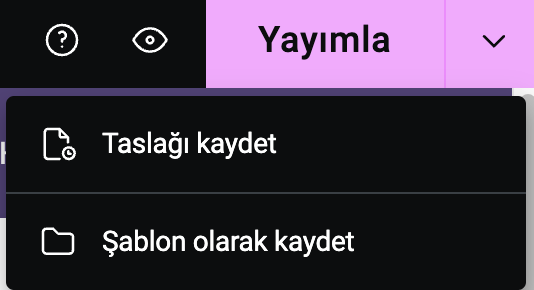
You can see the options when you click on the icon next to publish at the top right of the page. Clicking on the eye icon will open the page preview.

Clicking on the first menu at the top far left of the page will open History.
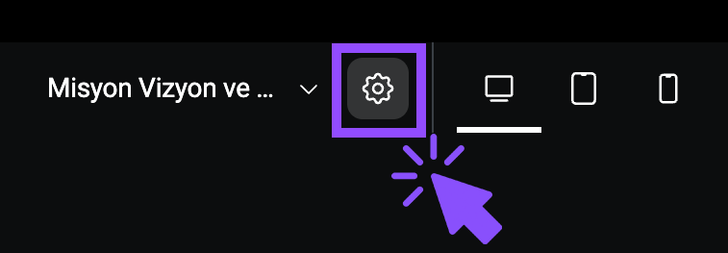
When you click on the wheel-shaped icon in the center at the top of the page, page settings will open in the left panel. Here you can change the page name, featured image, and page status as draft, published, unpublished.
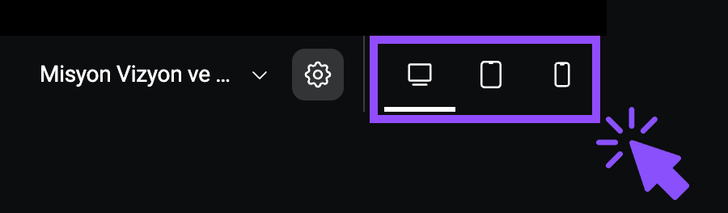
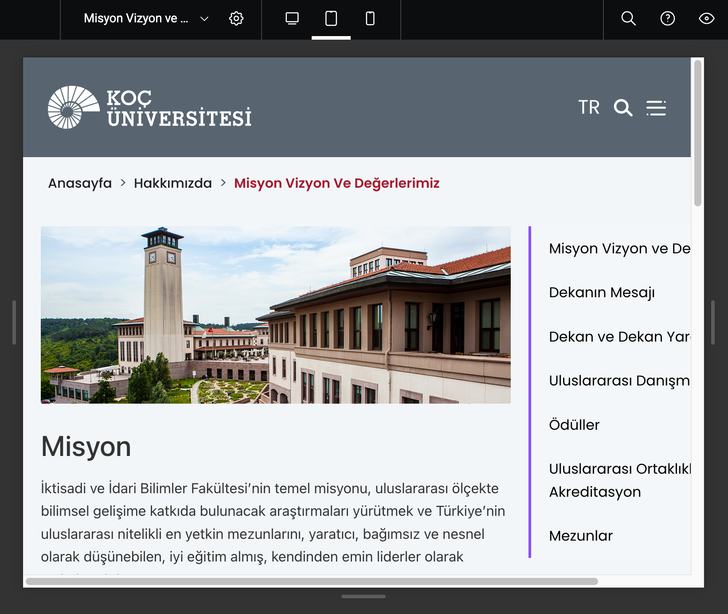
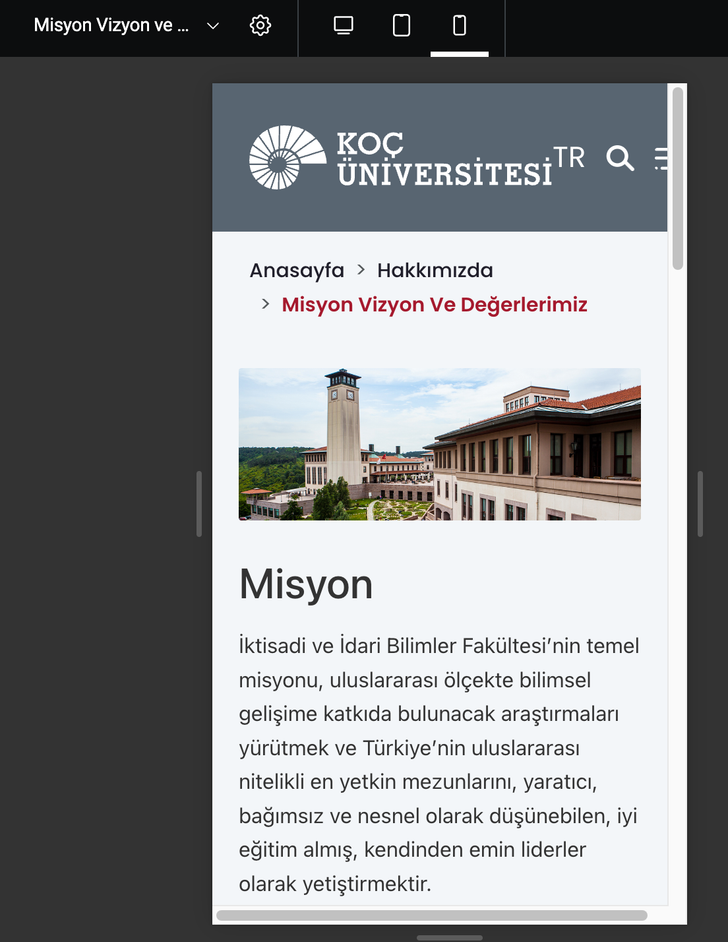
You can check how your current design looks on different screens such as tablet and mobile. By clicking on the screen icon, you can see how the page looks on a computer, mobile, and tablet.
Create a Page in Elementor 👇
-
Go to your WordPress admin panel.
-
Click Pages and then Add New.
-
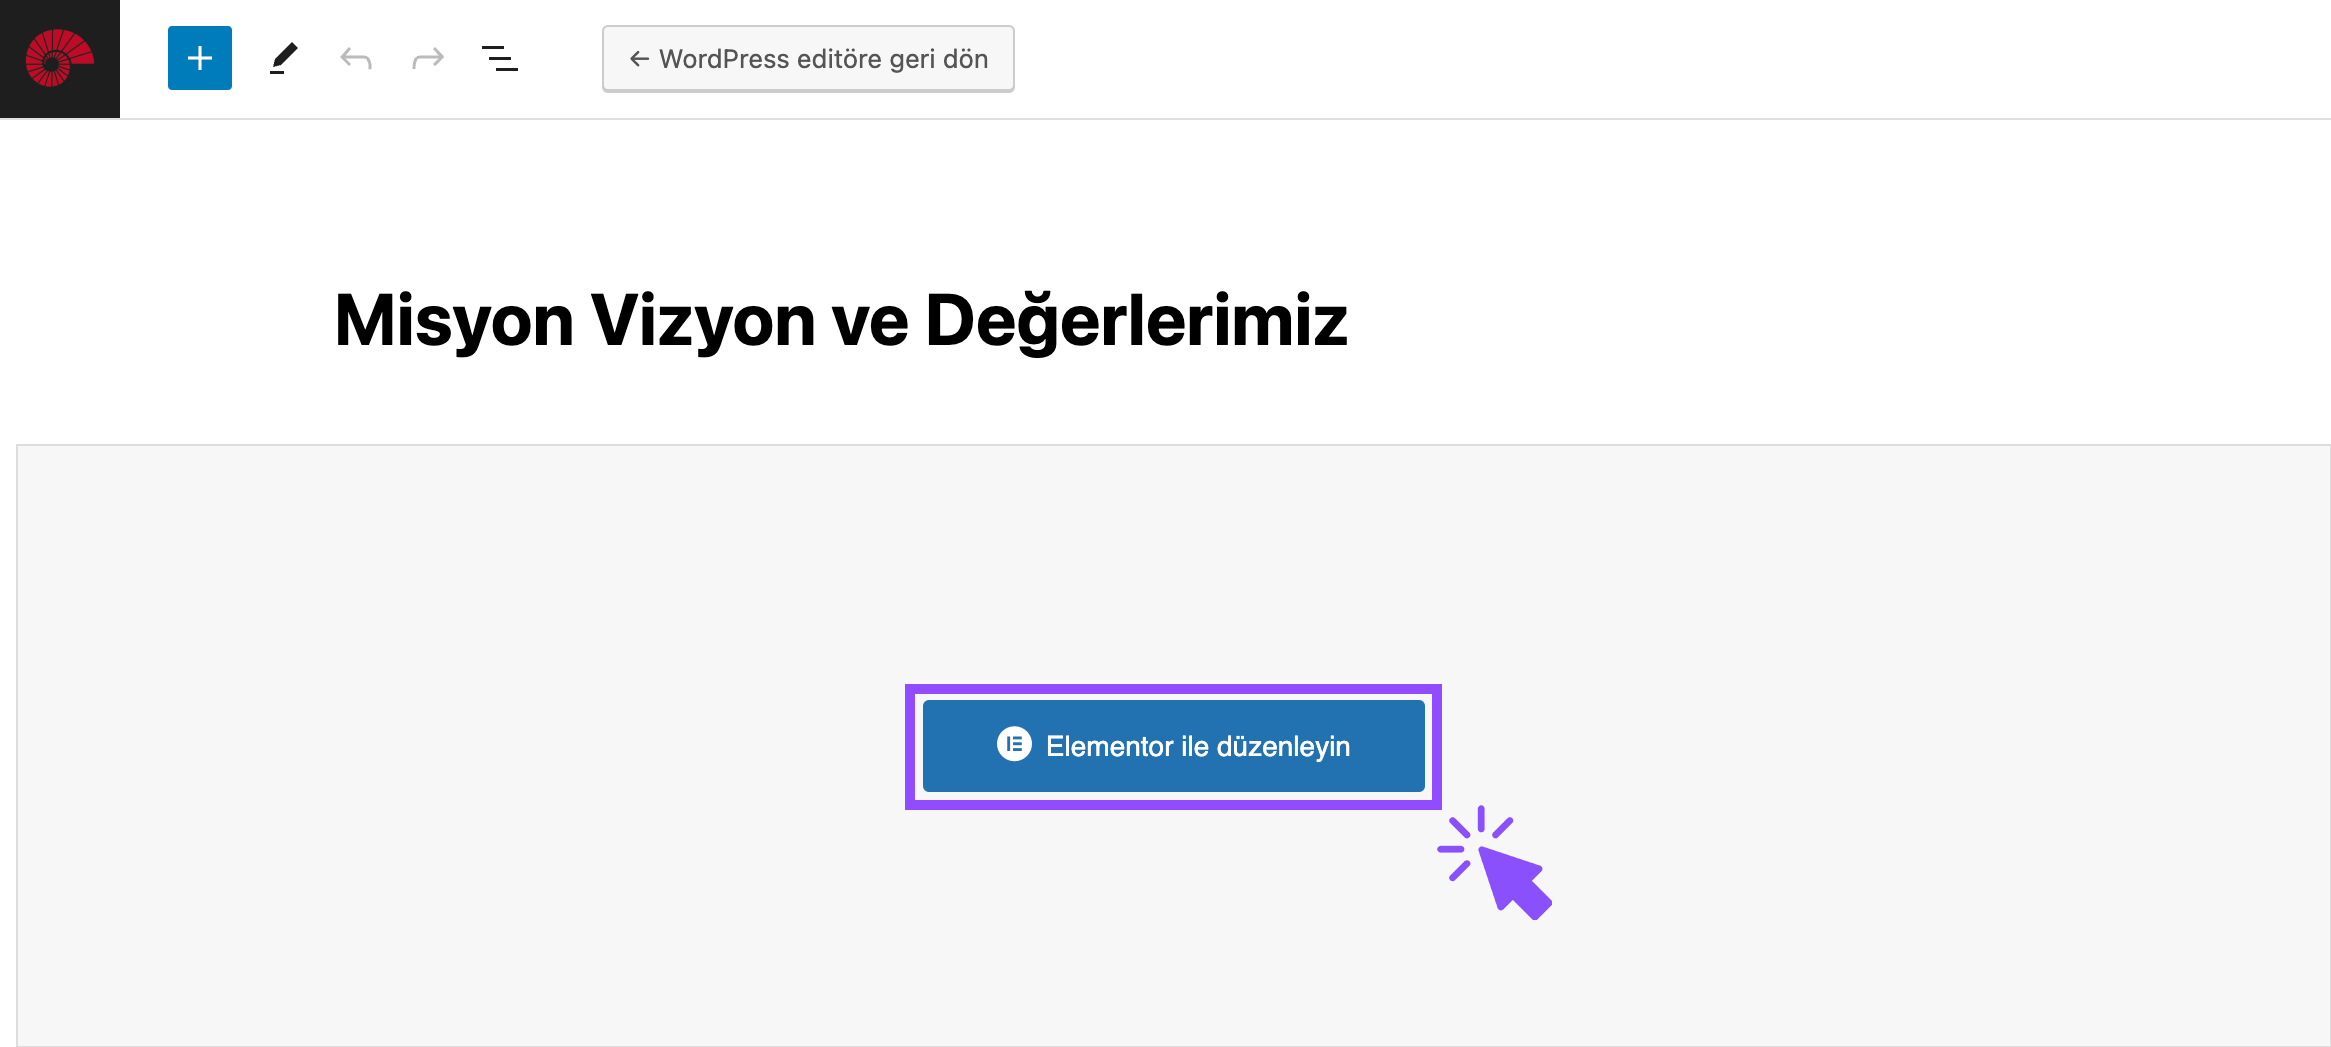
Click Edit with Elementor to enter the page builder.
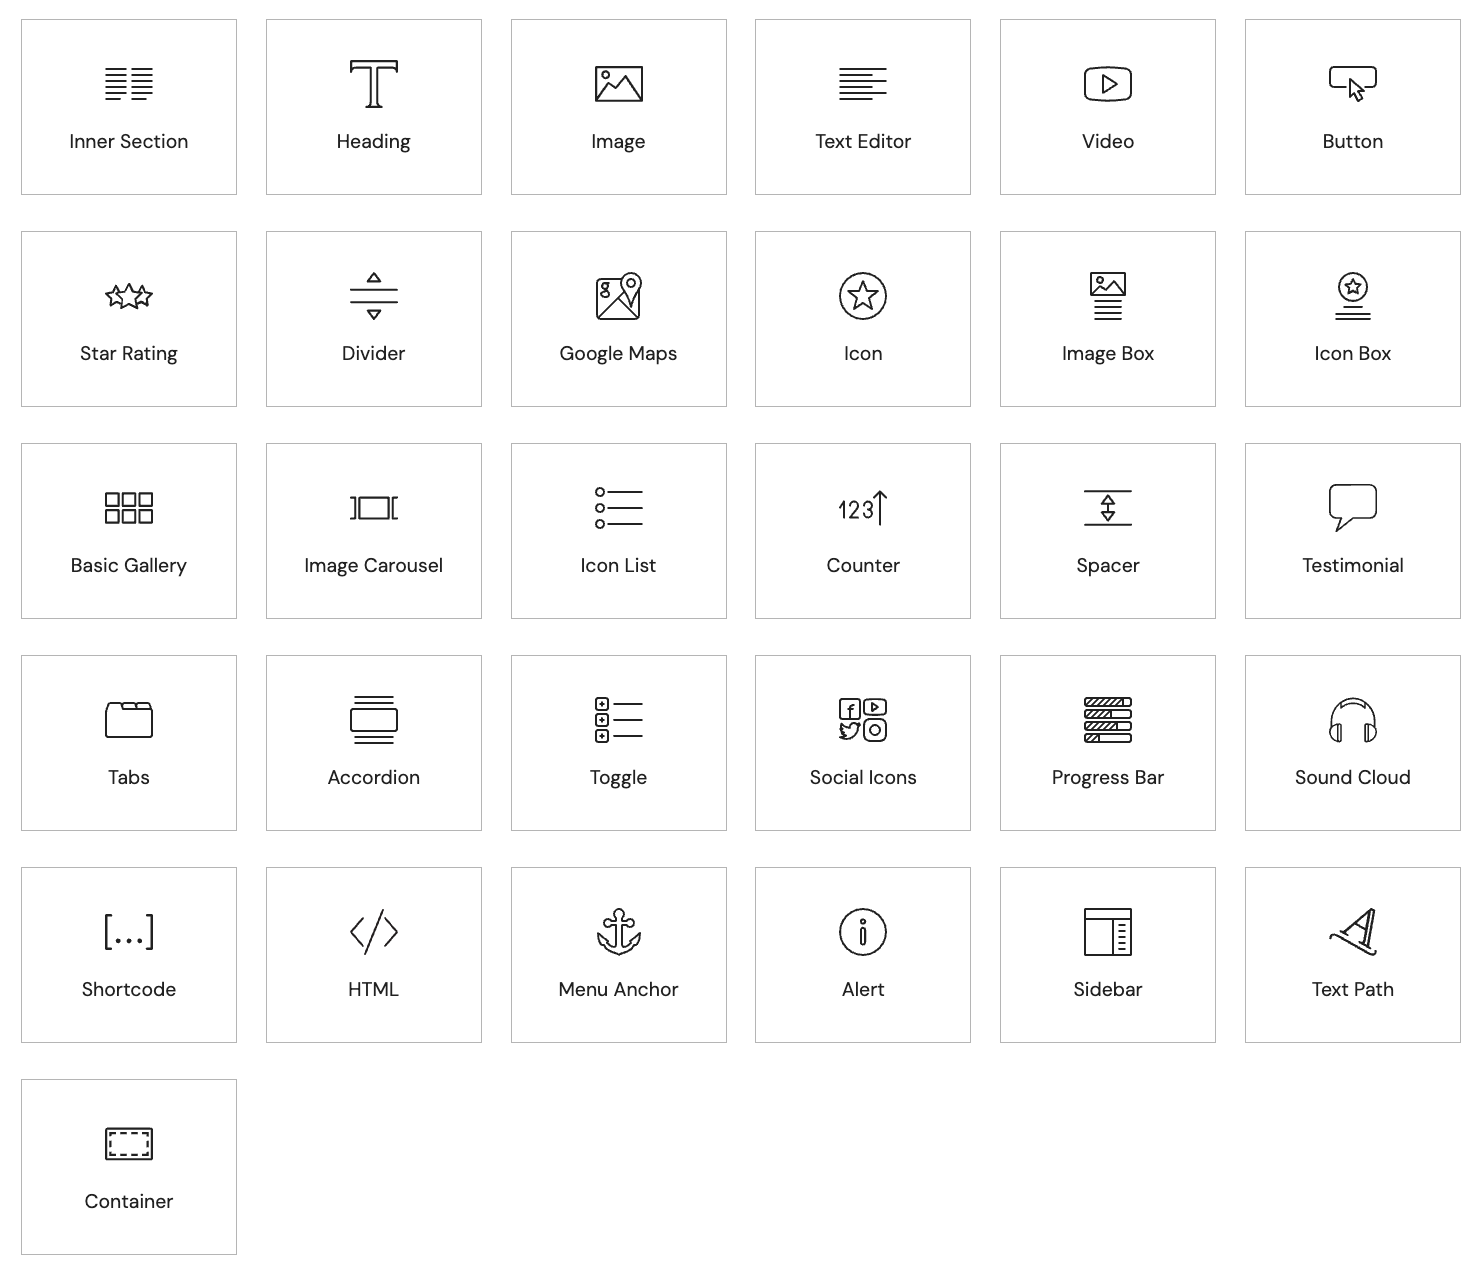
What is a Widget?
-
On the left side of your page is a panel full of widgets.
-
You can add sections to suit your design and drag widgets to your page.
-
Widgets are elements such as text, images, headlines and videos.
-
You can drag any number of widgets to any part of your page.
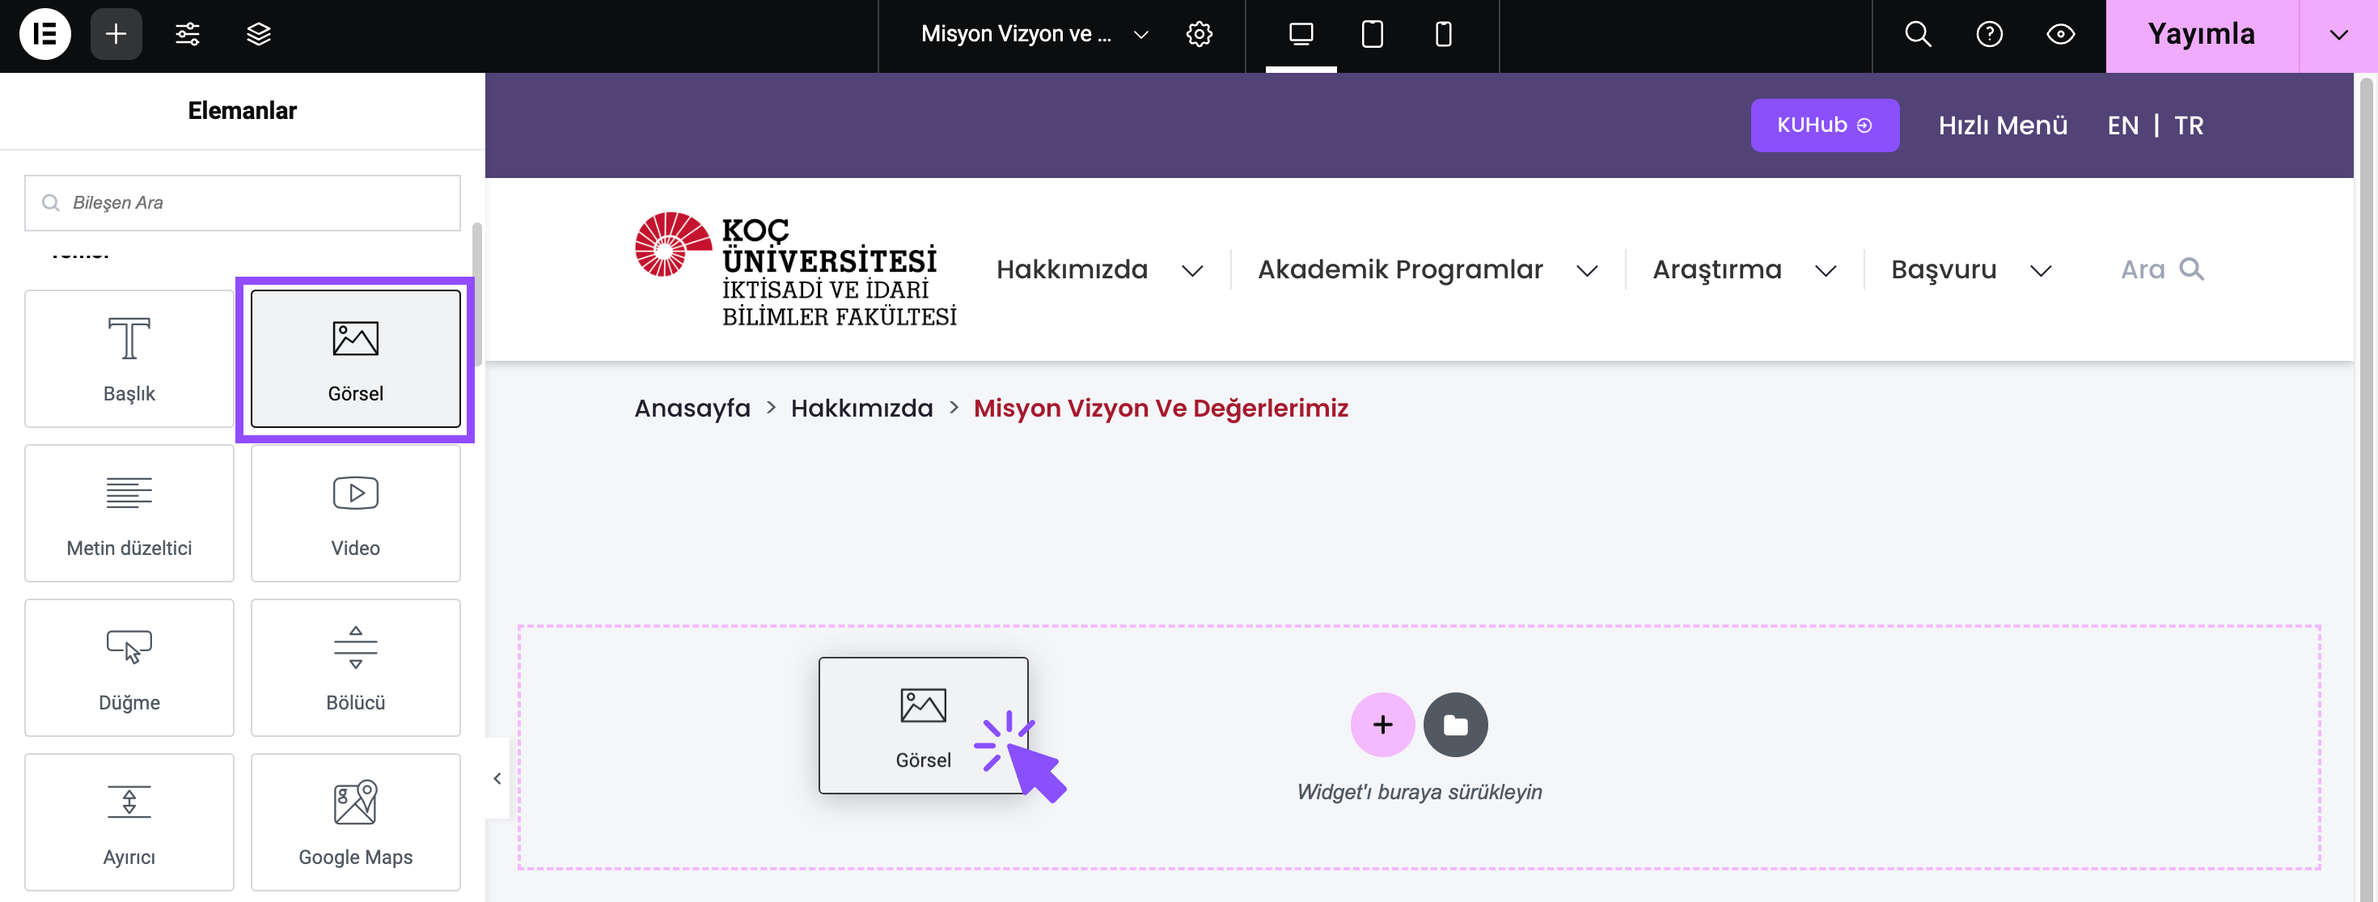
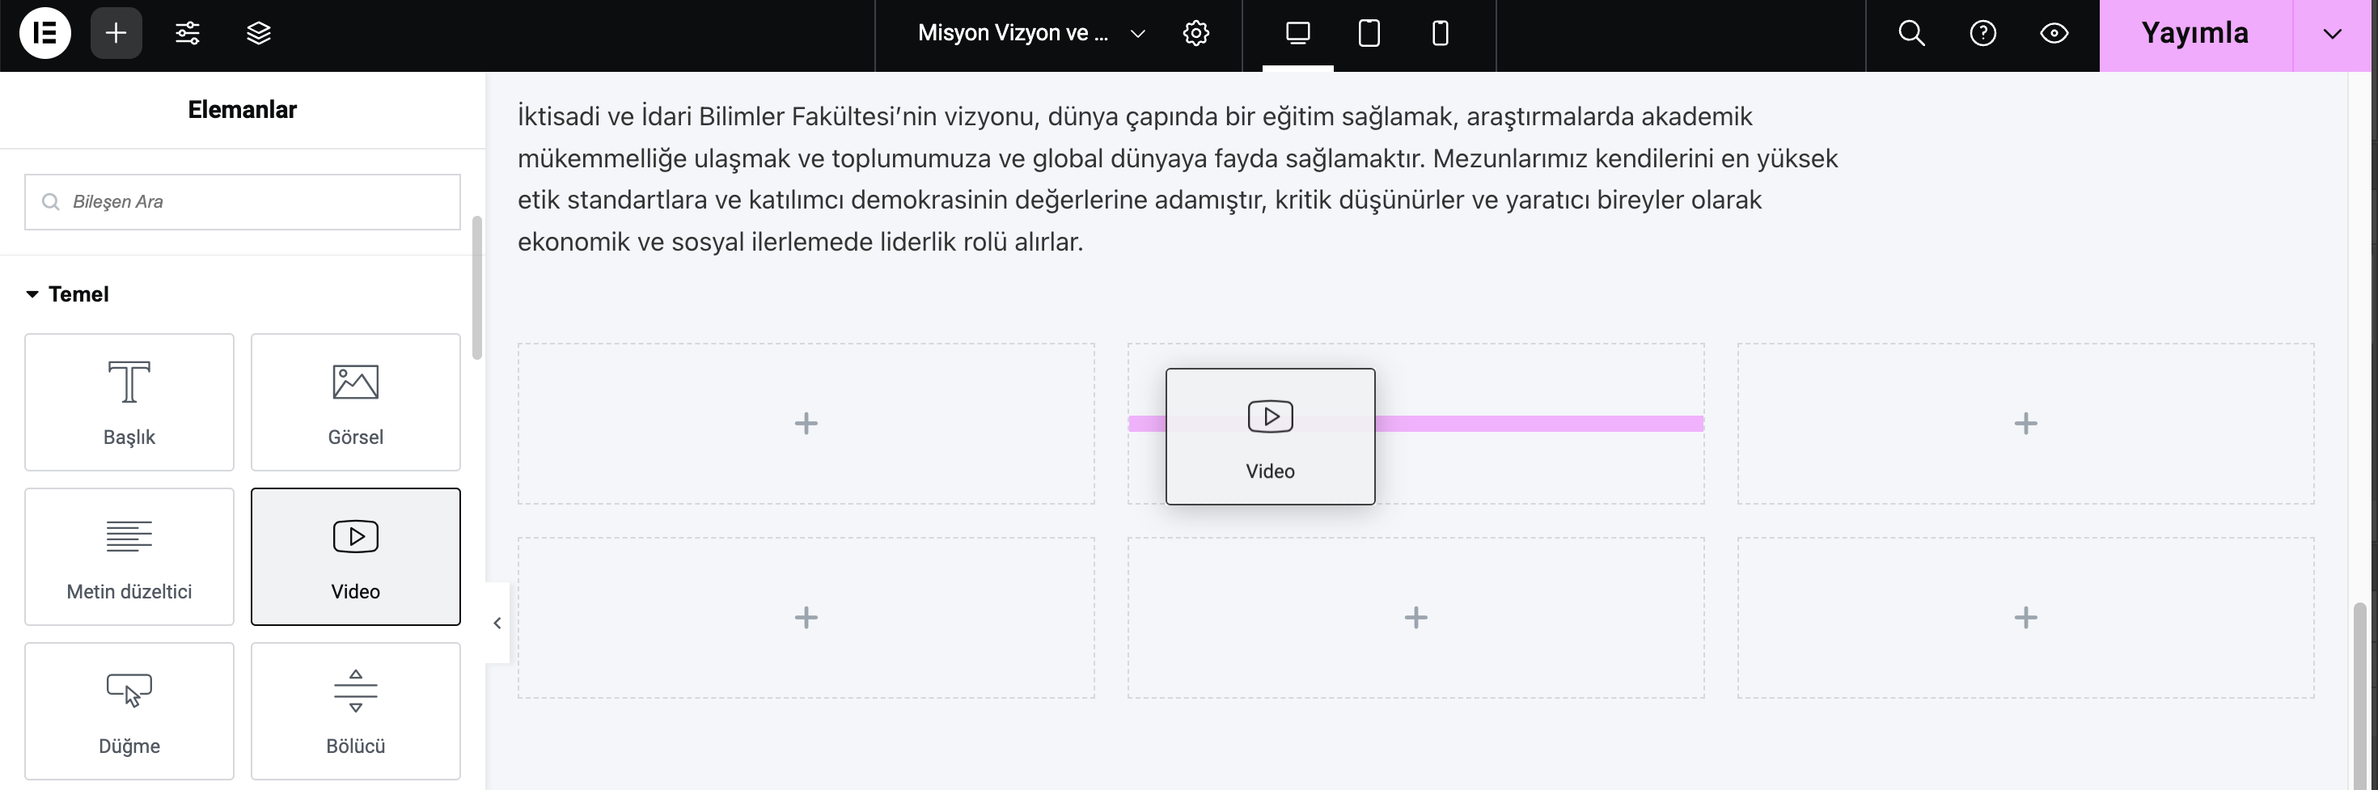
Adding Widgets in Elementor 👇
After clicking Edit with Elementor, widget elements will appear on the left side of your page.
-
Select one of the widgets that appear in the left panel, such as header, image, text corrector, video, button.
-
You can drag and drop the selected widget item from the left column to the right and add it to your page.
Before adding widgets to your page, you can divide your page into columns. To do this, click the
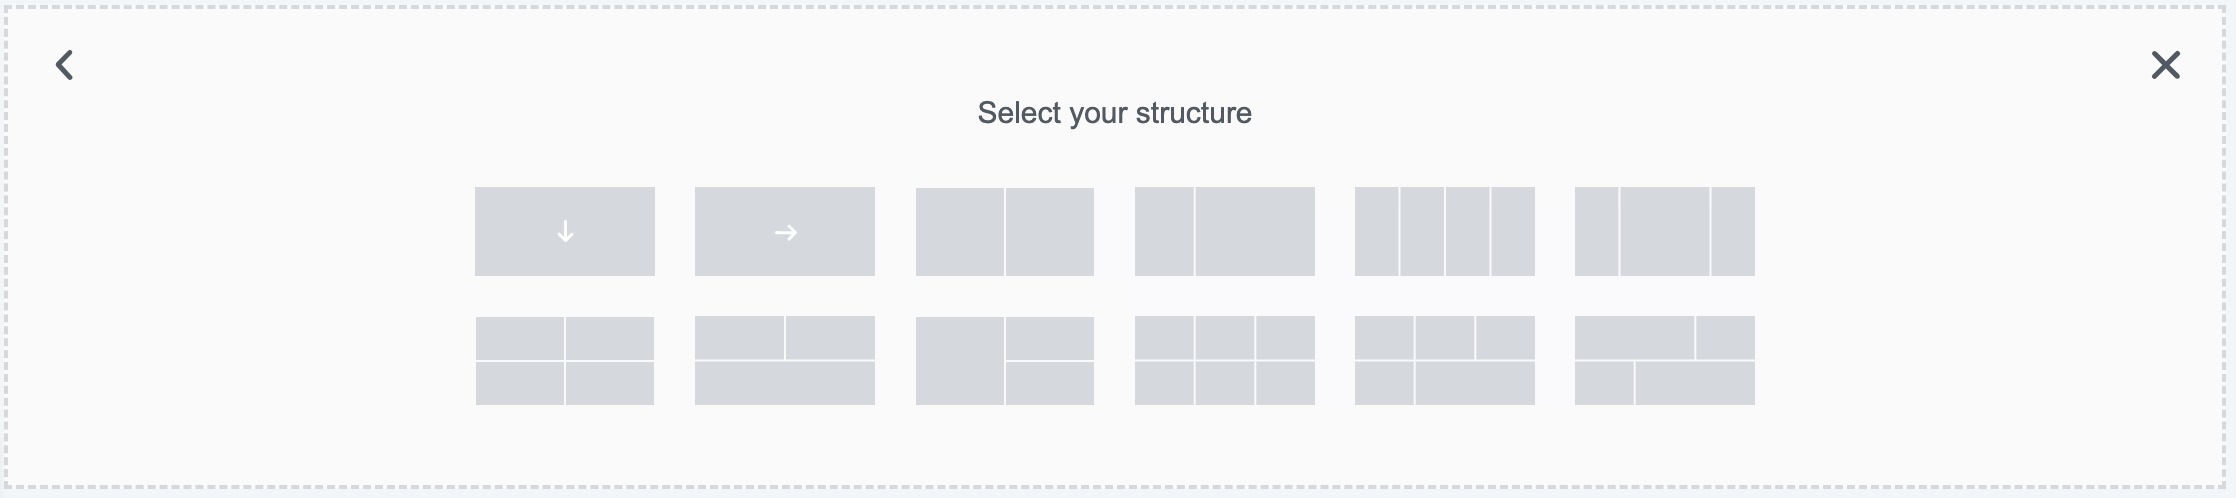
Once you have made your selection, you can drag and drop the item you want to the section you want on your page.
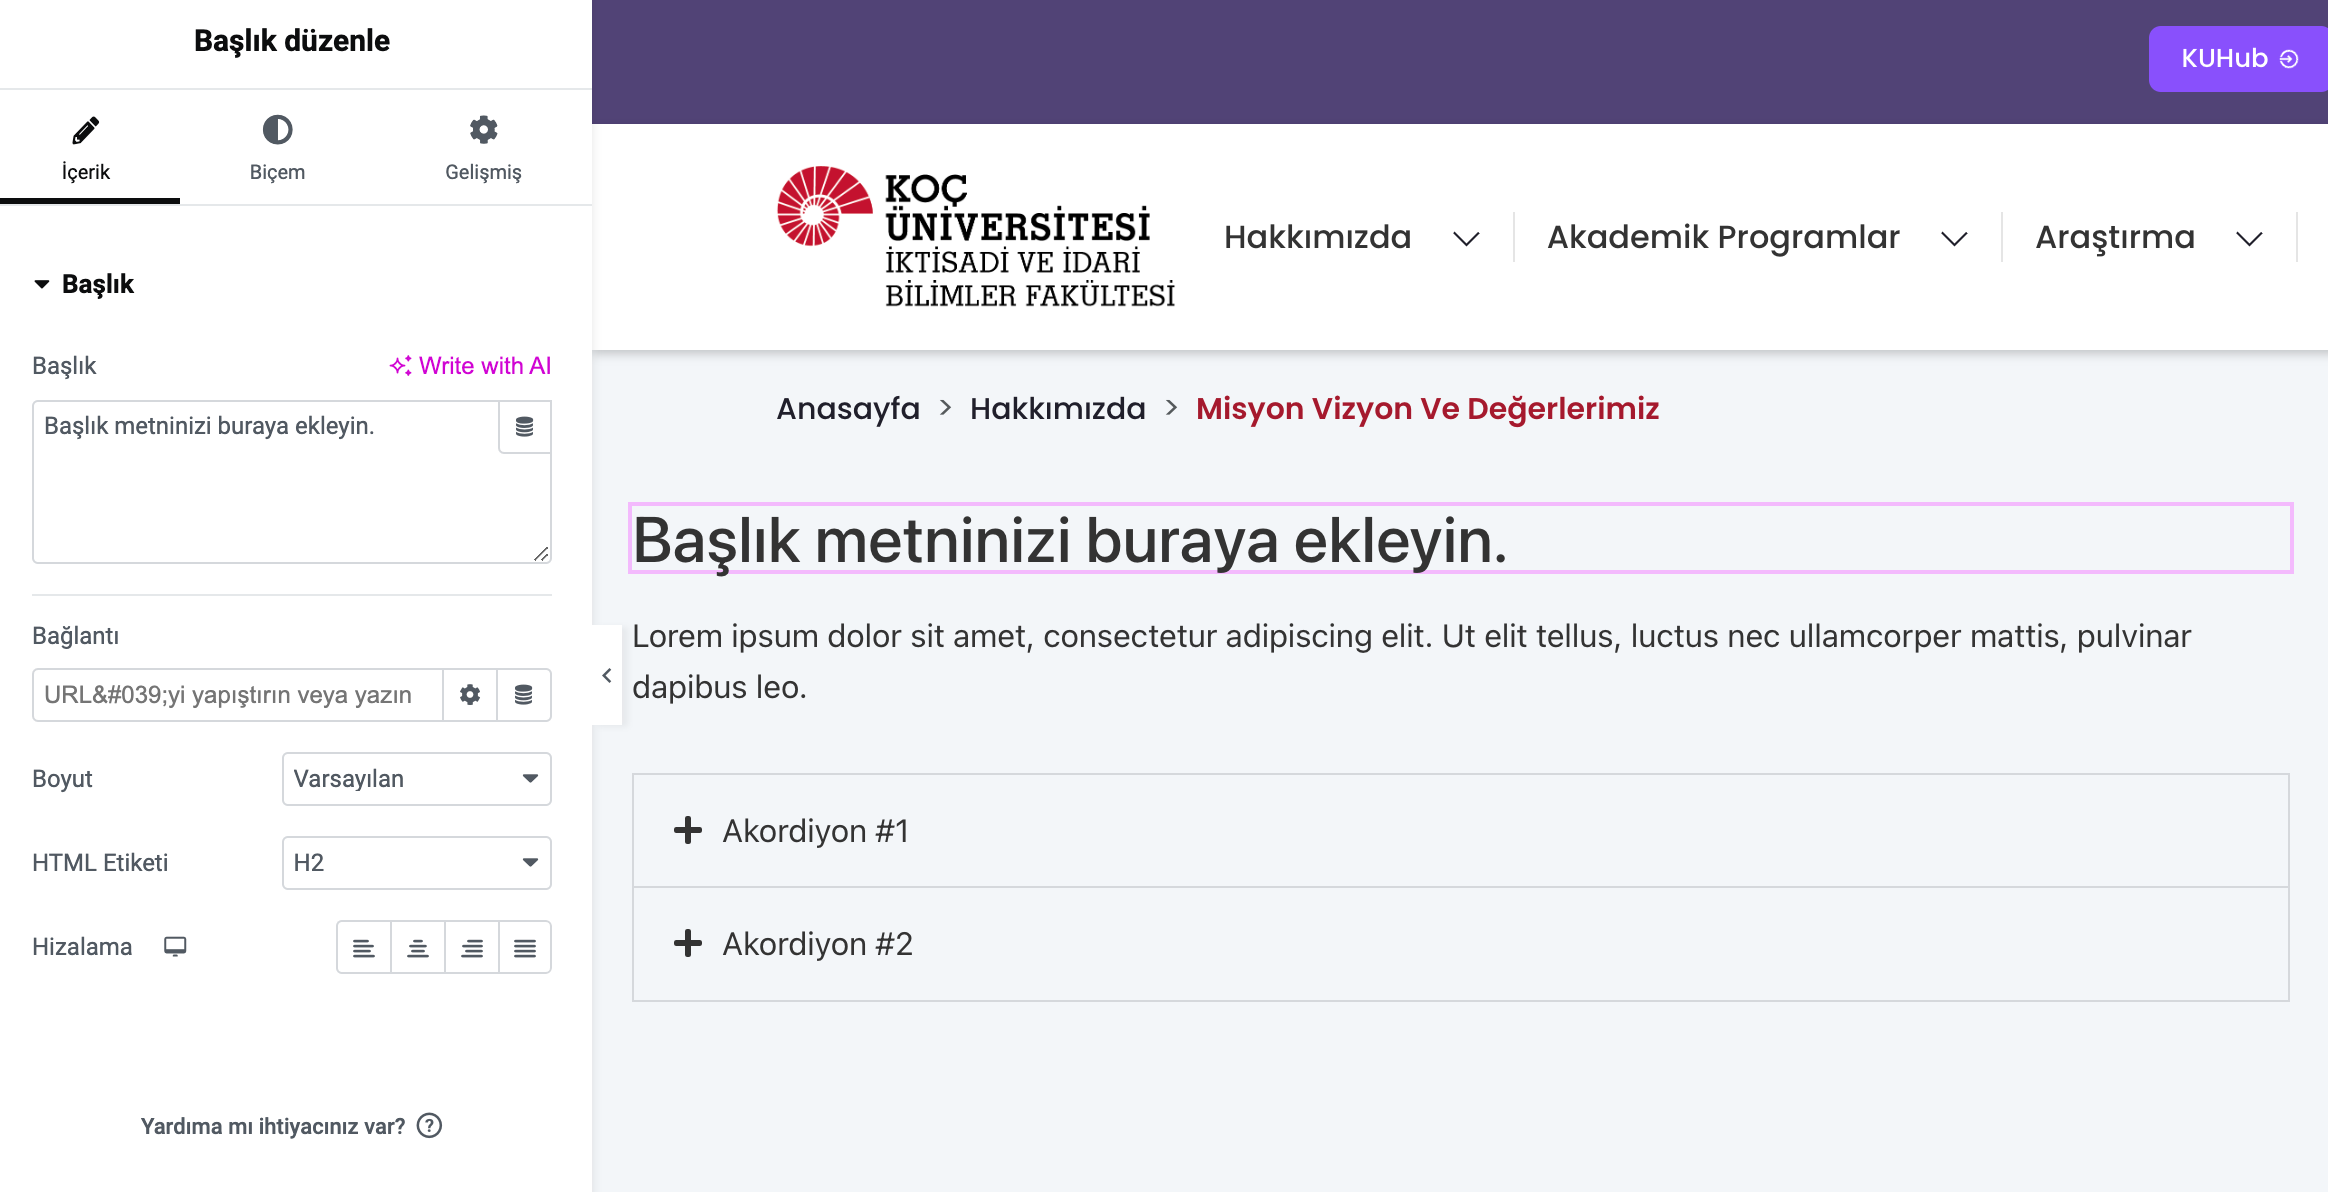
Using Heading, Text Editor, Accordeon elements 👇
-
Grab the title, text trimmer and accordion elements one by one from the left panel and drag them to the page.
-
After adding the elements, click on them and add your content.
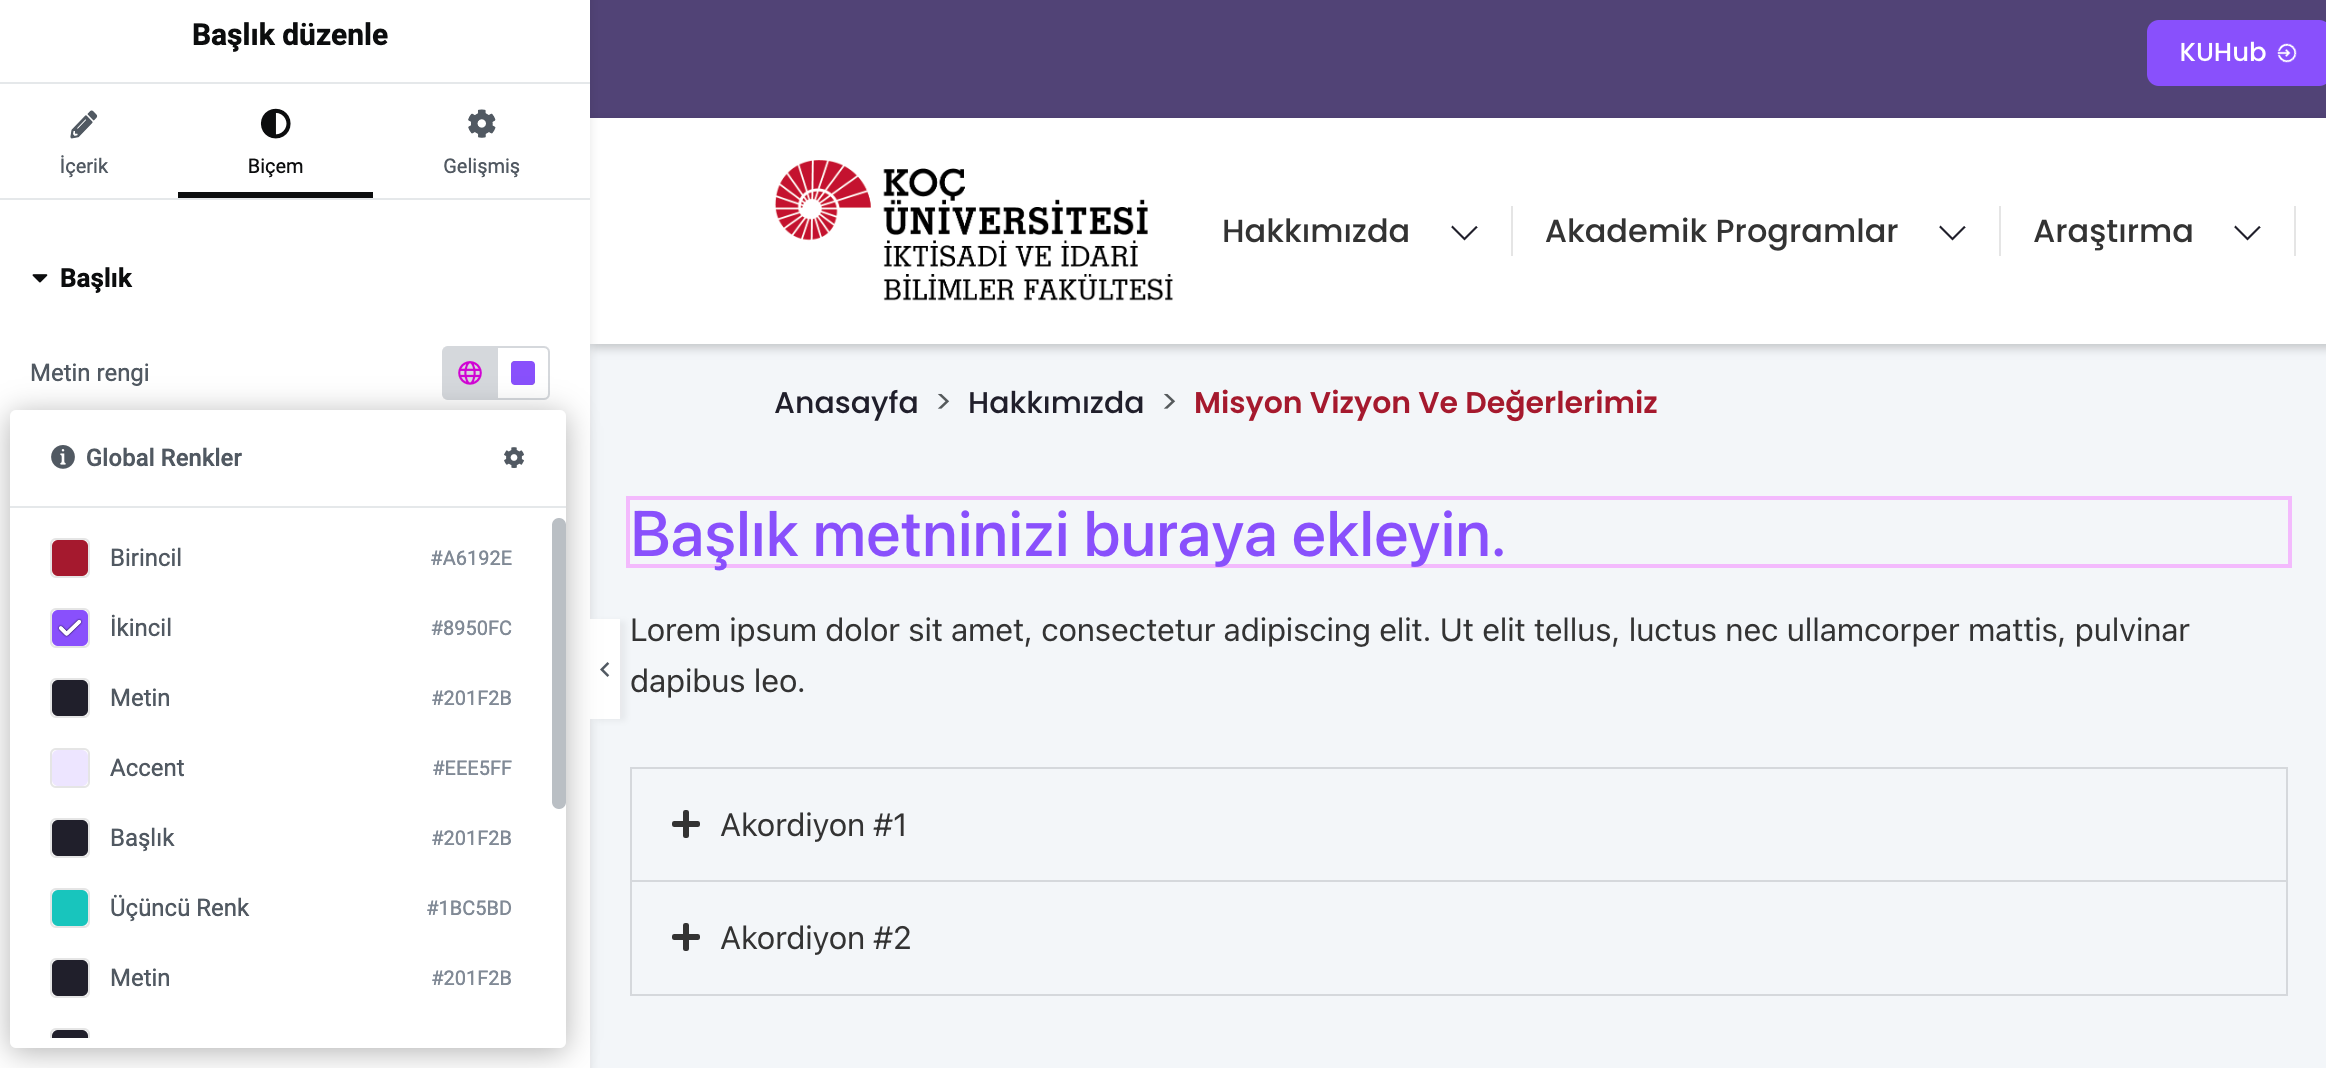
Use of Content, Style, Advanced tabs 👇
-
In the Content tab, content such as title, text, image, link can be added.
-
The colors and fonts of your item are selected from the Format tab. From this tab, you can select the global colors and fonts you have previously set through the Site settings.
-
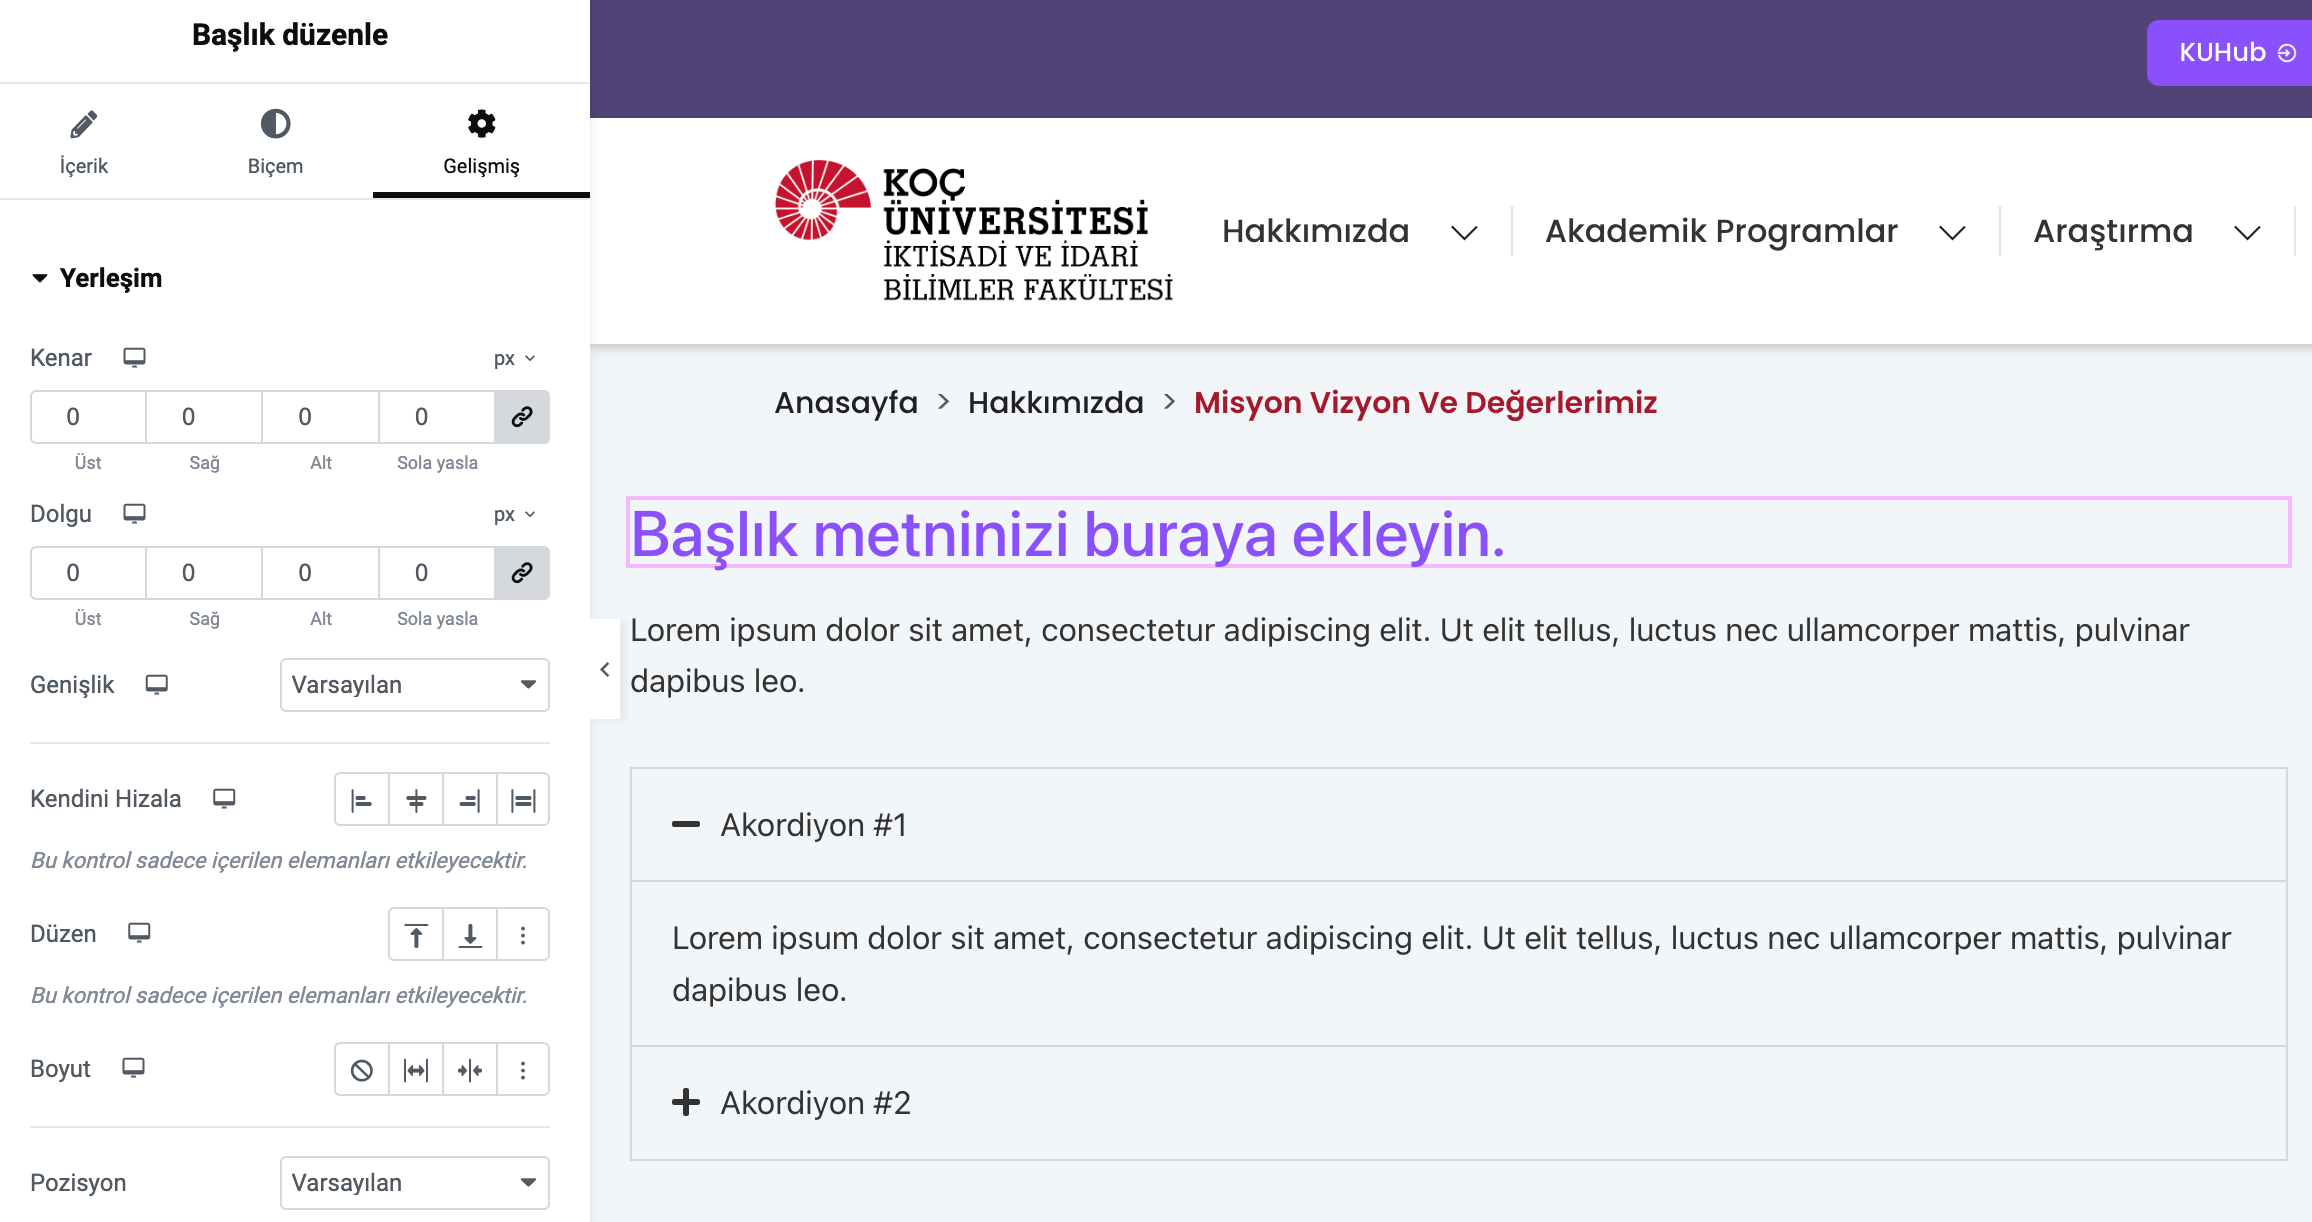
From the Advanced tab, you can adjust your item's layout settings, margins, background colors, motion effect and appearance on different devices.
-
From the Format tab you can set default colors and fonts for your pages.
-
To change global settings, click the settings icon next to the Global heading. This is where you can configure global settings for your entire website.
-
The options of the Style tab (color, font, size) allow you to customize content in blocks according to your needs.
-
You can also use the Paste Style feature to copy the style of an existing section and change all blocks in the same way.
Add images, videos and buttons 👇
-
Grab the image, video and button elements one by one from the left panel and drag them to the page.
-
After adding the elements, click on them to select your image and add your video and button links.
You can add all other elements by dragging them into the page from the left panel as in the examples above. You can edit the elements you added from the content tab and adjust the design settings from the format tab.
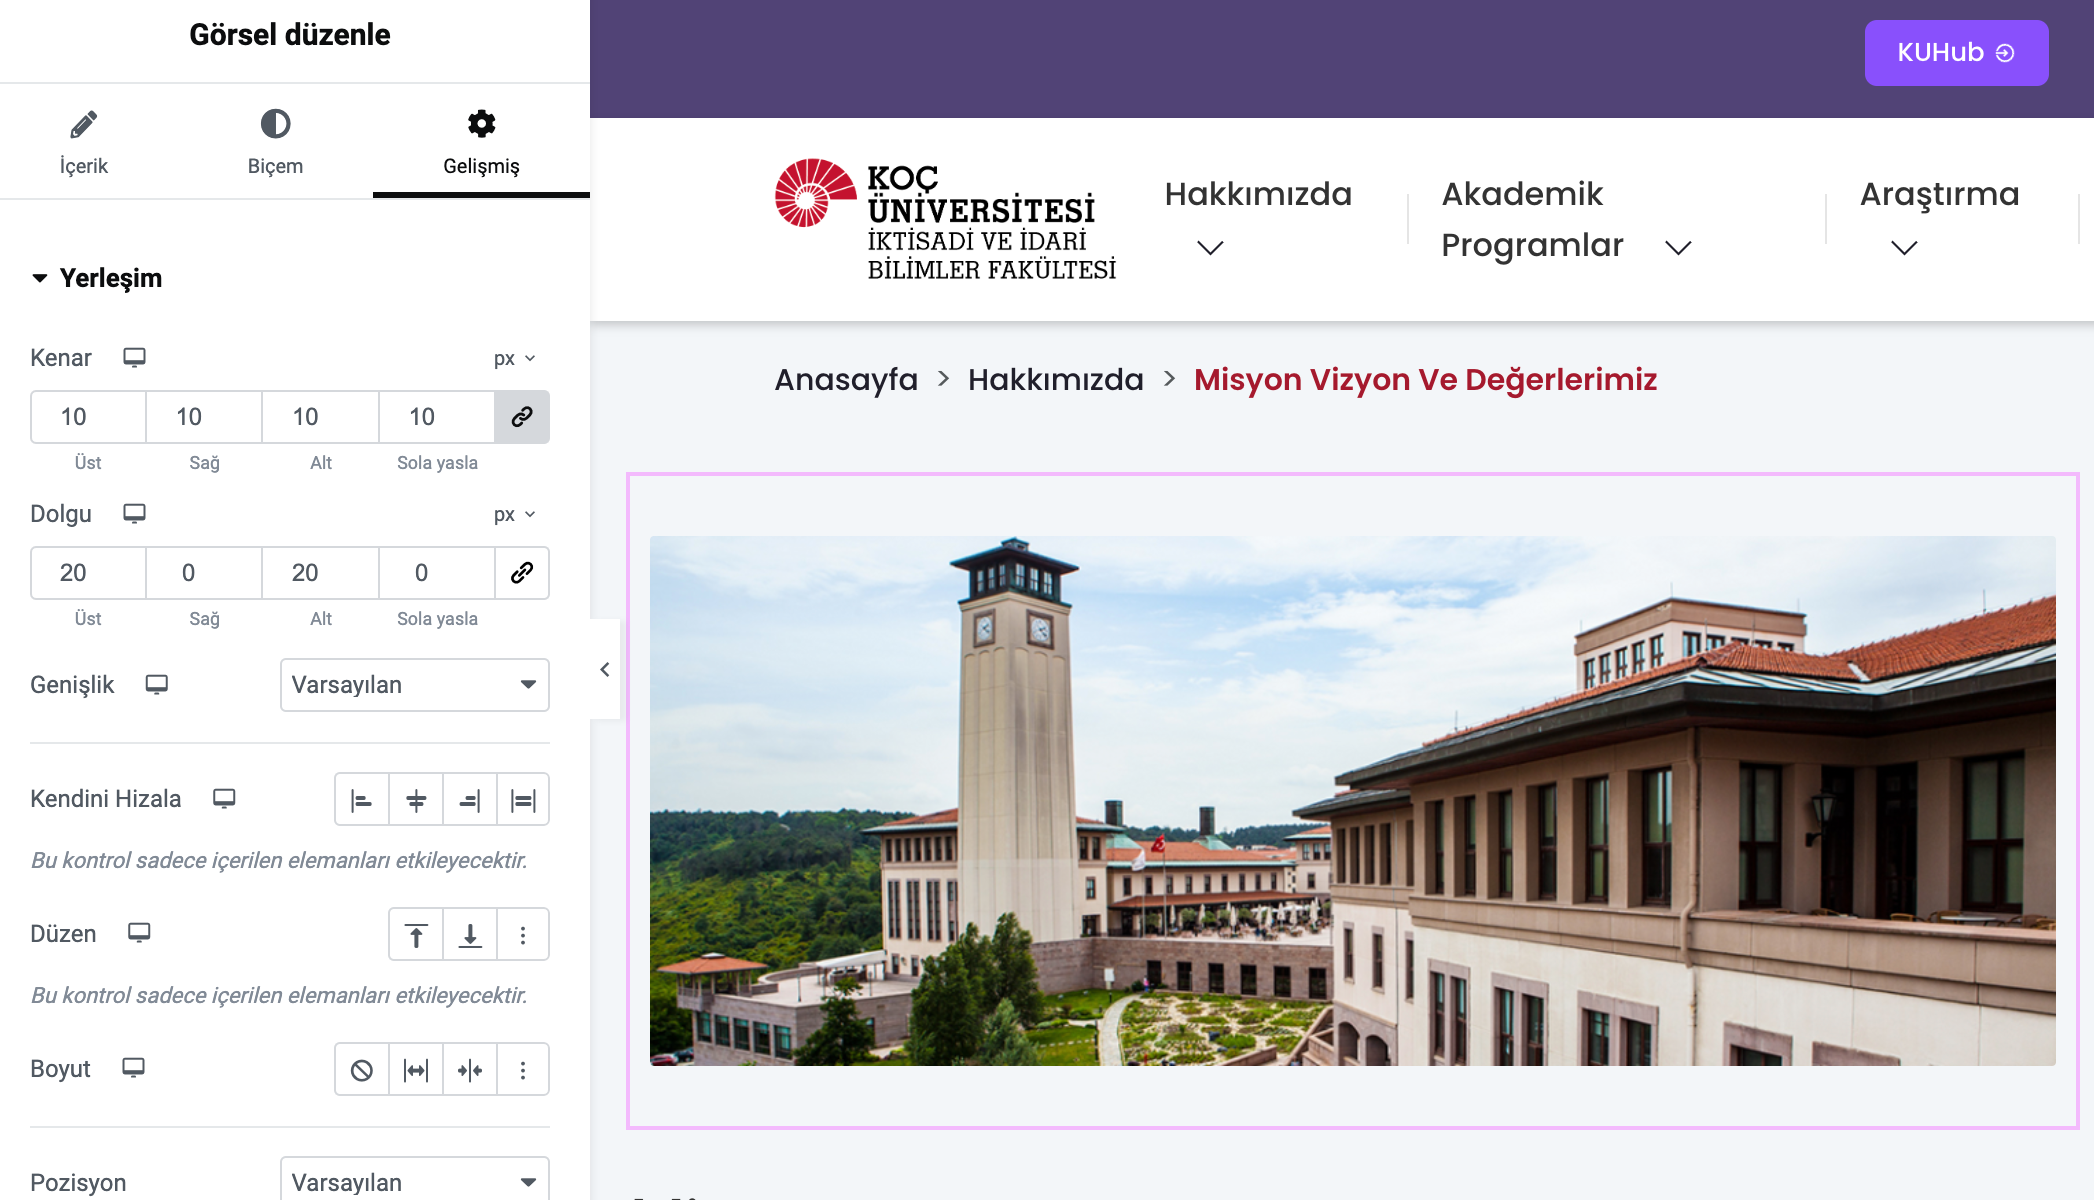
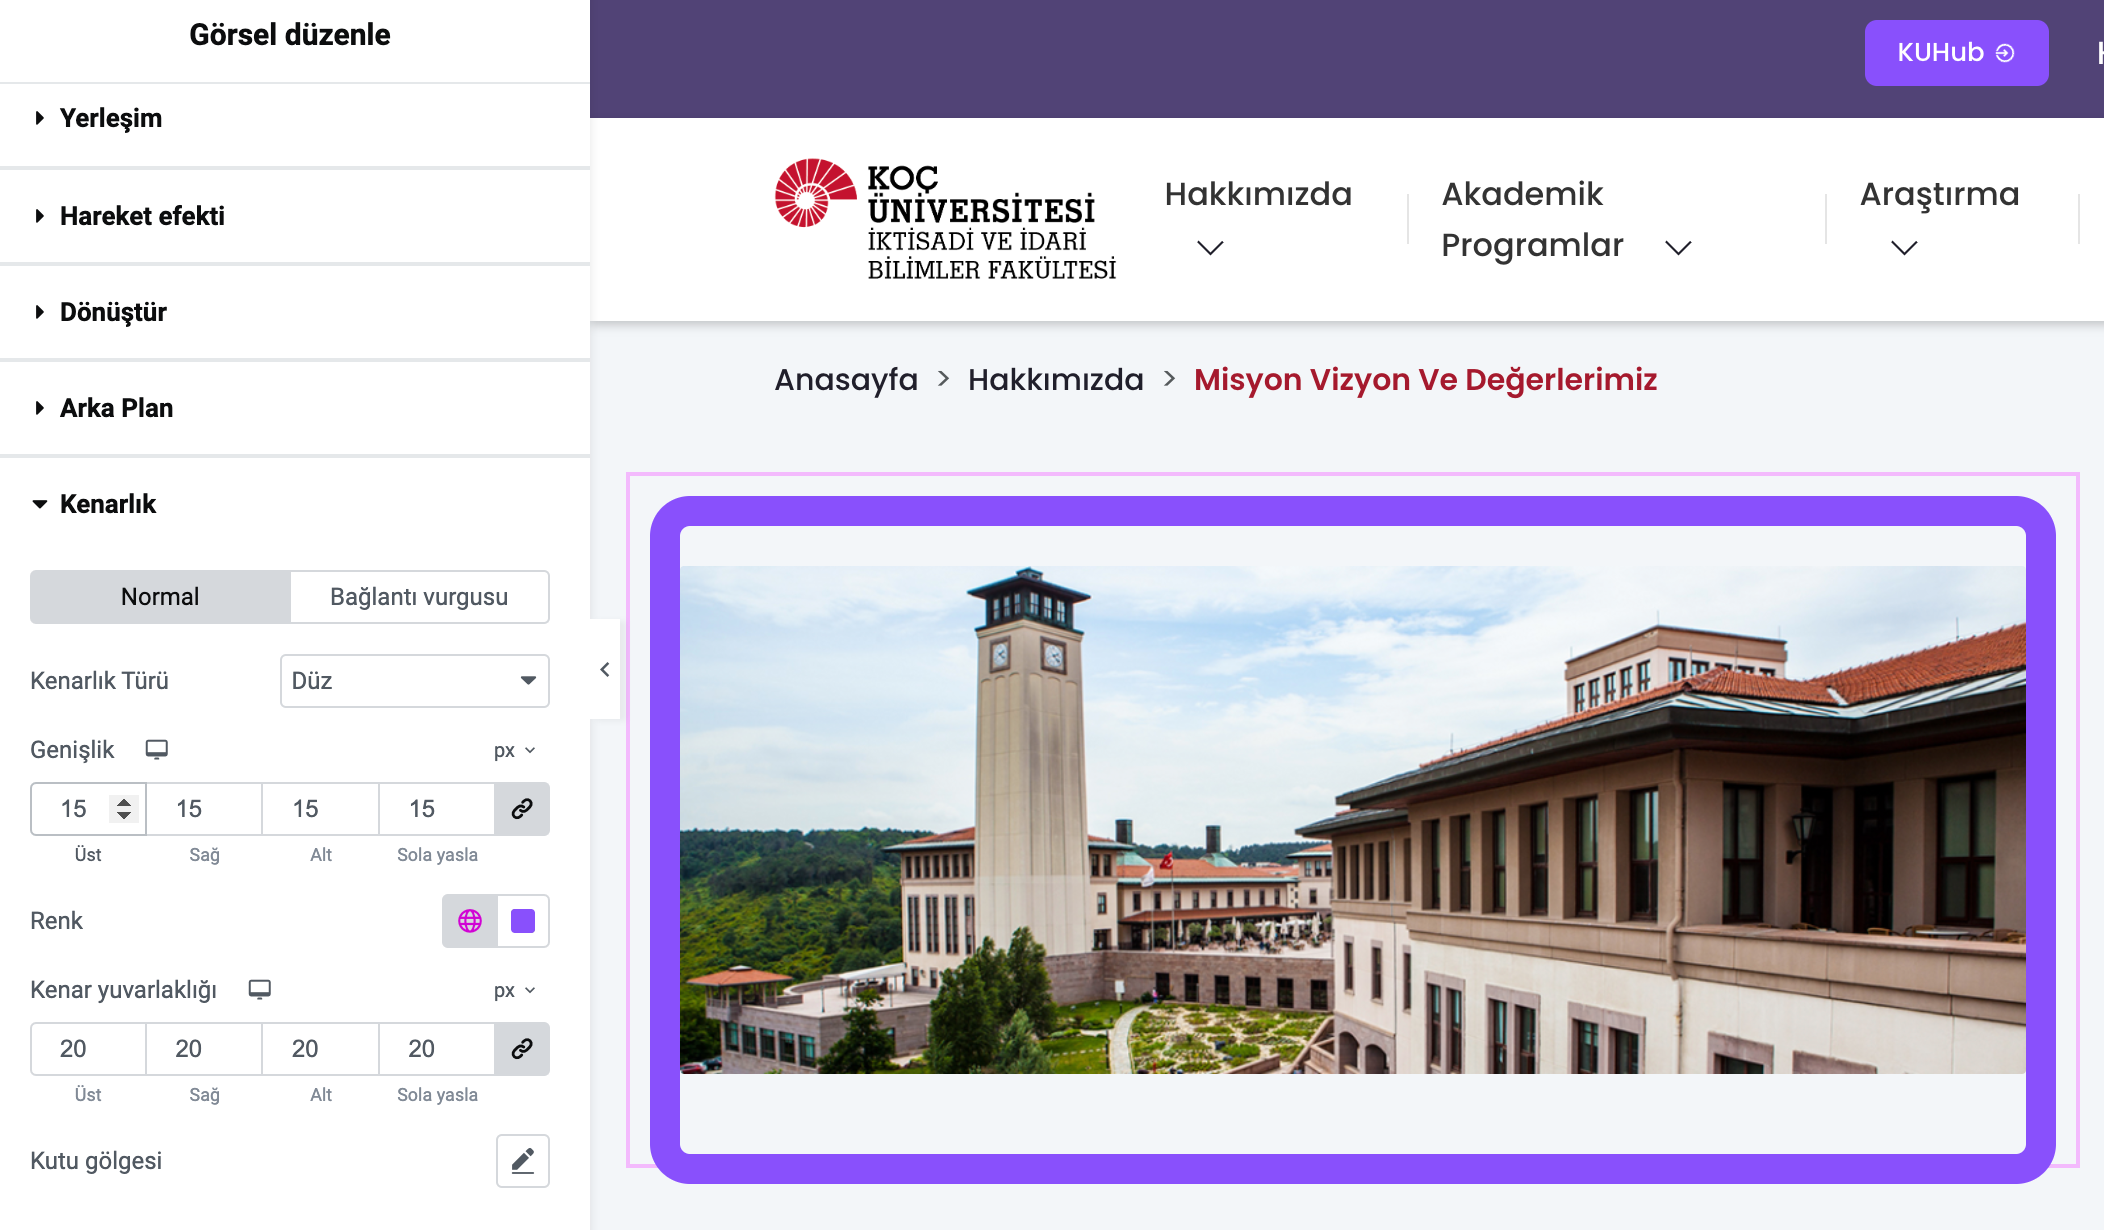
Using concepts such as Margin, Padding, Border on the page 👇
-
After adding the elements to the page, click on them and click on the advanced tab in the left panel.
-
Under the Layout heading, you can adjust the margin and padding settings. You can also adjust the alignment settings in the advanced tab.
In the Layout section, you can manage layout settings such as how the text will cover the screen, whether it will be full screen or in a rectangle, and its height.
In addition, the amount of space that can be given from the right, left, bottom and top of the item can be adjusted, as well as settings such as Z index setting, visibility setting on mobile and desktop, motion effects can be made from this section.
Working with ready-made templates 👇
Select a pre-made template from the list and add it to your page / customize it according to your need.
-
To add a template, click on the white folder icon on the main editing screen. Here you will see the Blocks, Pages and My Templates tabs.
-
Preview with the magnifying glass and select a template from the desired section.
-
Add the template you have selected with the insert option in the upper right corner.
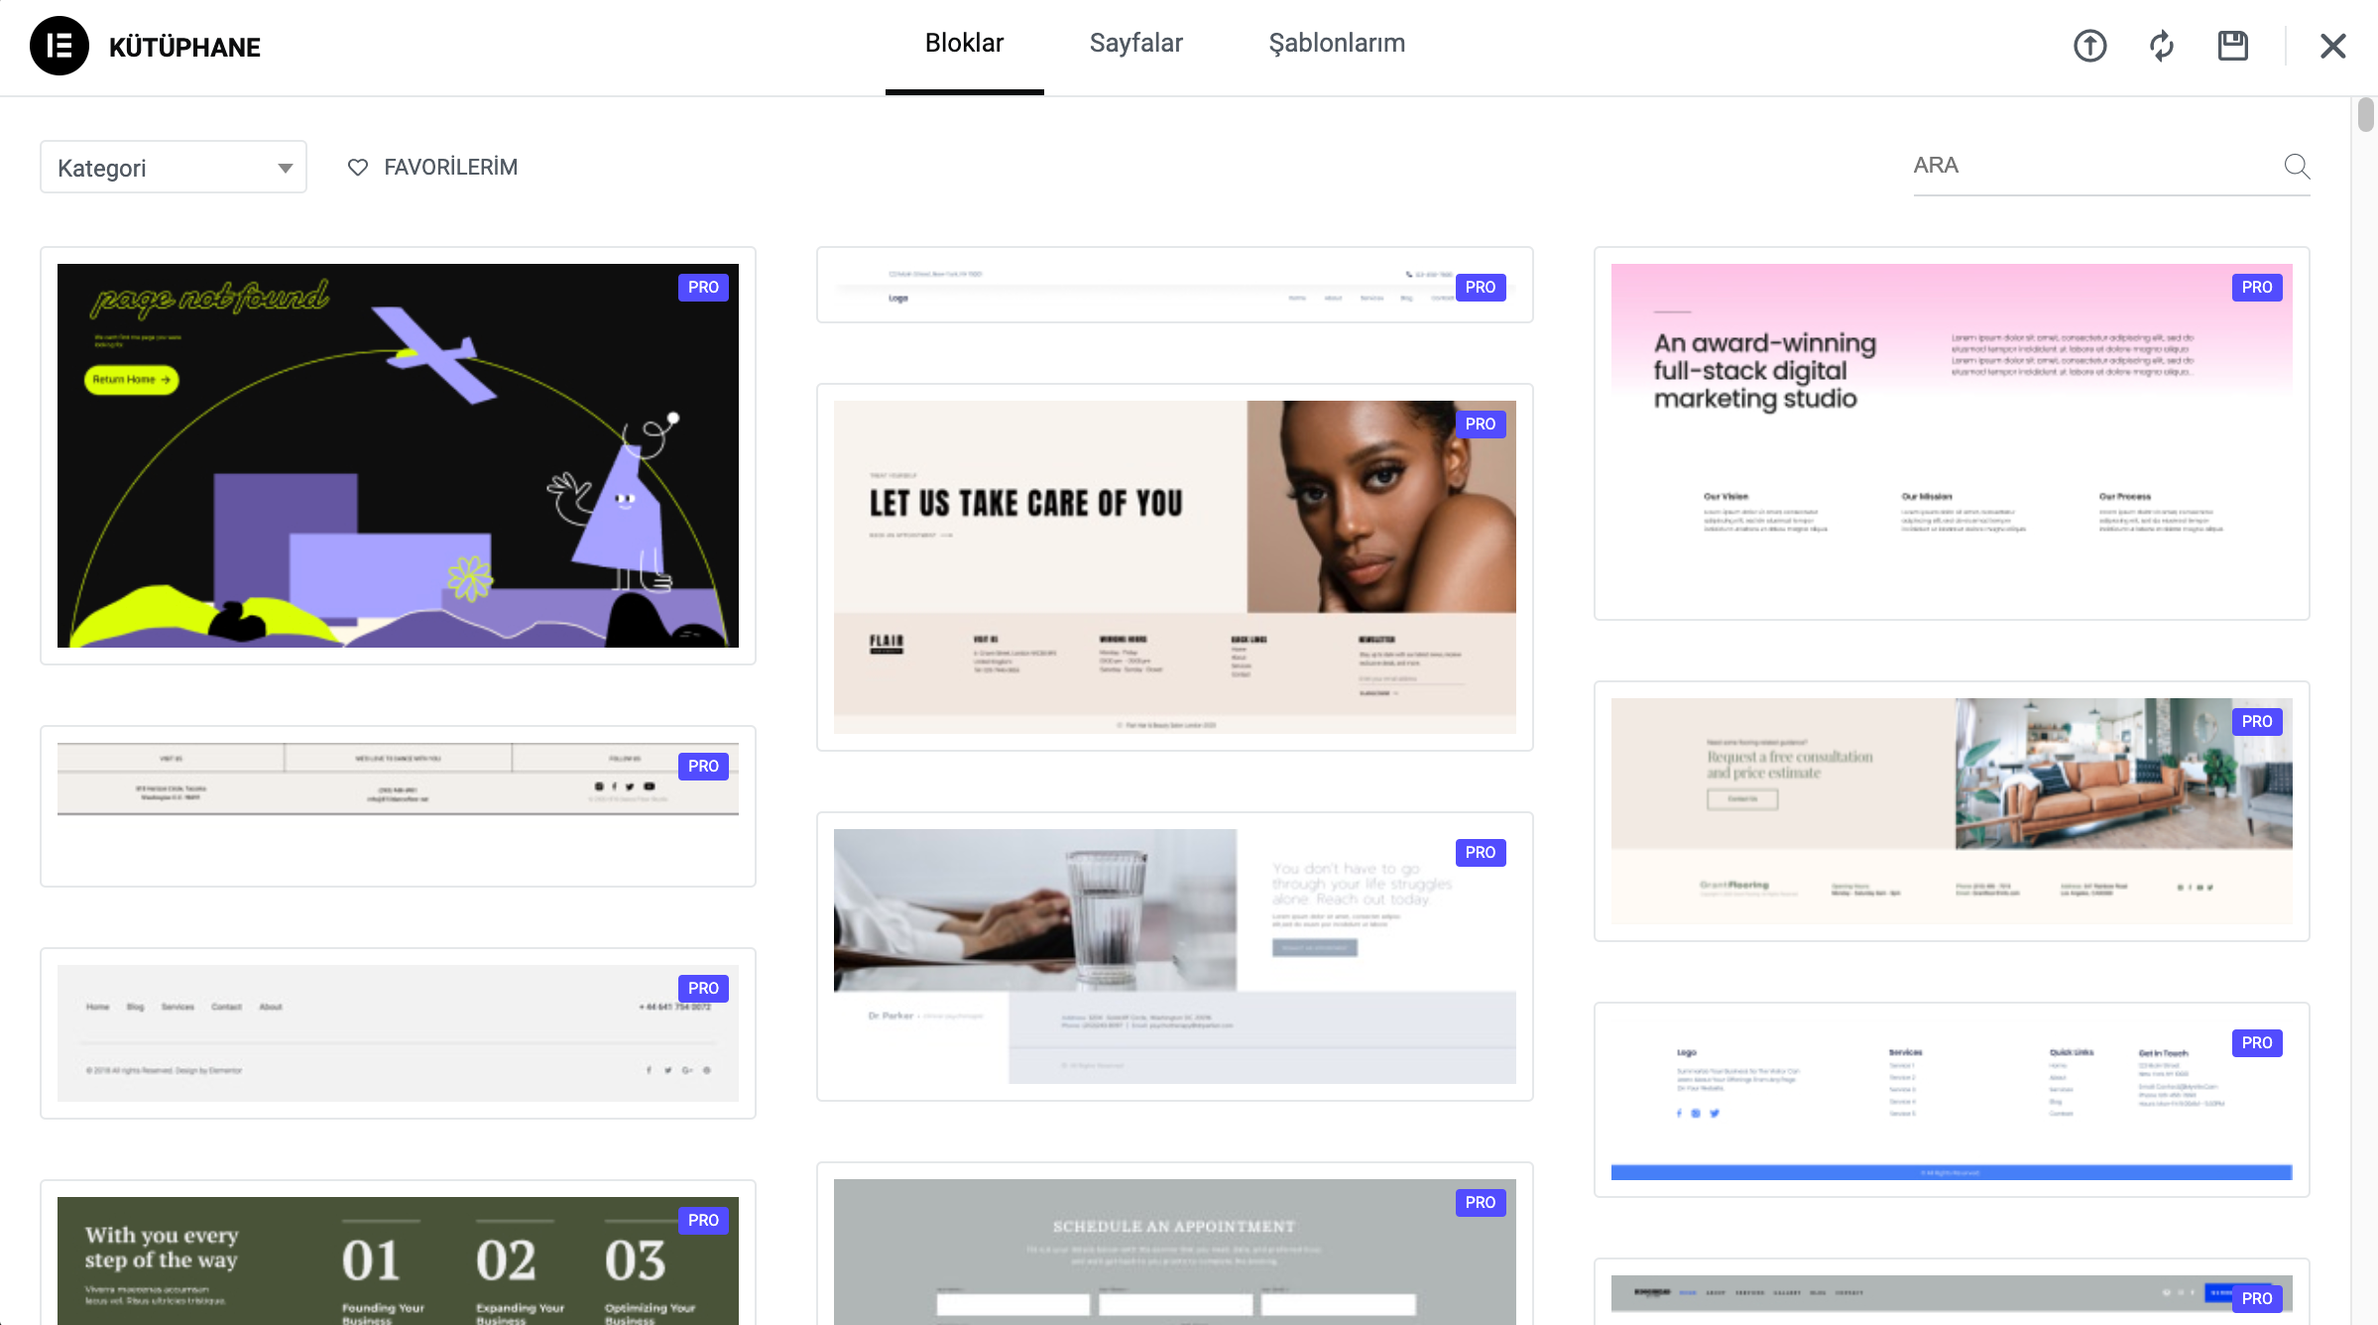
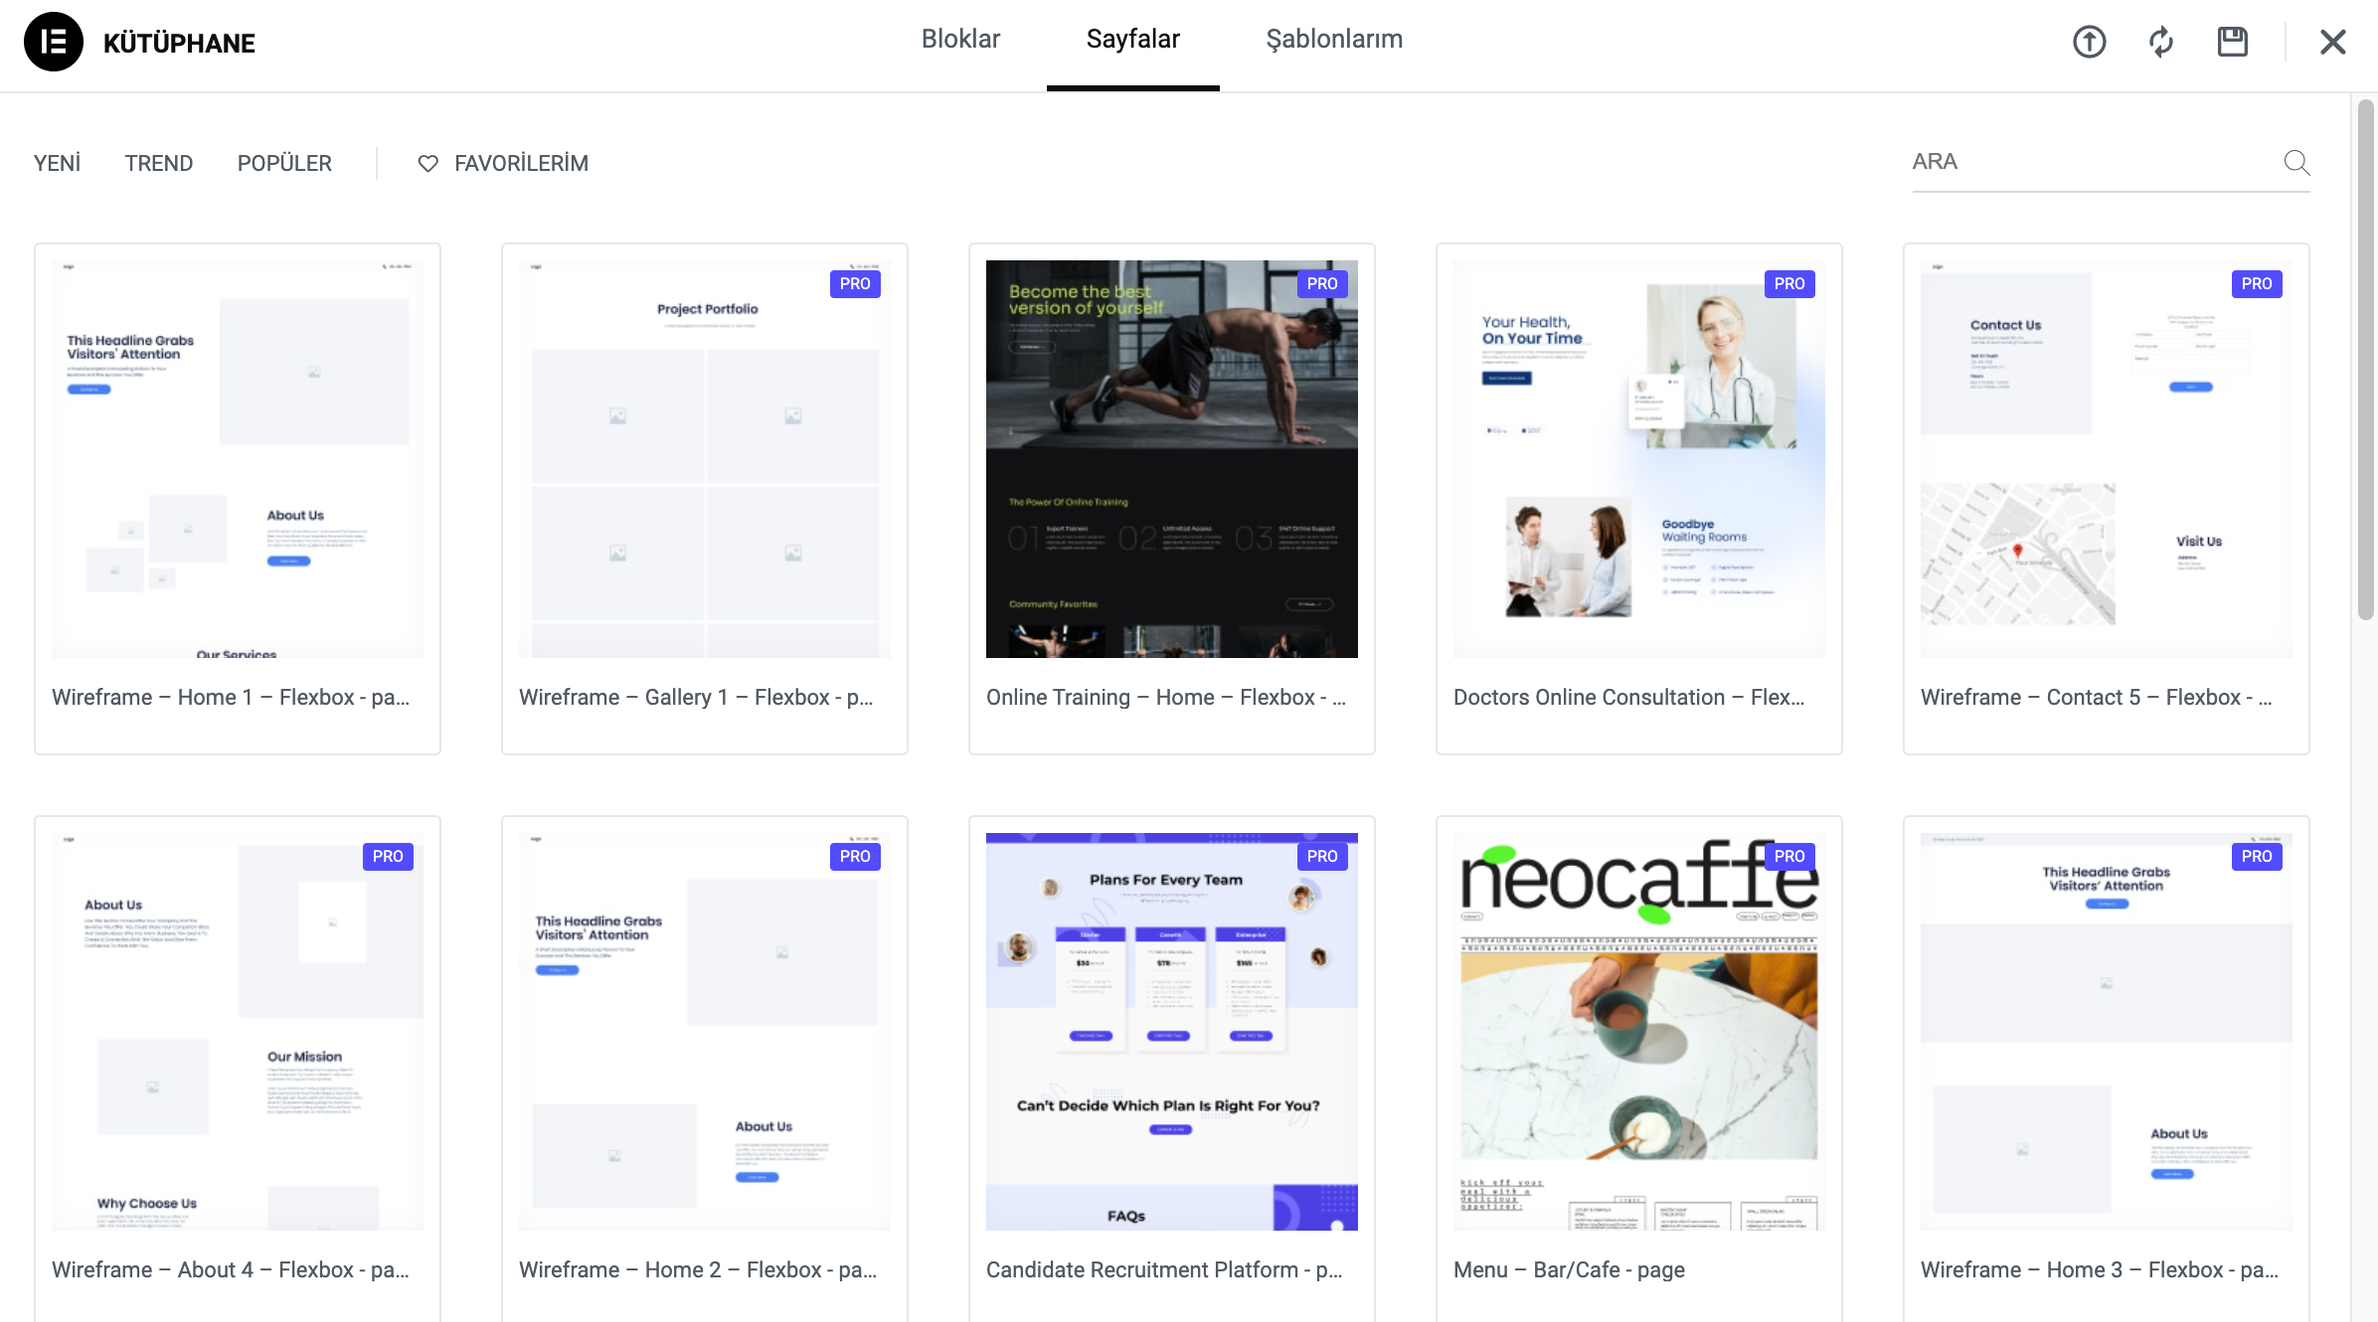
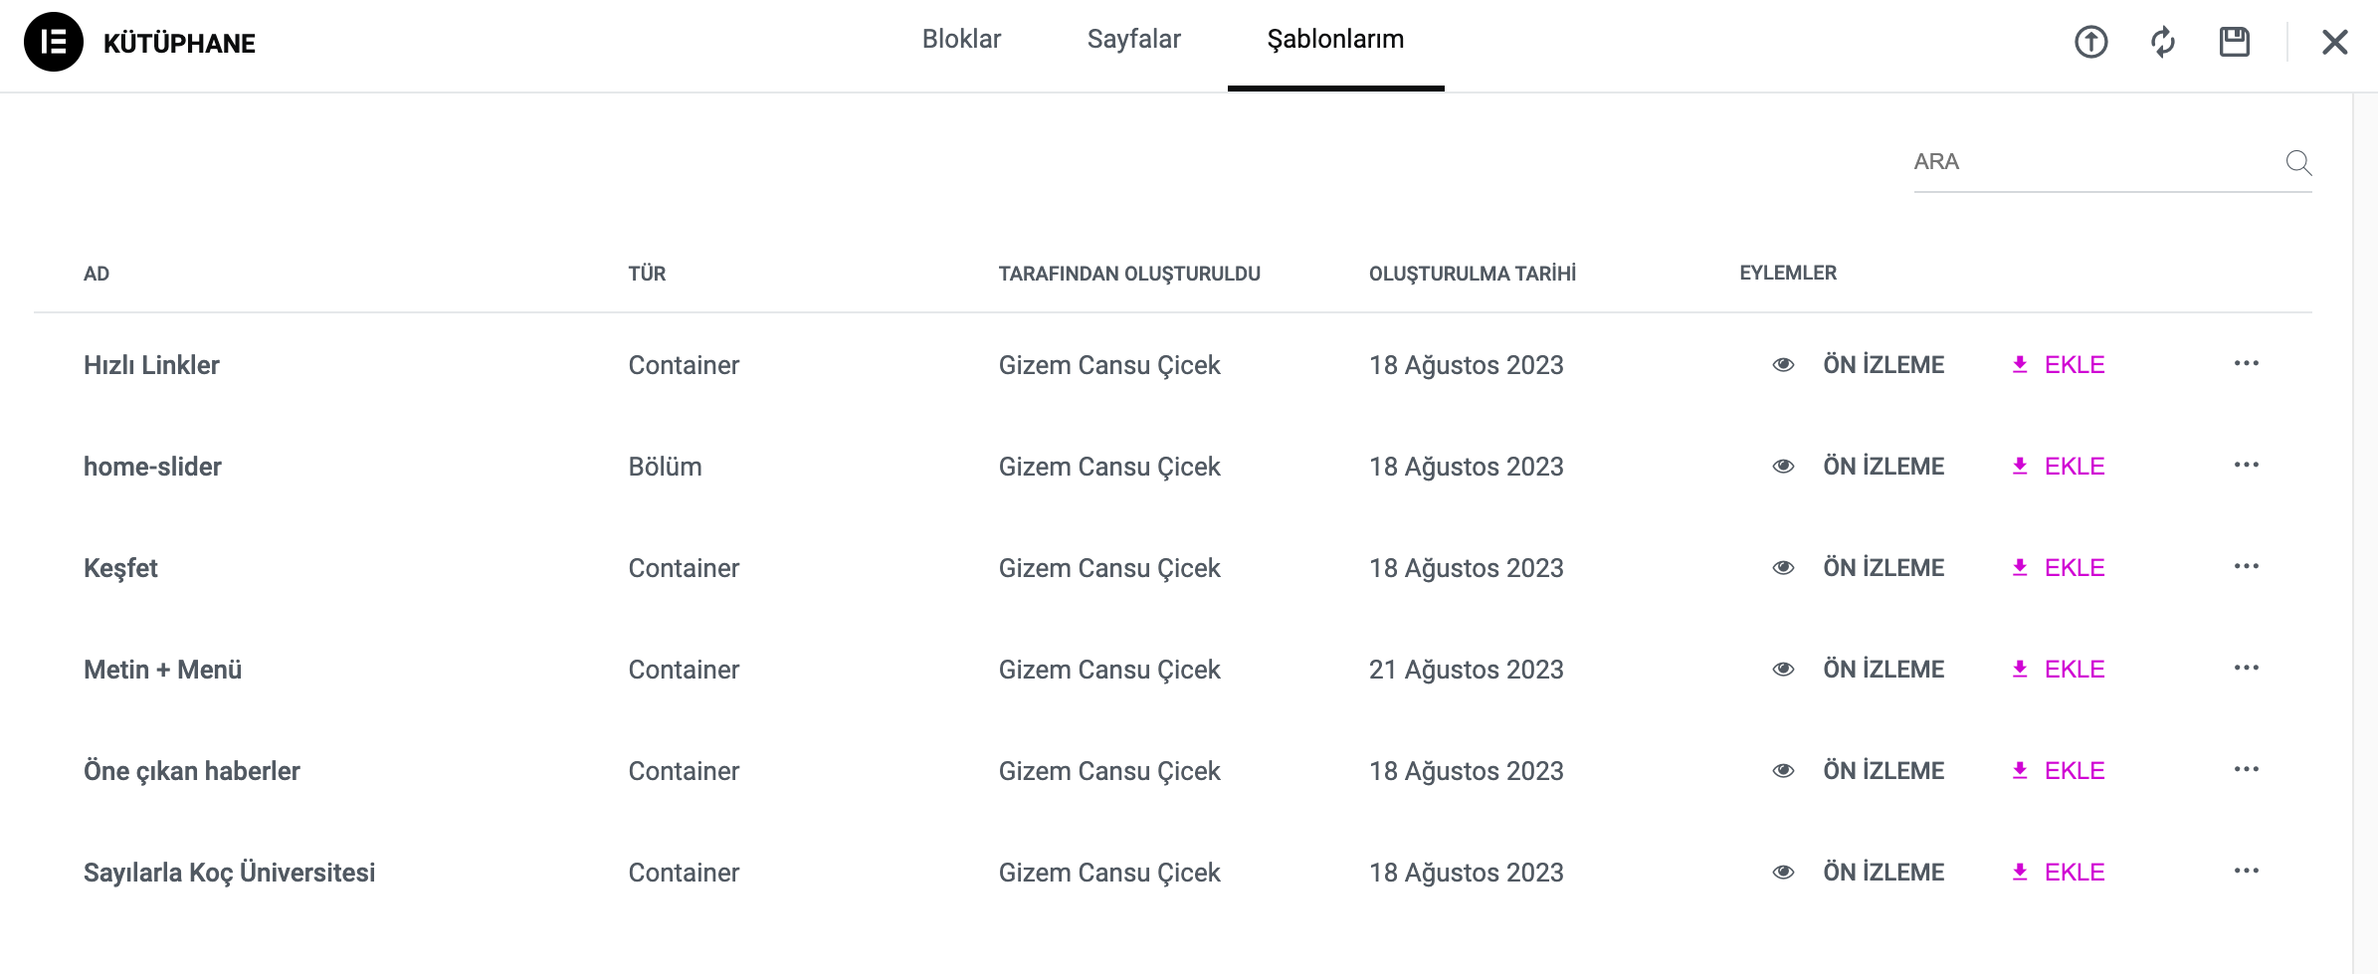
After adding the template you have selected from the Blocks, Pages and My Templates tab to your page, you can update the details such as title, text, image, link with your own content from the content tab on the left panel, and customize the design according to your own design from the format tab.
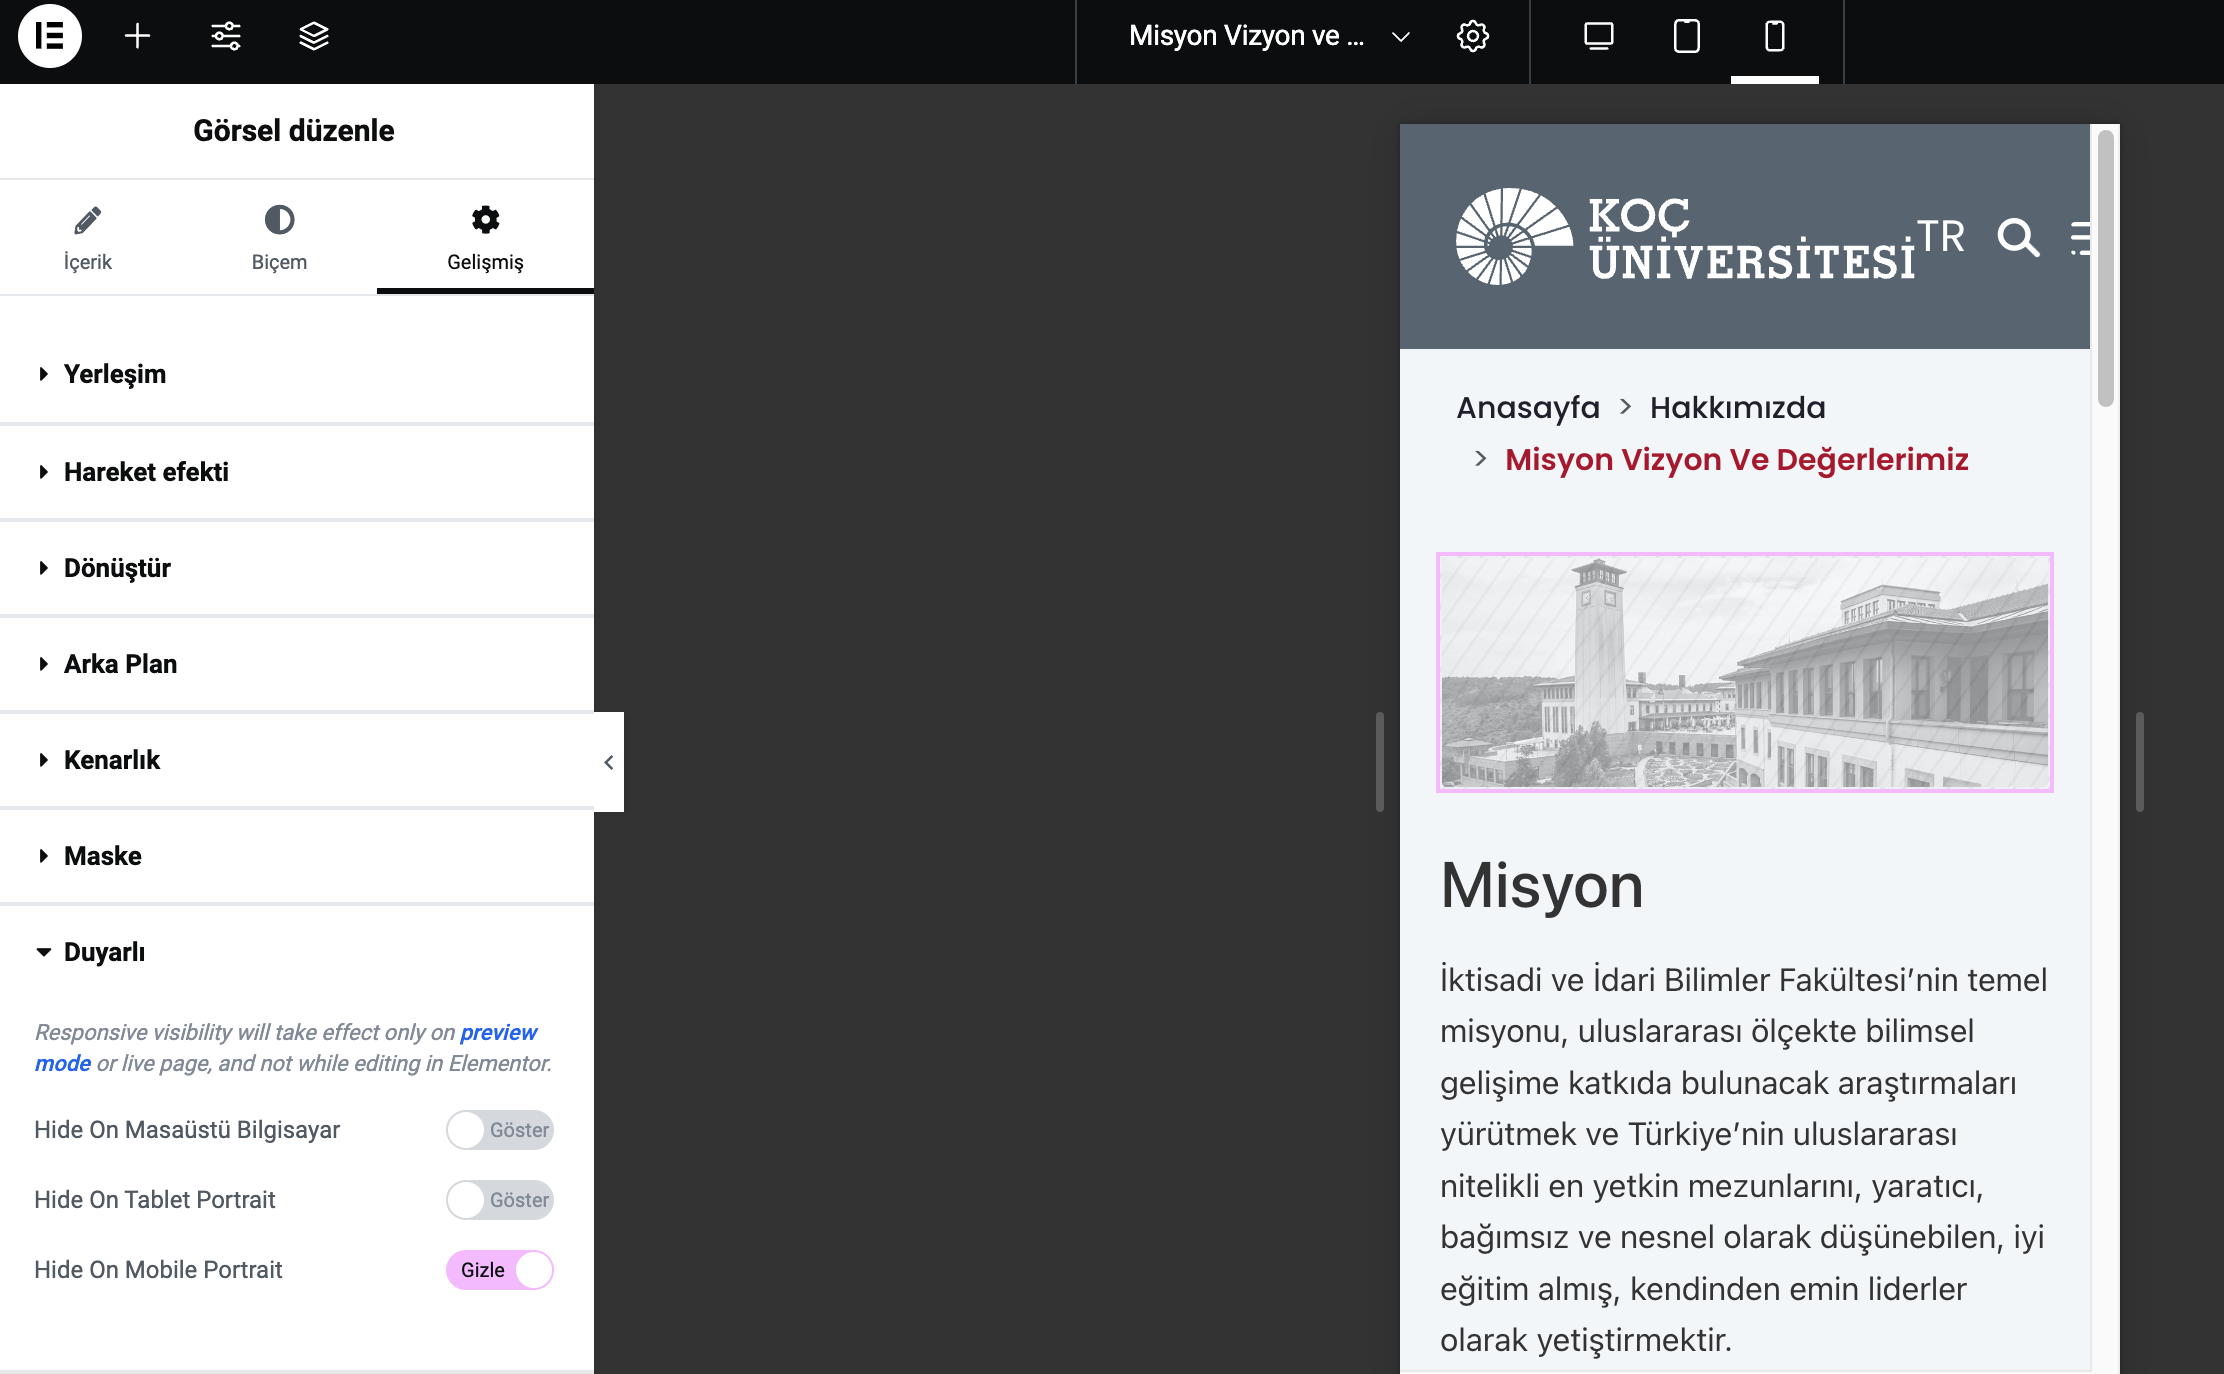
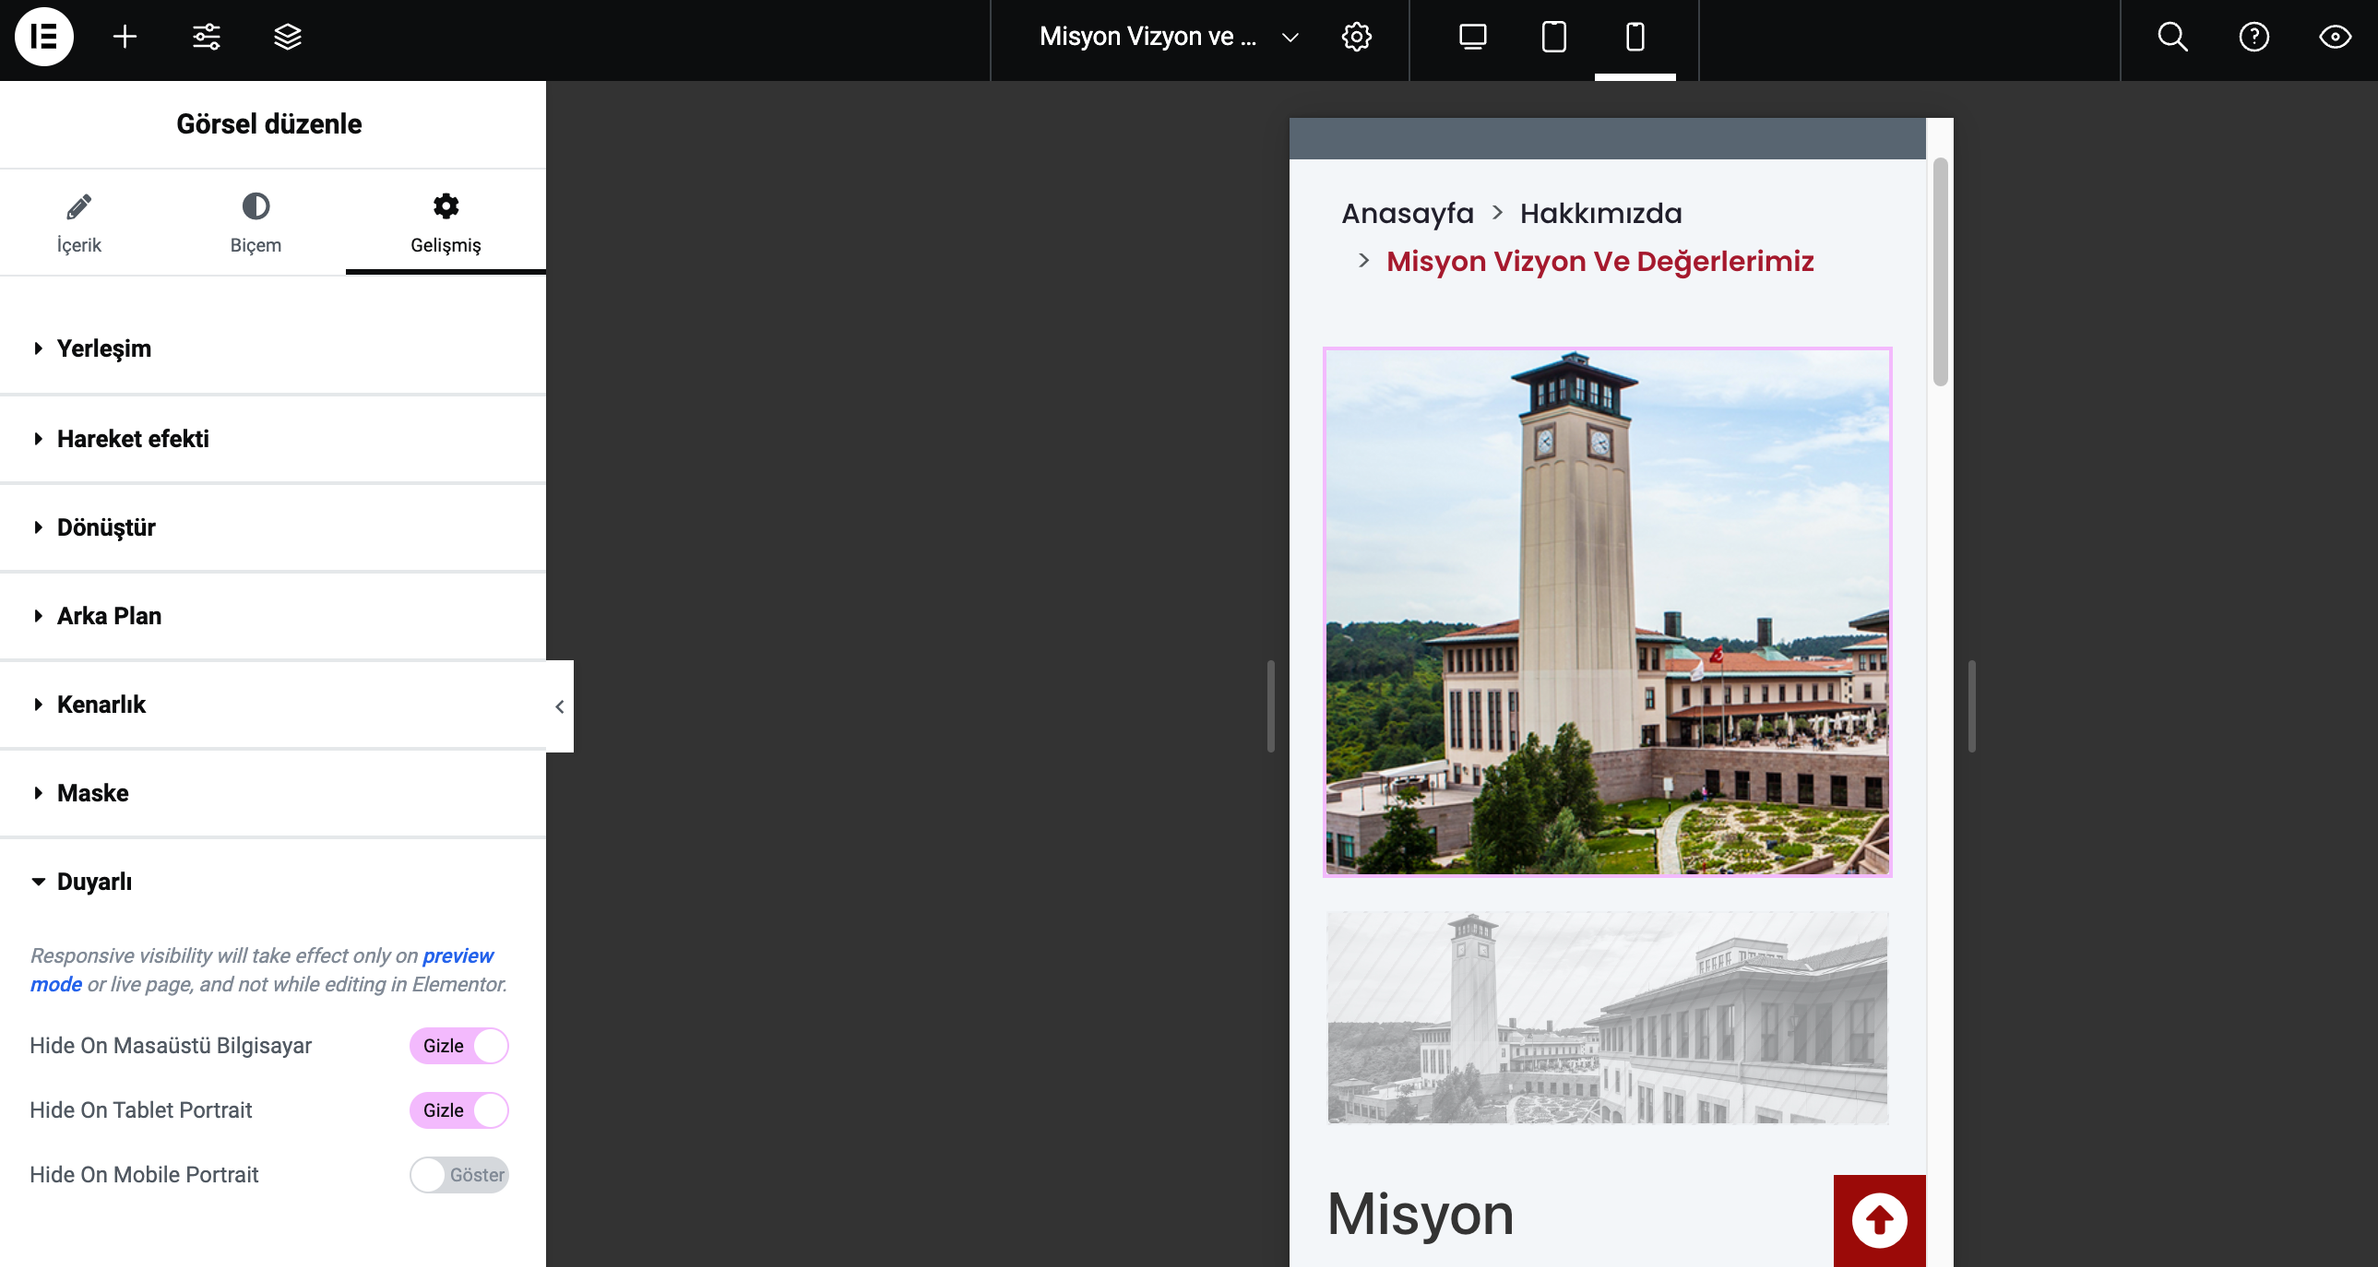
Work view on different devices 👇
Check how your page looks on different devices by clicking on the tablet and mobile icons at the top center of the page. You can hide your elements that do not appear properly on different devices on the page on those devices, add the same element in appropriate sizes and make it visible only on that device.
-
Click on the item you want to hide on mobile.
-
Click the Advanced tab from the left panel and go to the Responsive section.
-
In the section that opens, set Hide on Mobile Portrait to Hide.
-
After hiding the item on mobile, add the same item again (add it to a mobile-friendly extent).
-
Hide the item you added for mobile on desktop and tablet devices.
Page translate in Elementor 👇
Once you have your page in the main language of your site, you can add a second language. However, make sure that your page is fully ready. Because when you prepare the design of the page you have prepared in one language in the second language before the design of the page you have prepared in one language is completed, you need to make the changes to be made later in both languages. If you do the translate process after your page is fully ready, you do not need to make the same changes in two languages again and again.
-
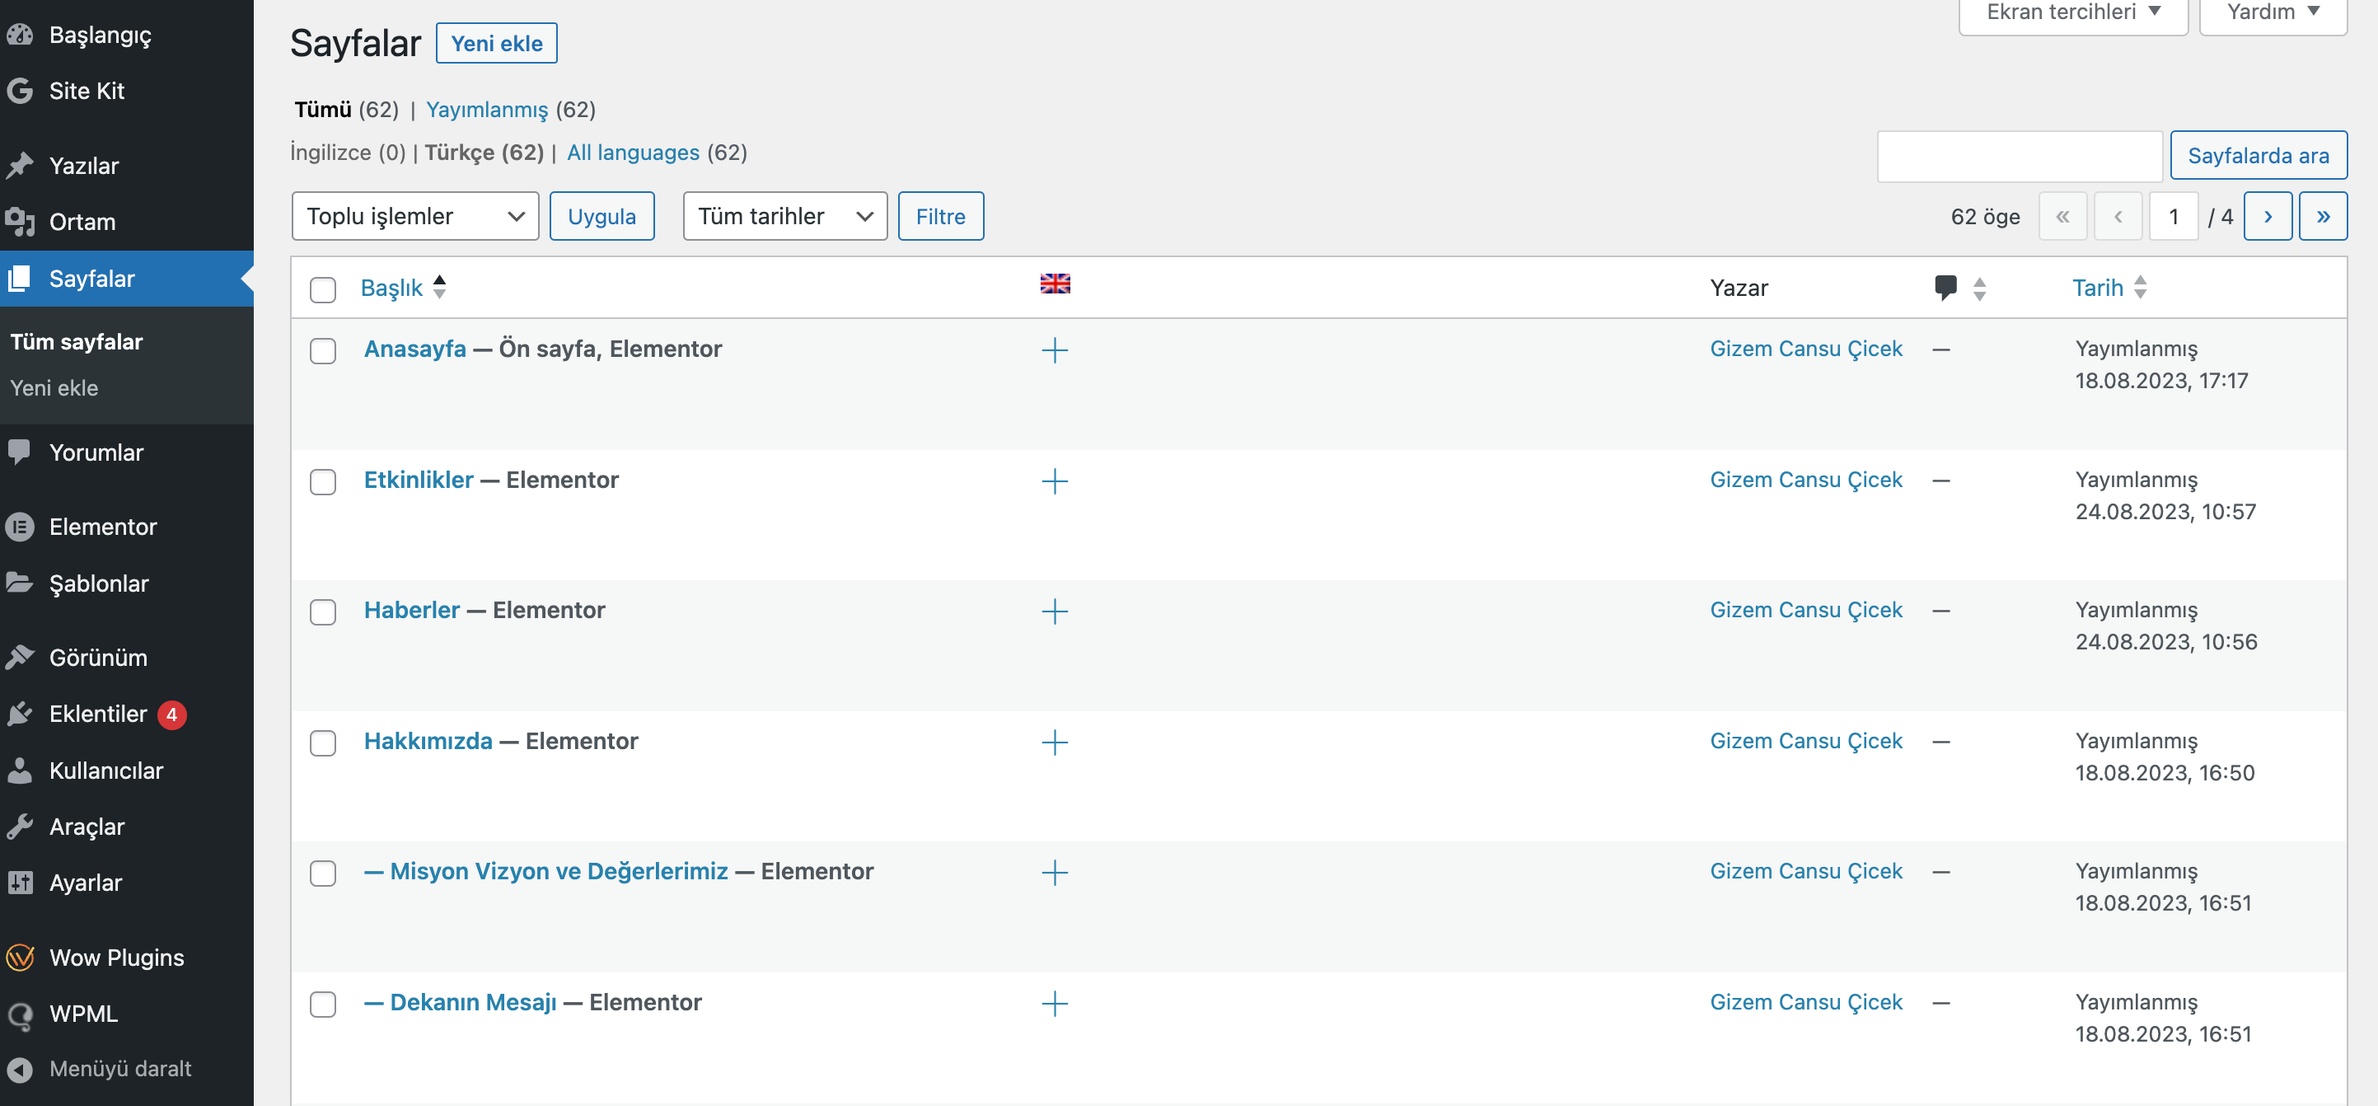
Click on Pages in the admin panel.
-
In the list of pages that opens, click on the
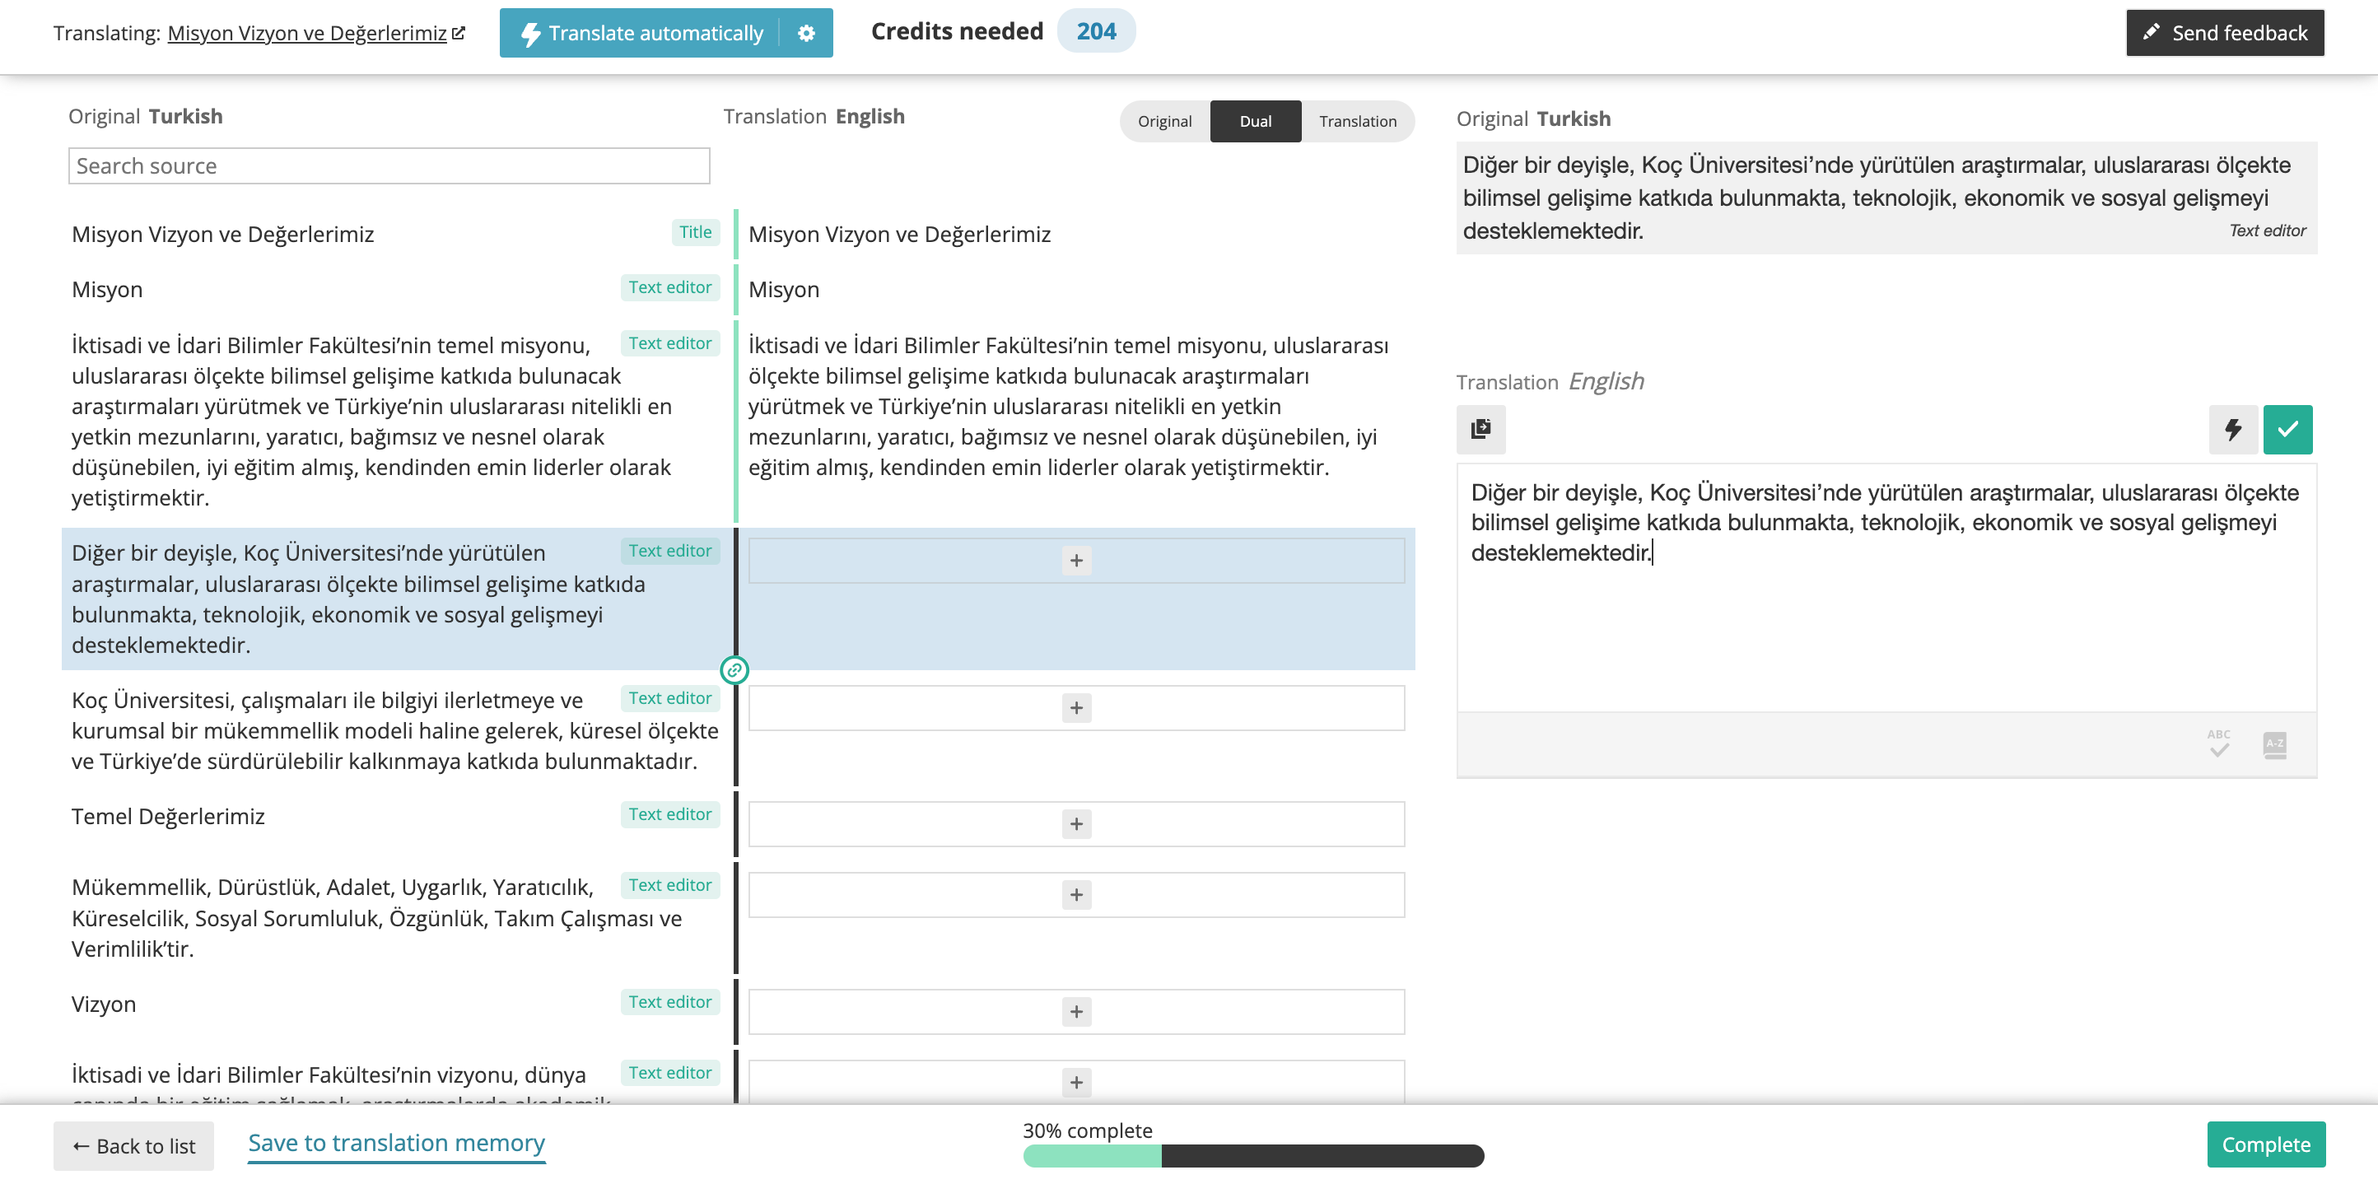
In the Advanced translation screen, enter the second language equivalent of all texts. All texts must be entered to complete the process. At the end of the page, 100% complete should appear in the center area.
If you wish, you can copy all the content by repeatedly clicking on the green tick button on the right side of the page without entering the language equivalent of the content. If the process does not appear 100% complete, click on the
After the copying process is complete, click on the complete button to complete the process.
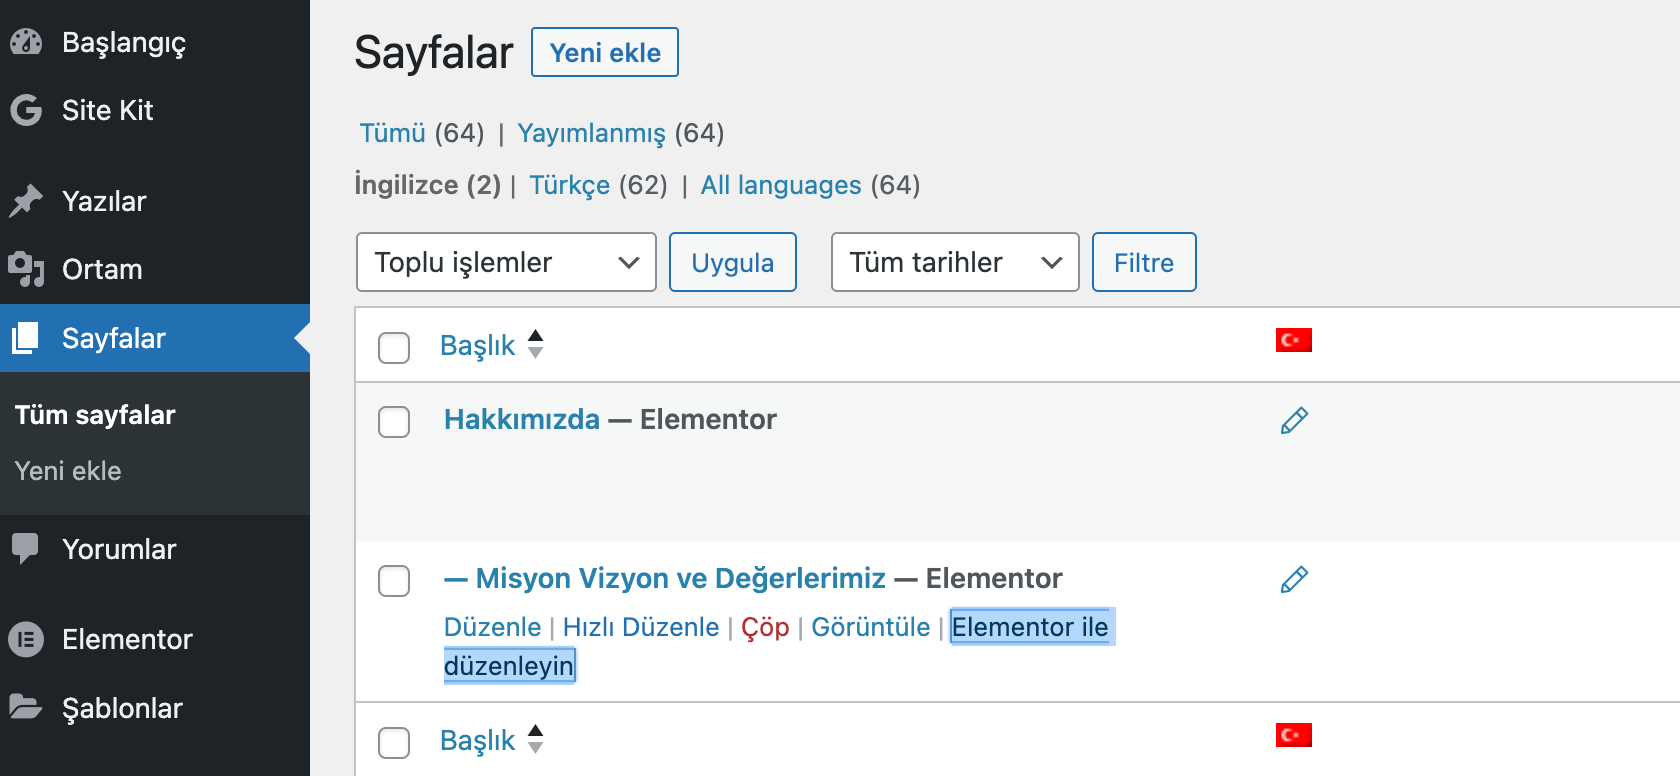
After the Translate process is complete, the Pencil icon will appear instead of the

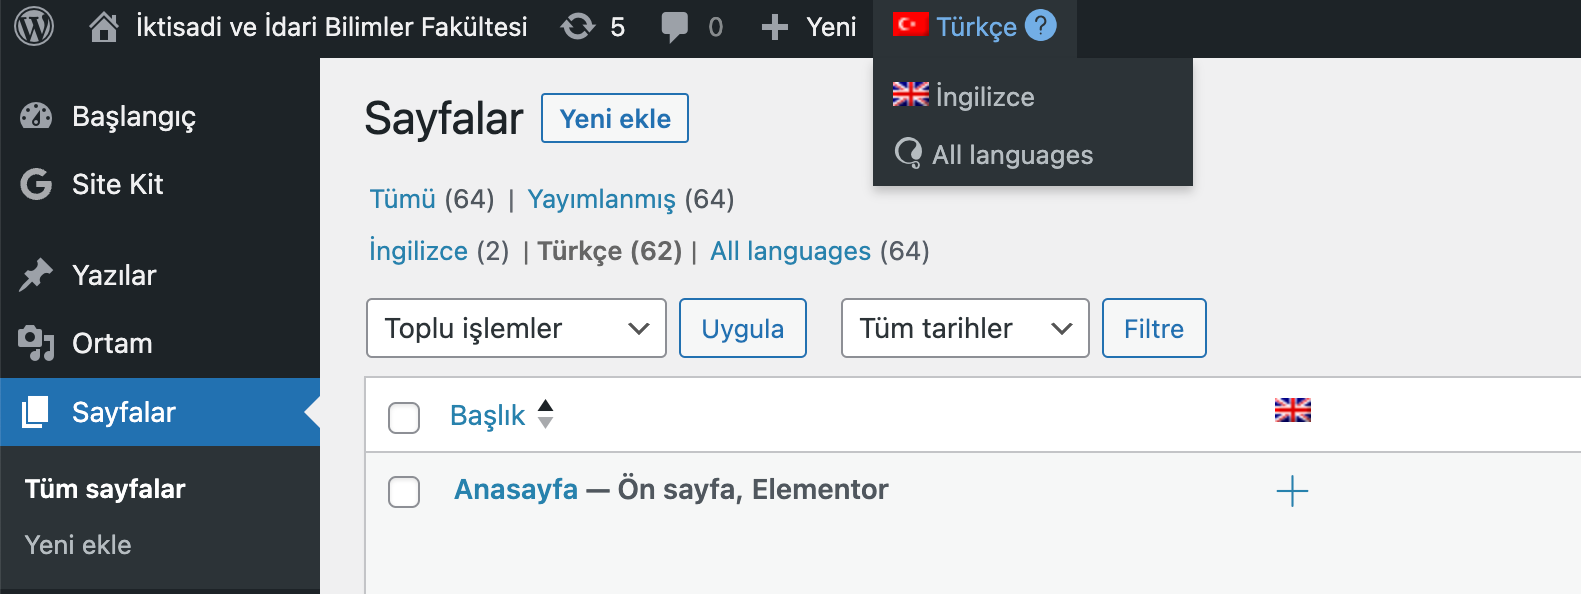
After switching to your English site, hover over the page where you want to enter English content from the All pages list and click Edit with Elementor.
Before you select “Edit with Elementor”, you can add your English content directly through Advanced Translation using the steps mentioned above.
Koç University - Information Technology - Marketing Technology