-
Go to the AWS registration page by clicking here and take advantage of this offer.
-
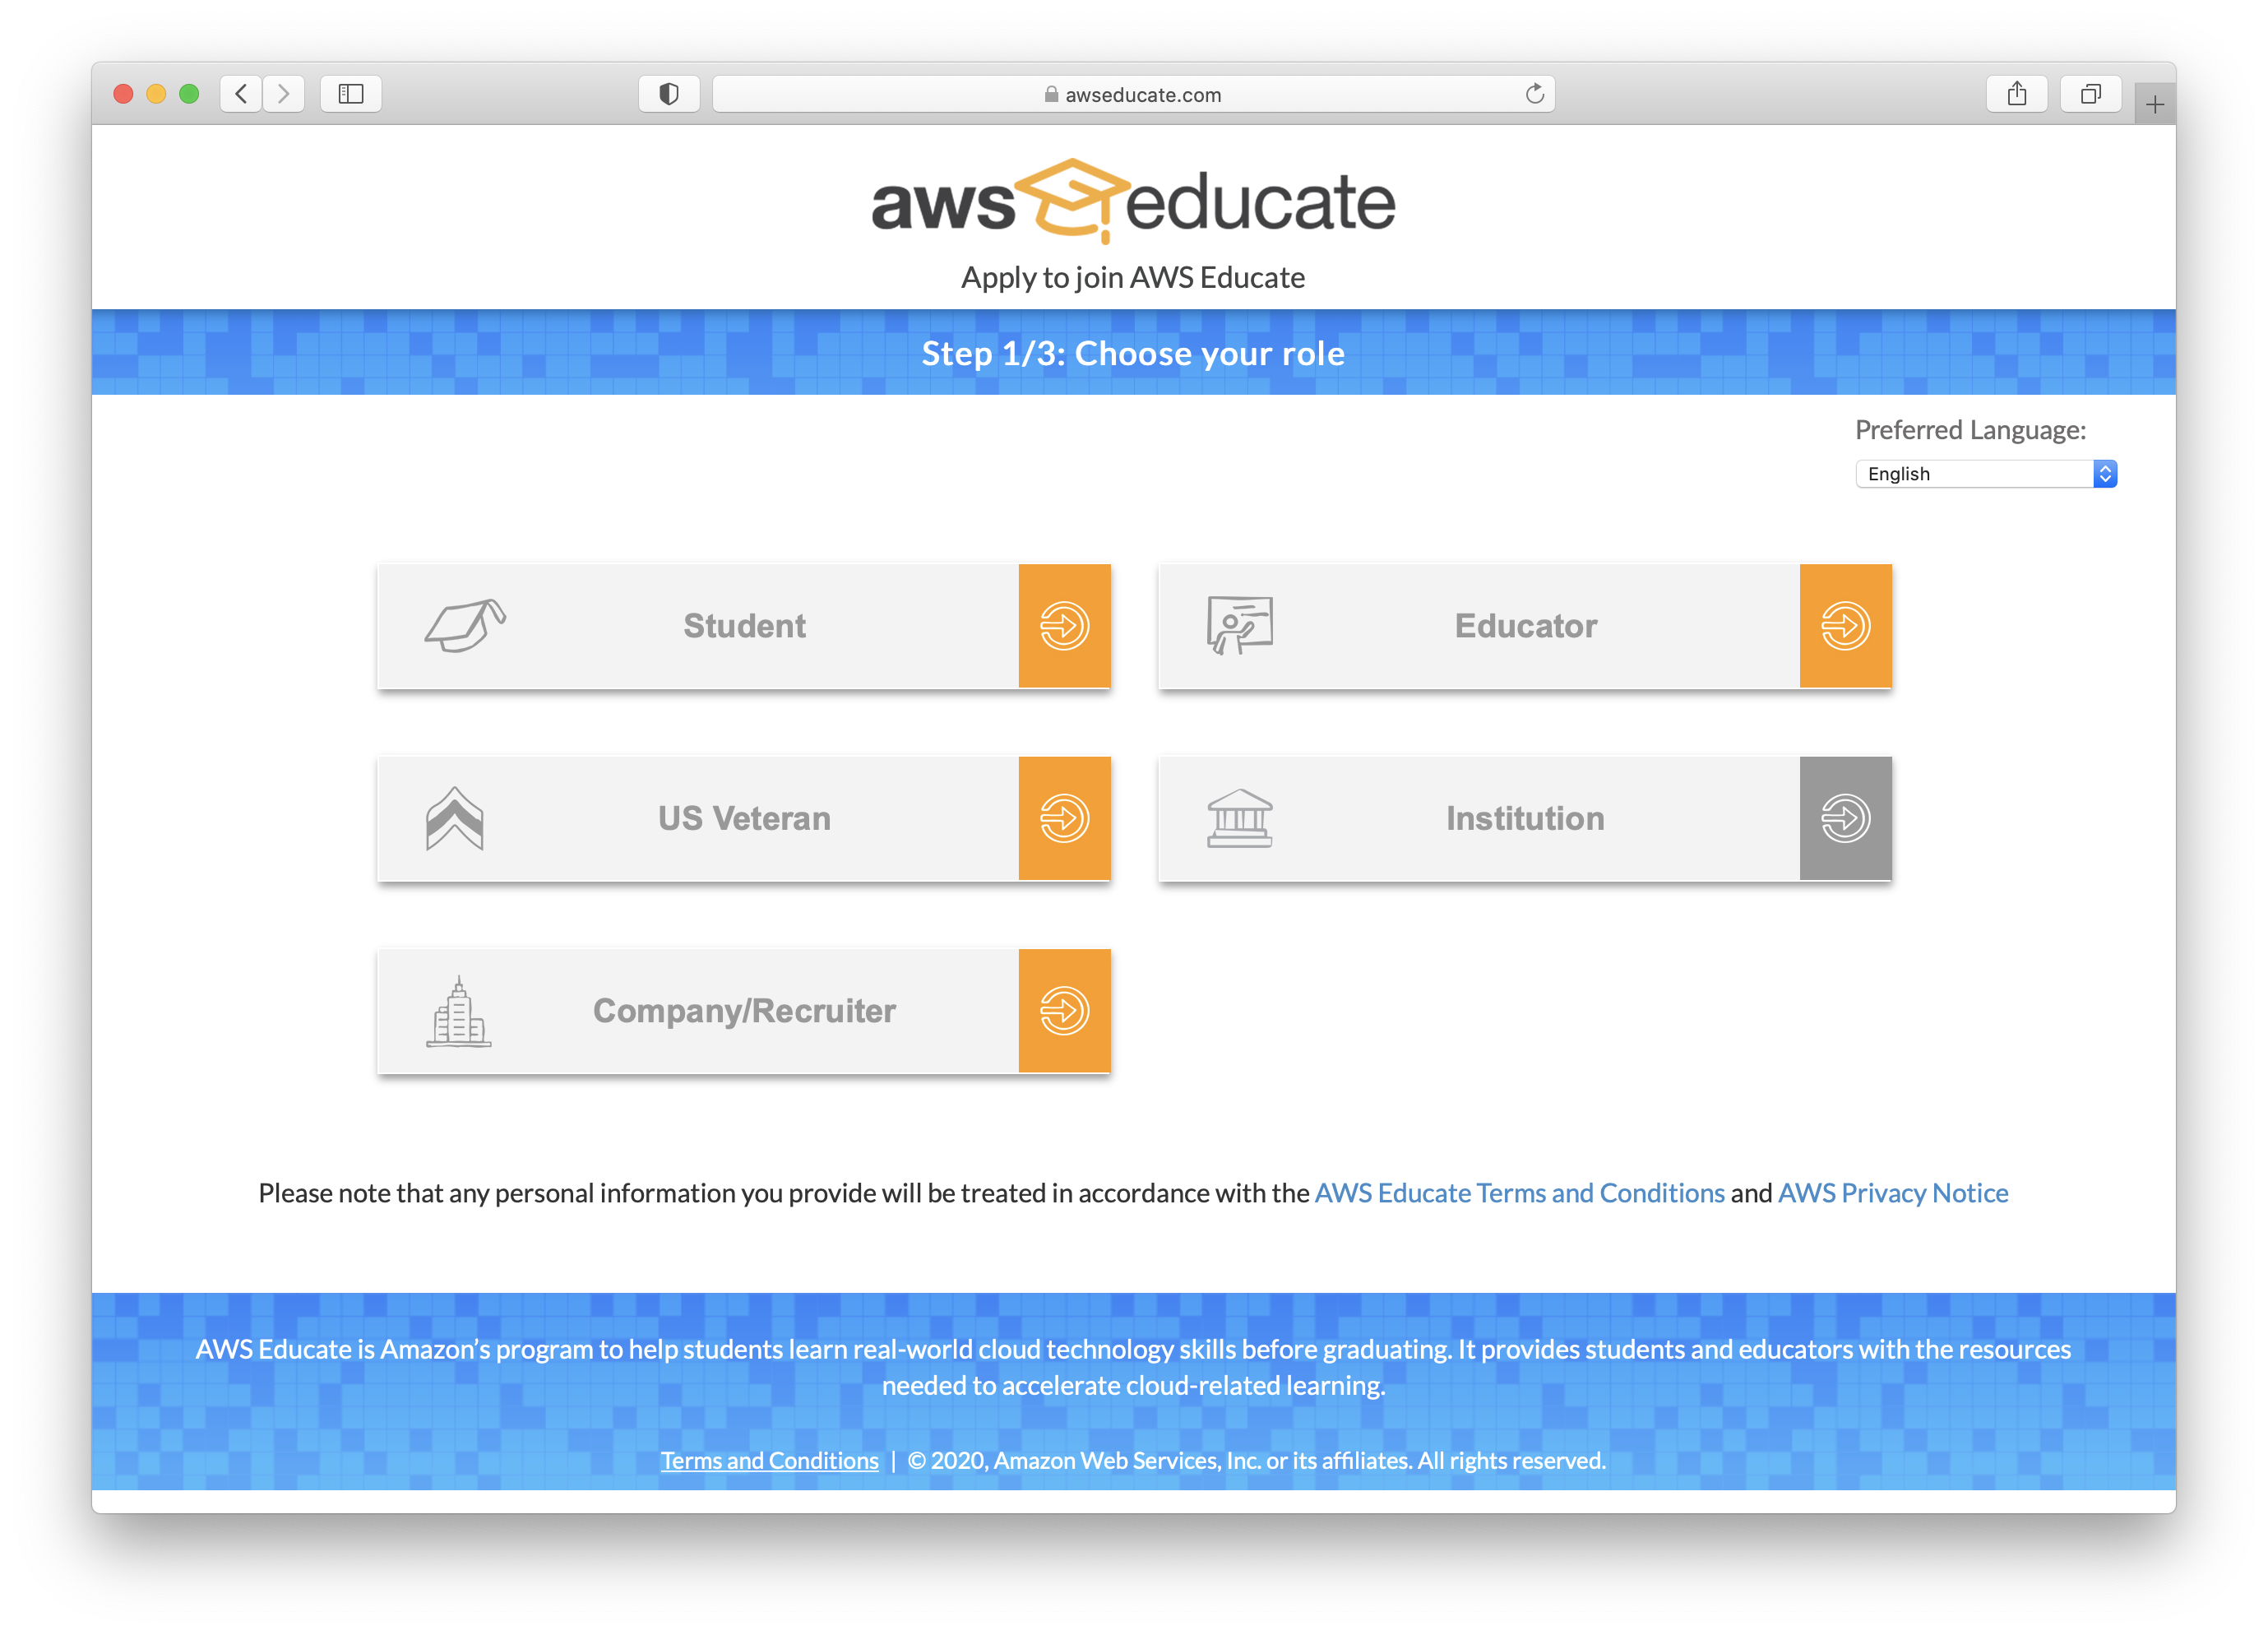
Click the Student button.
-
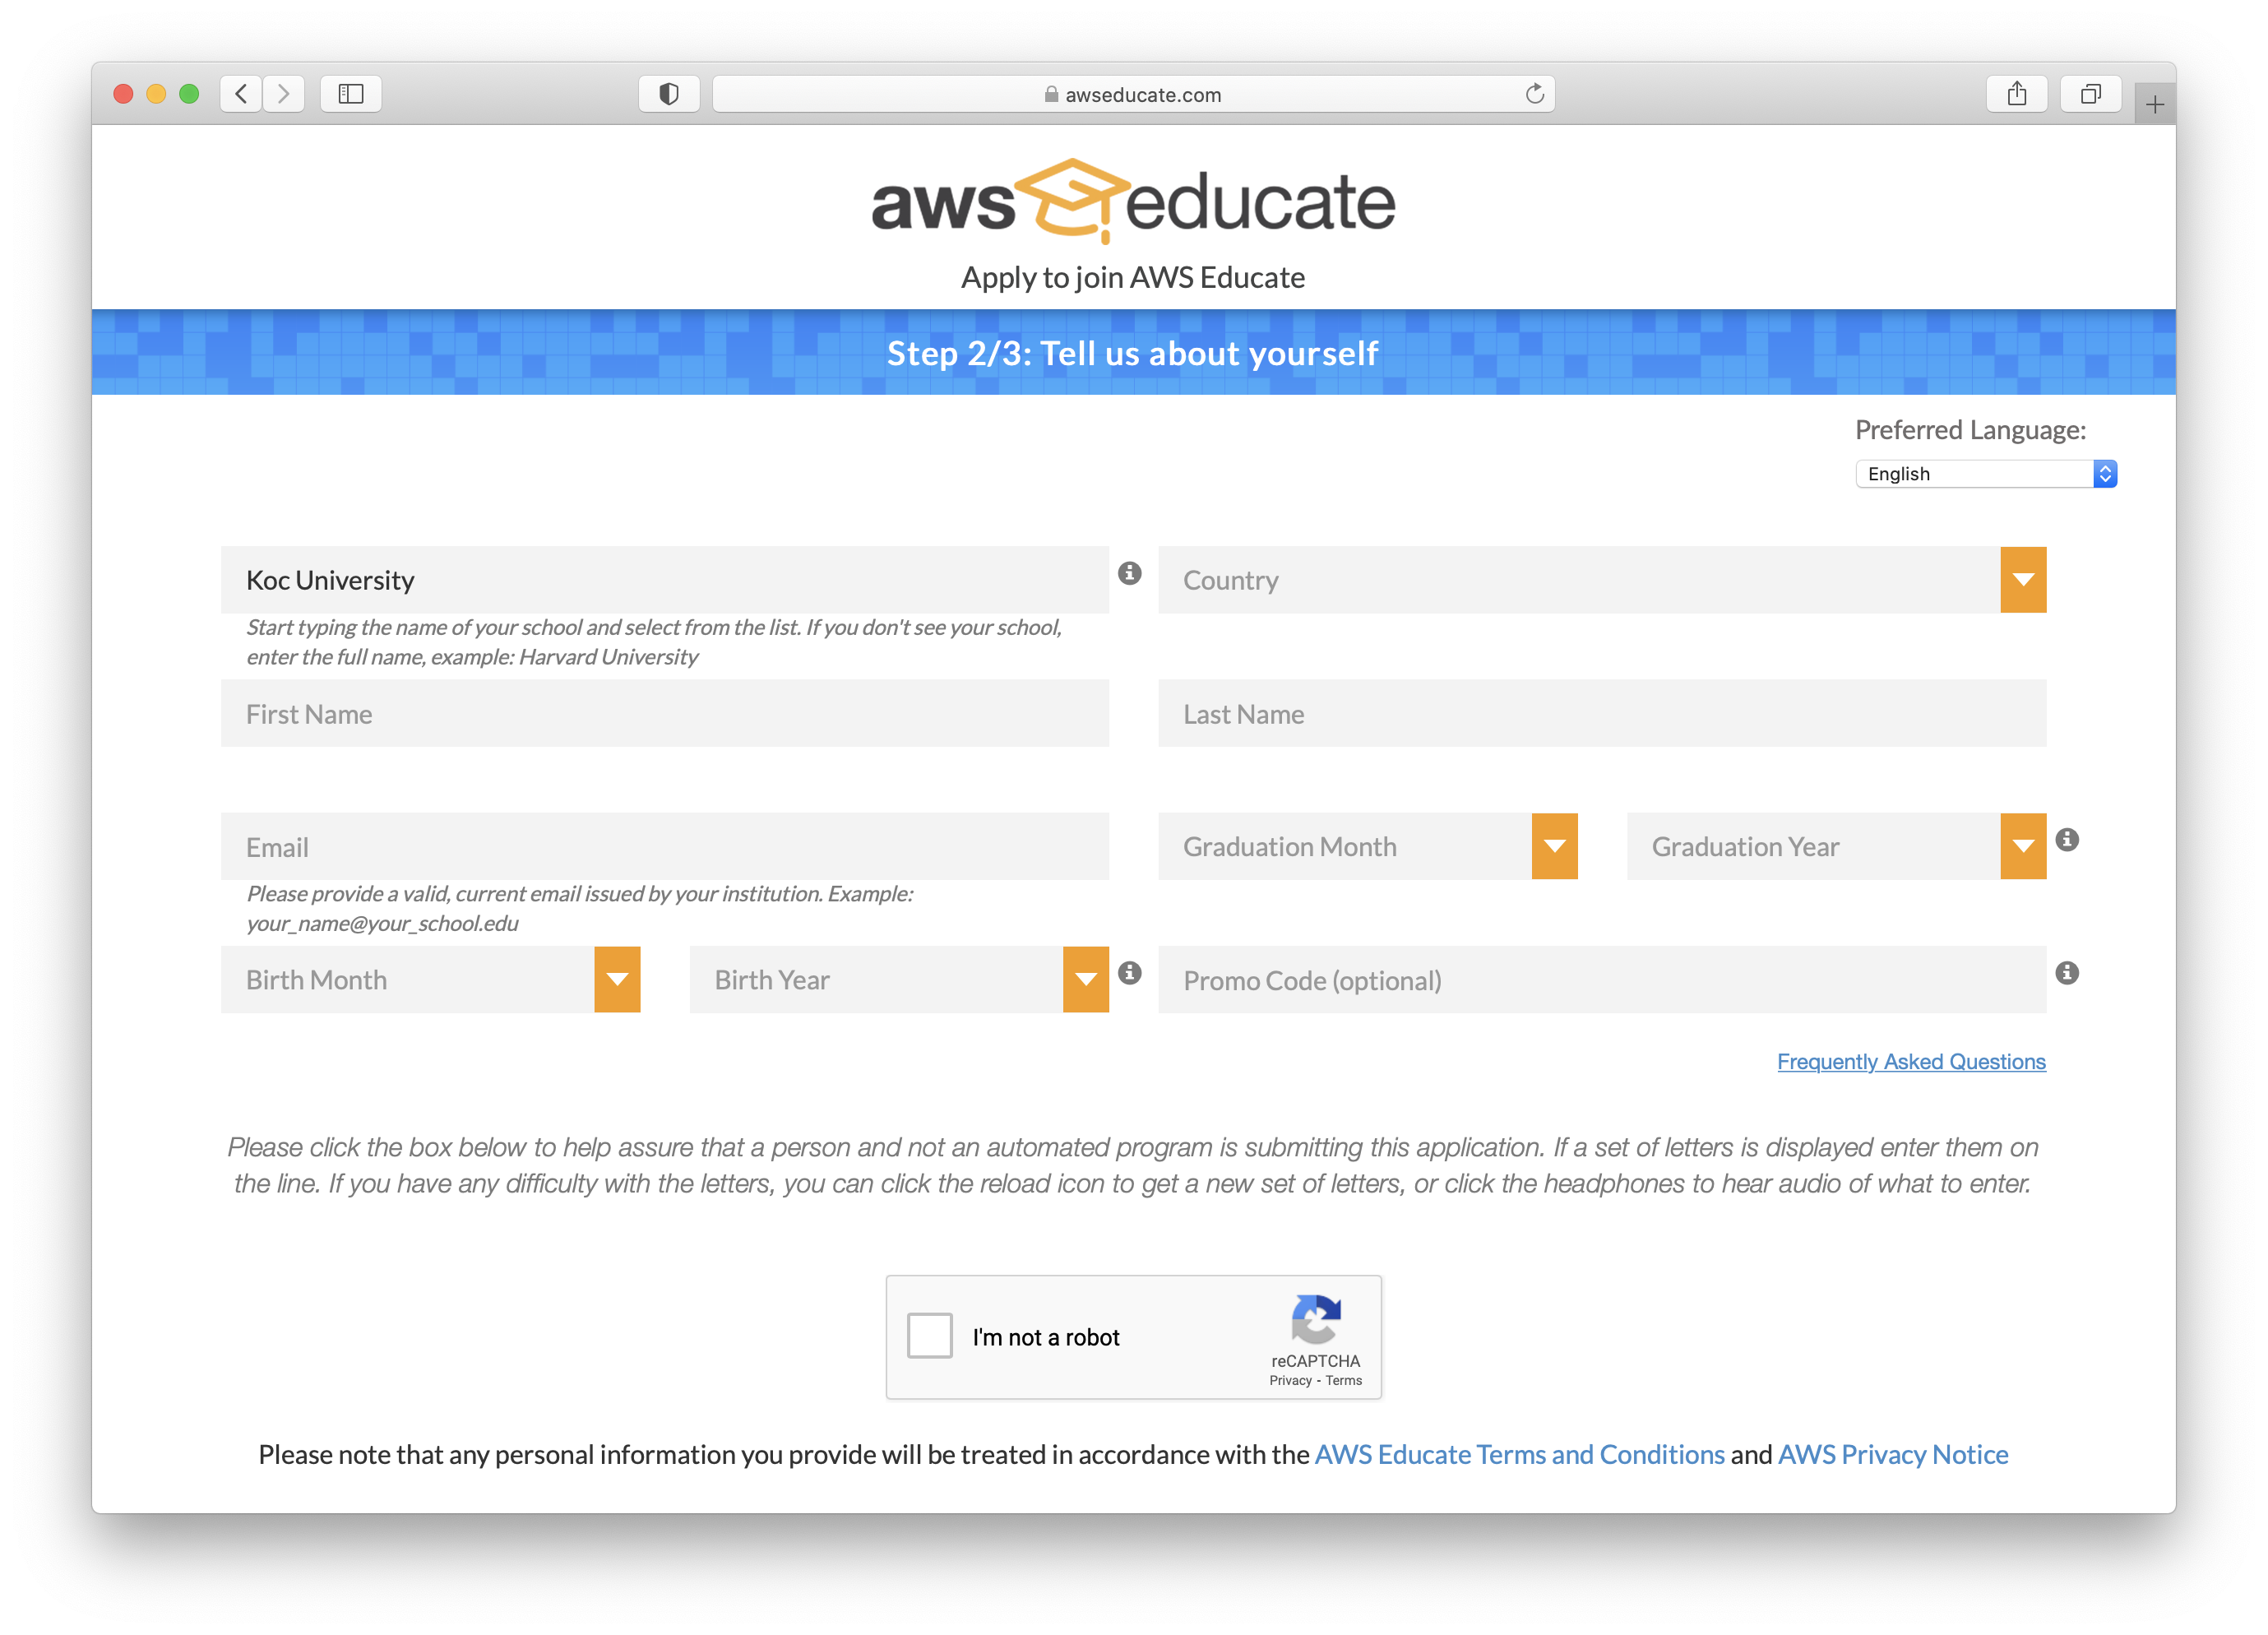
On the next page, fill in the required information.
-
Start typing Koc... in the School or Institution Name field of the form and Koc University will appear.
-
Fill other required information on the form.
-
Click the Next button.
-
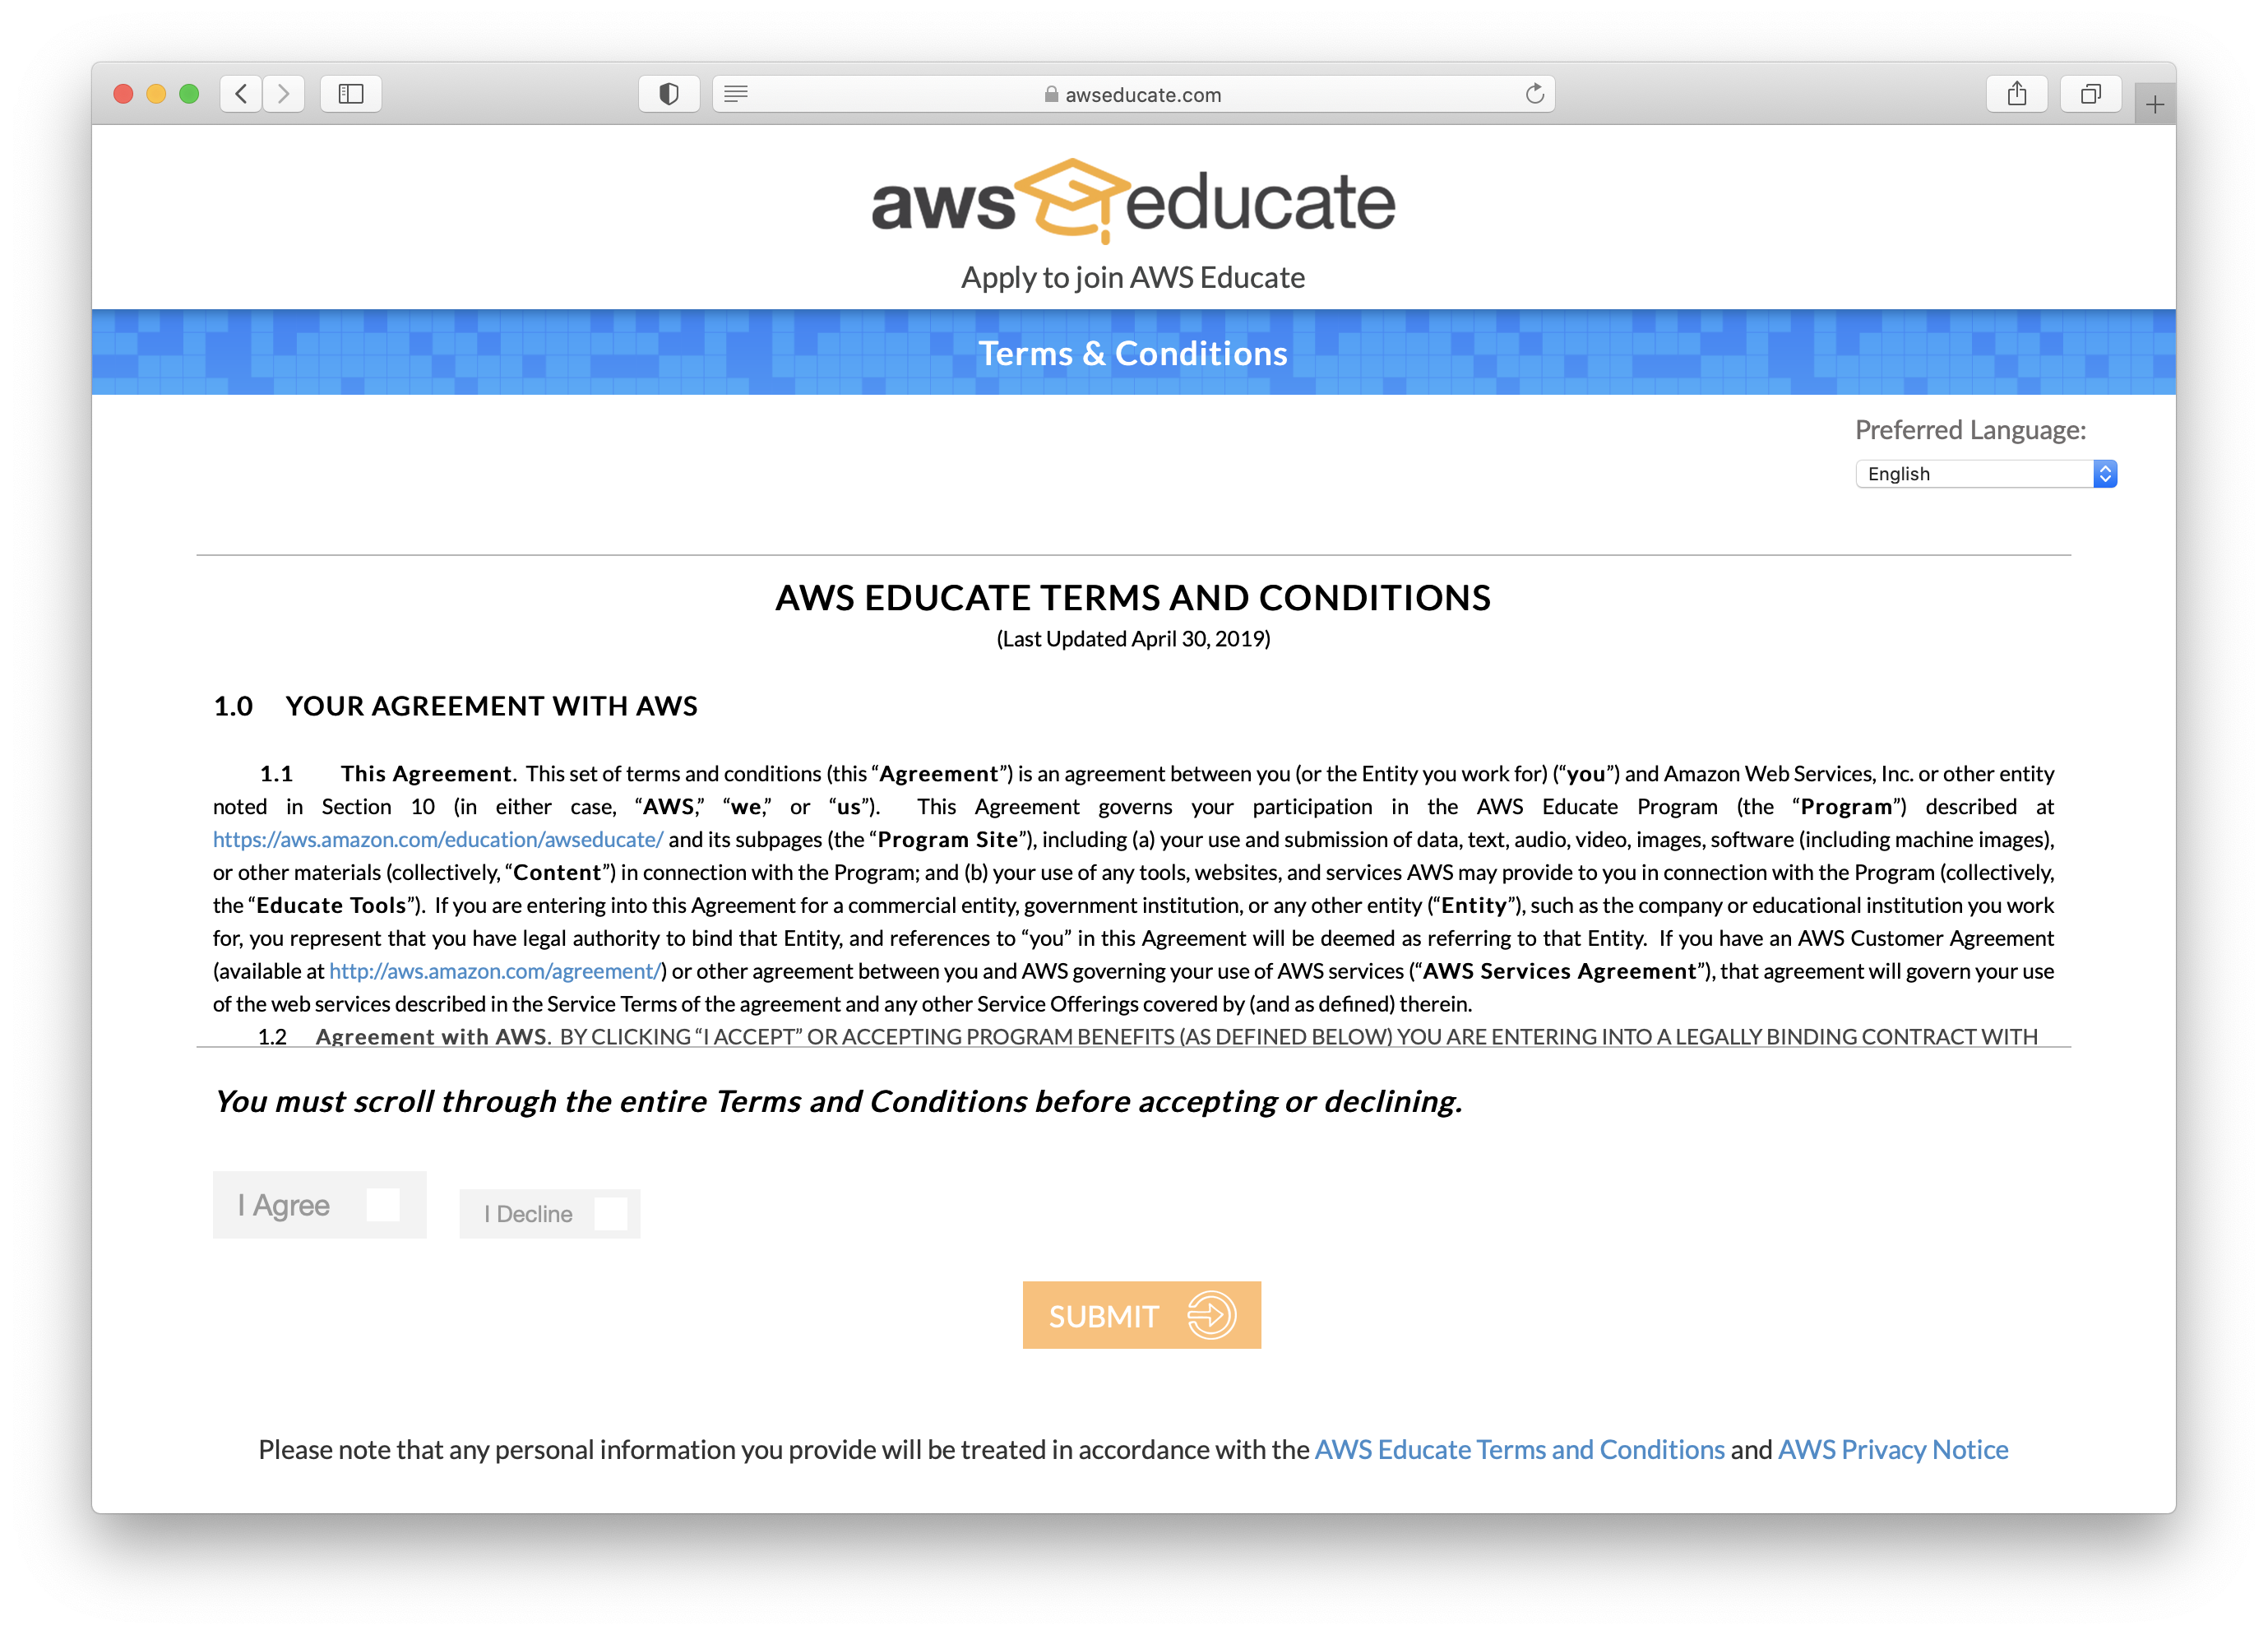
Scroll down and read AWS Educate Terms and Conditions.
-
If you’re agreeing with the terms and conditions click the "I Agree" checkbox.
-
Click the Submit button to submit your application.
-
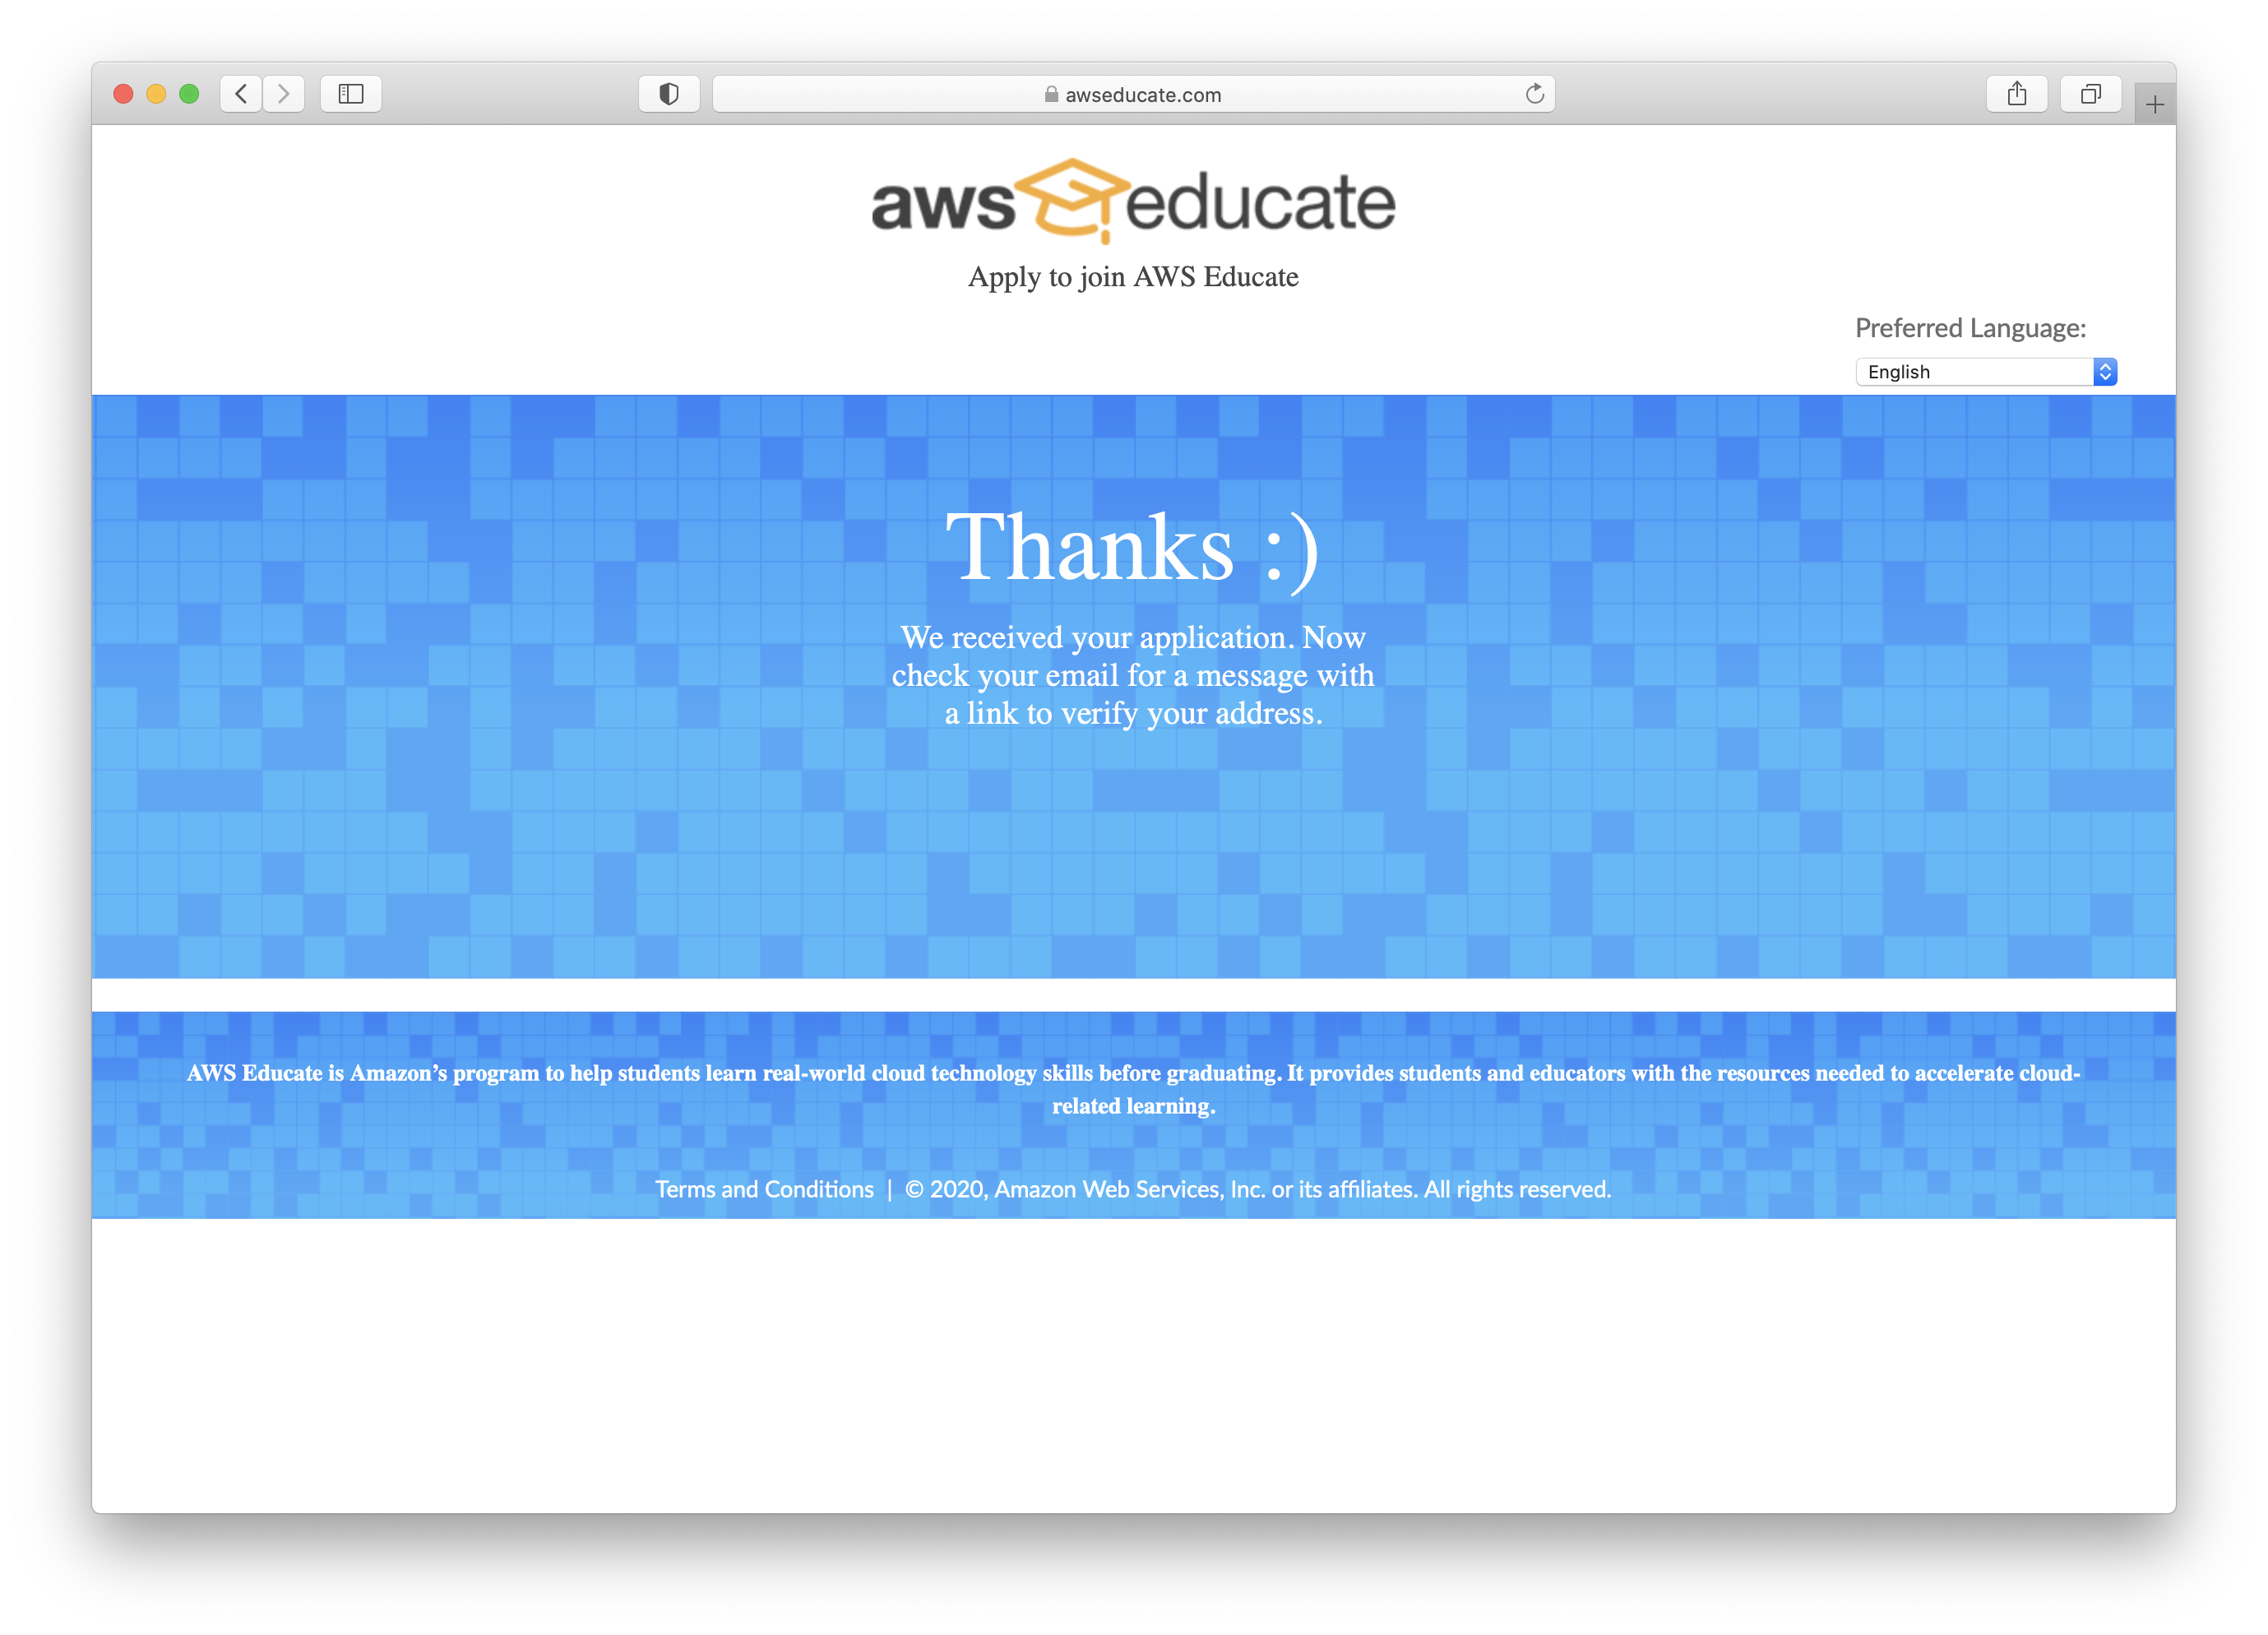
Your application is completed.
-
Check your email for a message with a link to verify your address.
You will receive a "Thank you" email for a confirmation. AWS has received your application, and it is currently under review. You will receive an approval email once the review is complete. This may take some time. Usually, AWS approves applications within 24 hrs.
-
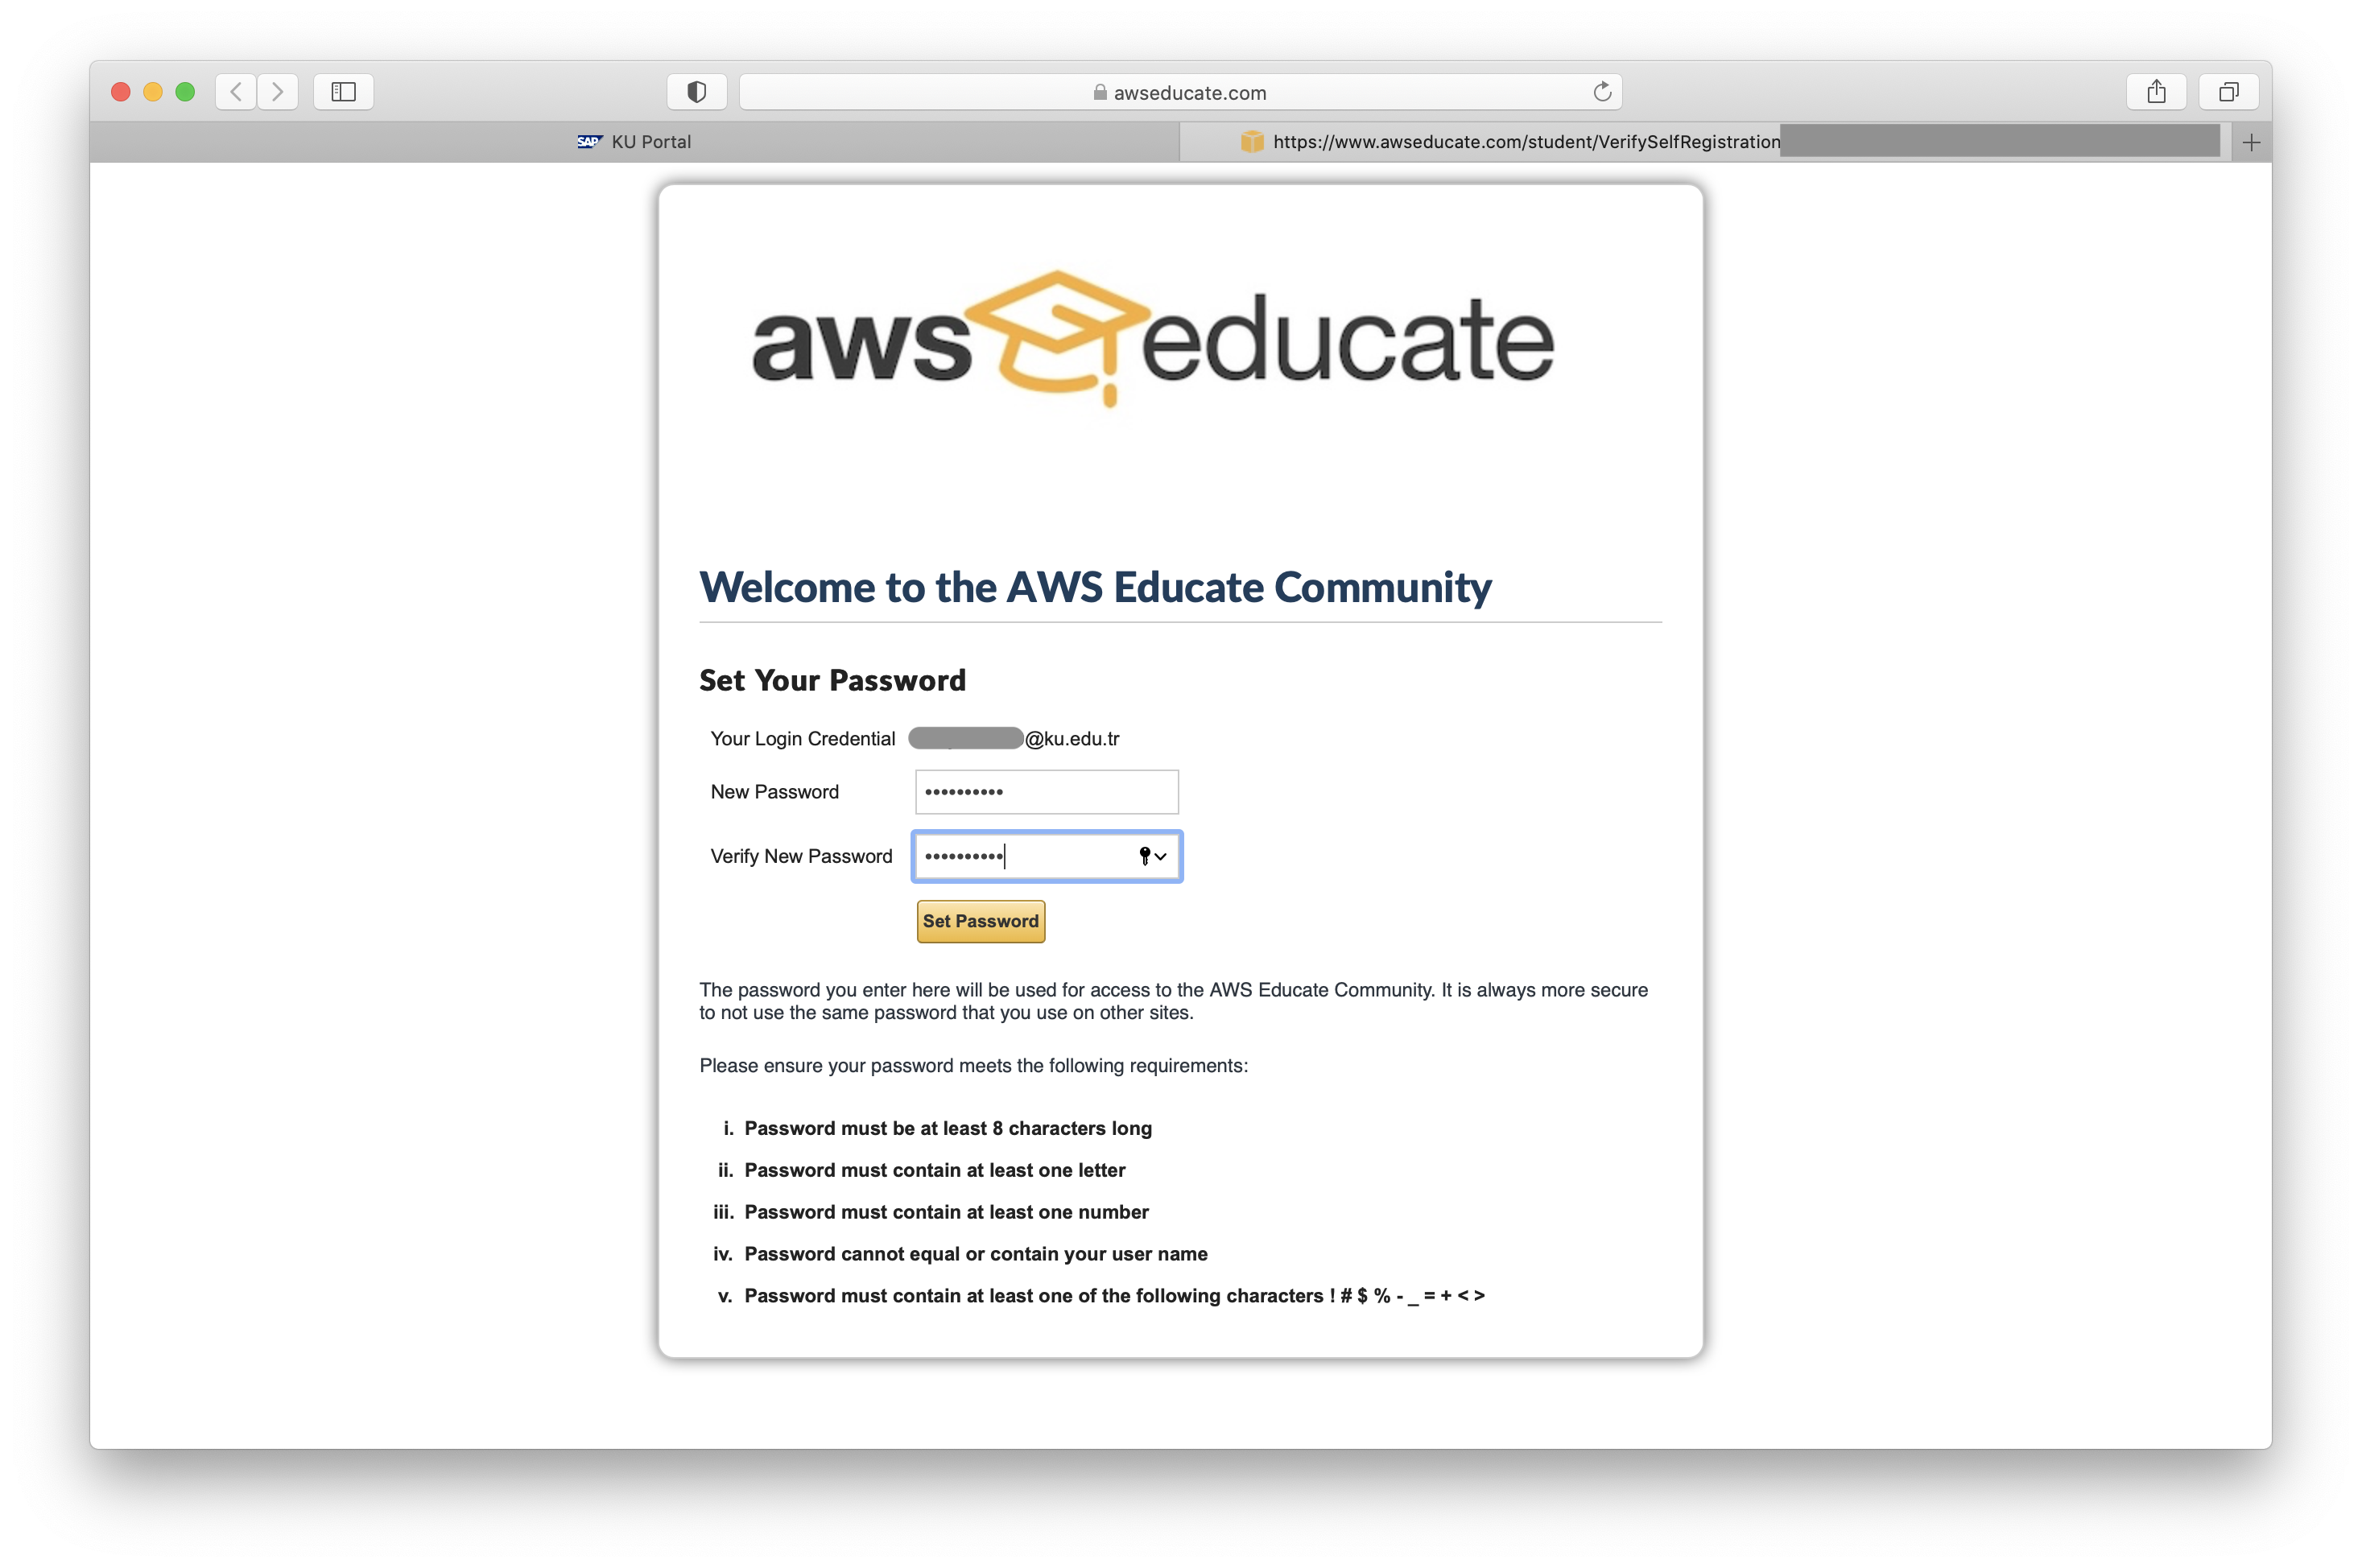
To get started, click the reset password link in the approval email.
-
Set your password.
-
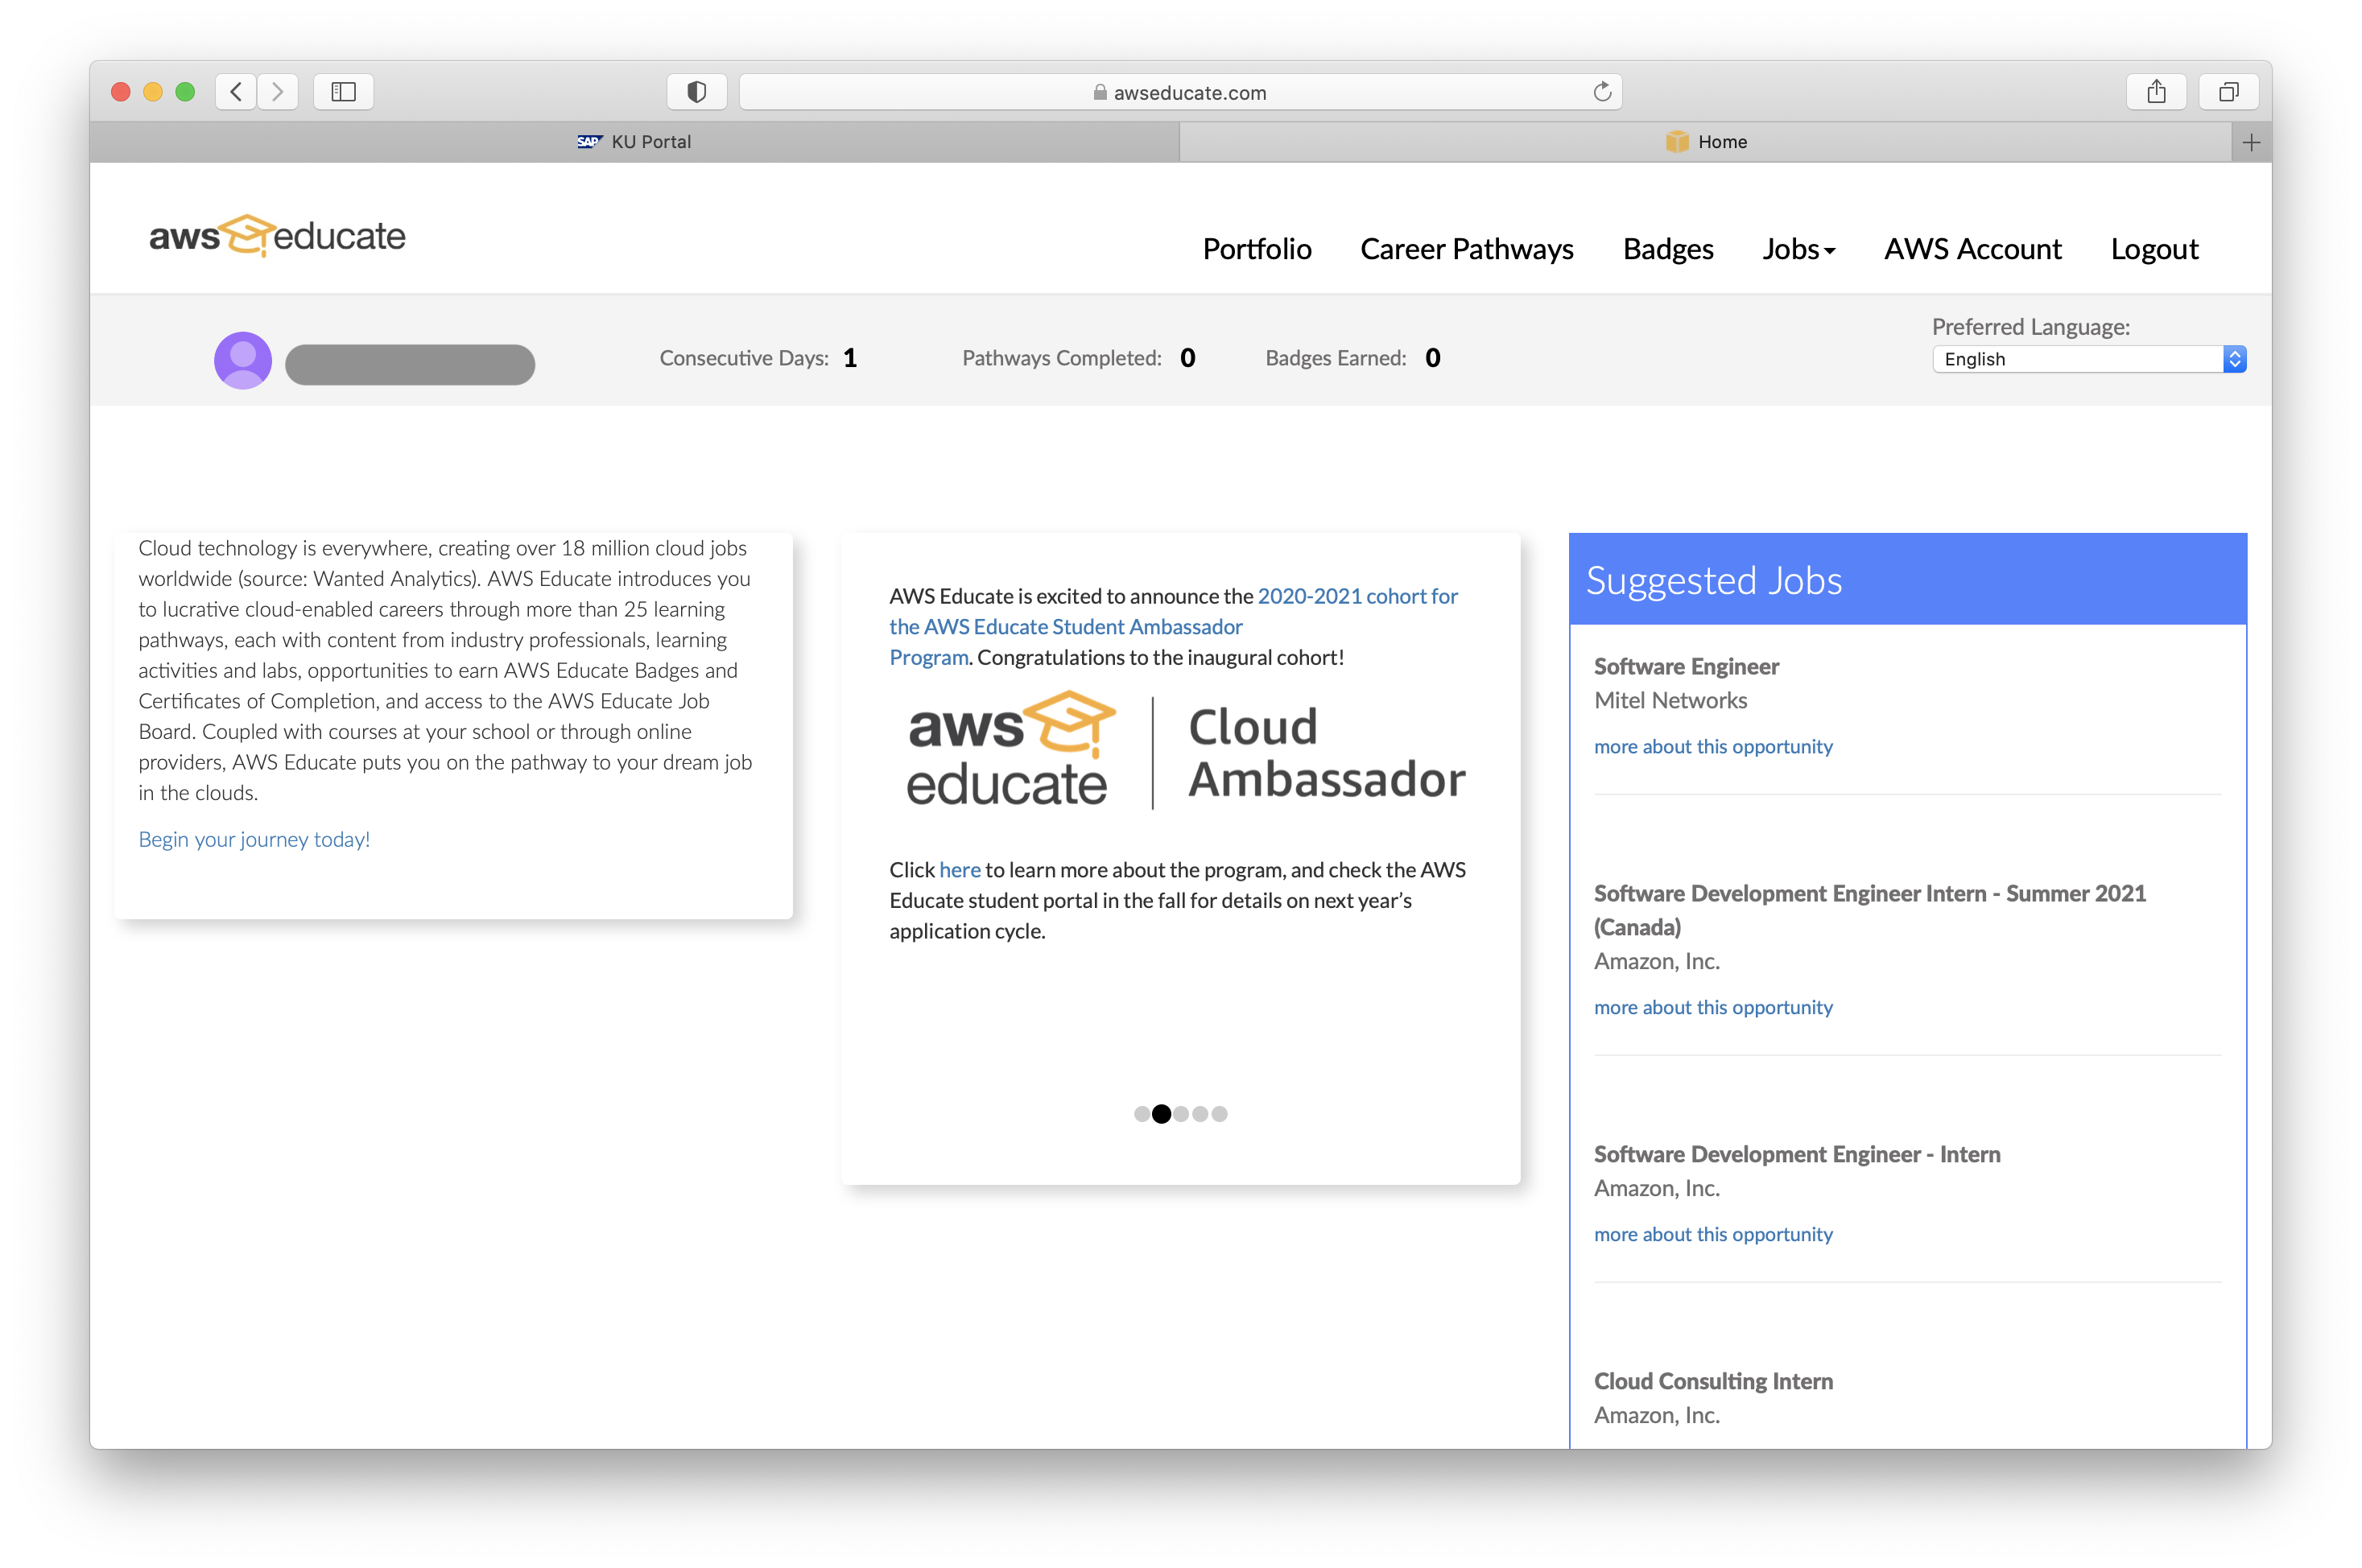
When you finish setting your password, you'll be redirected to your AWS Educate Dashboard.
-
Click "AWS Account" on the top menu to start creating your AWS Starter Account.
-
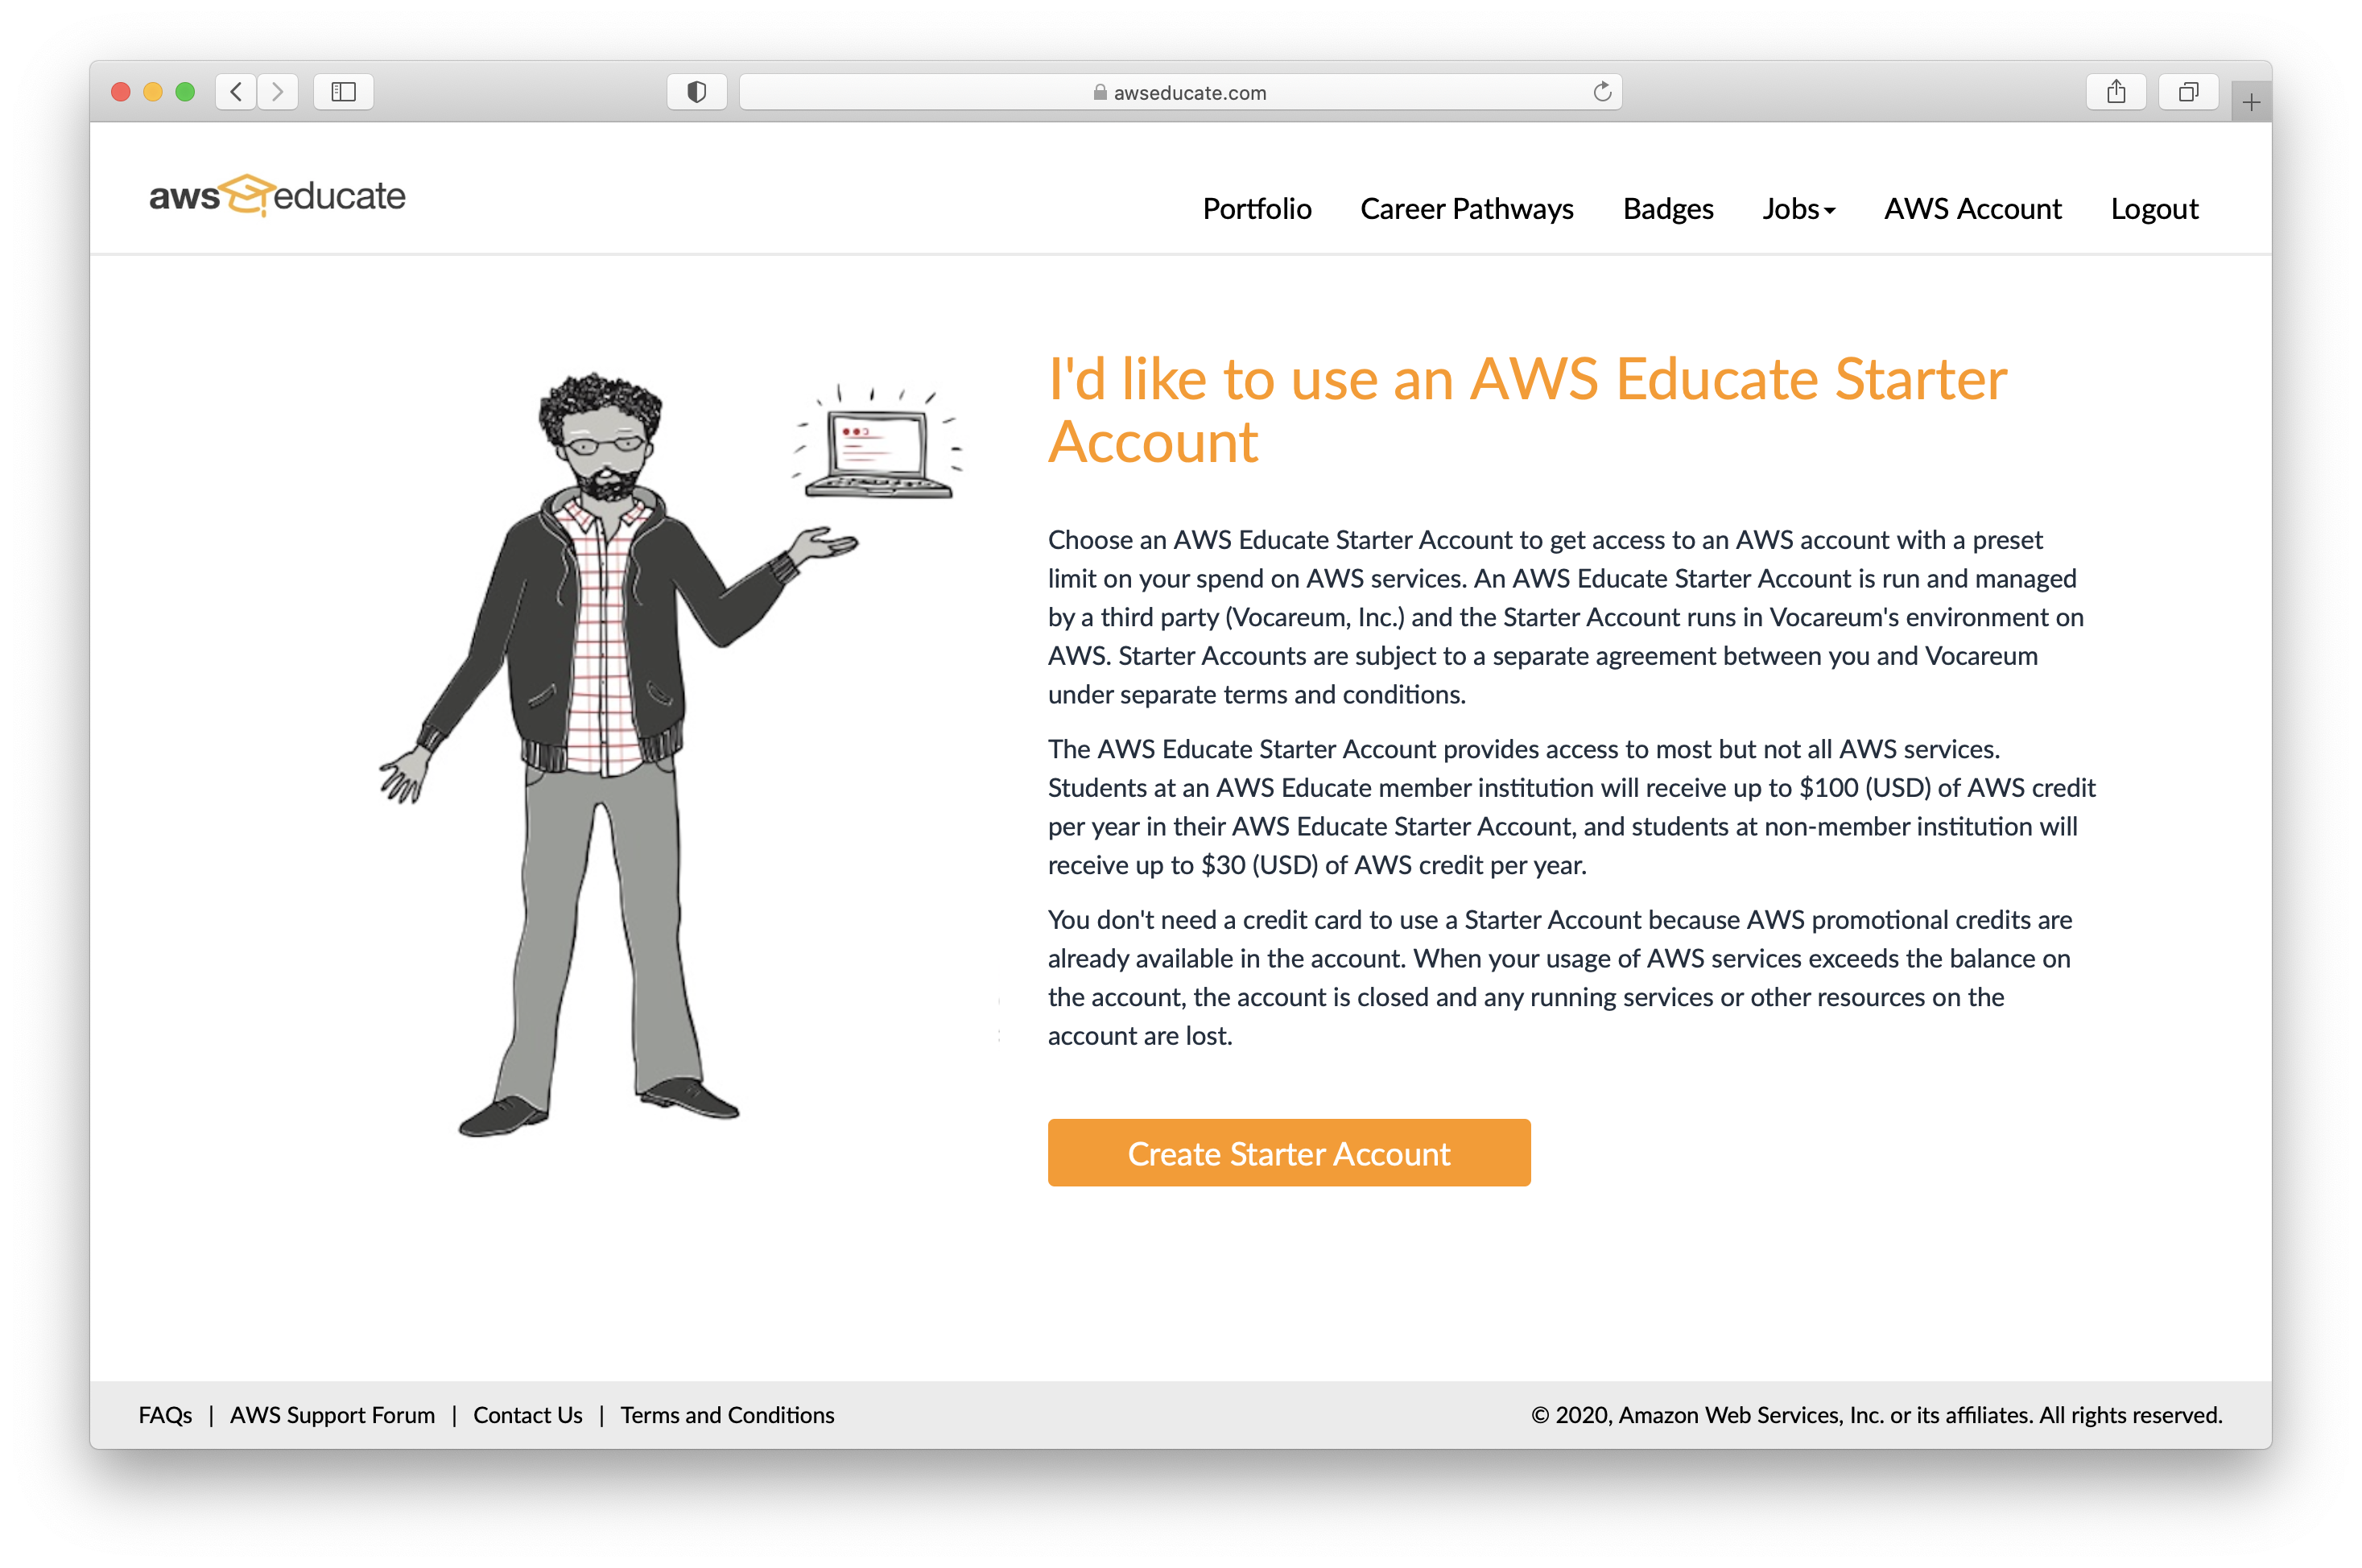
Click "Create Starter Account"
-
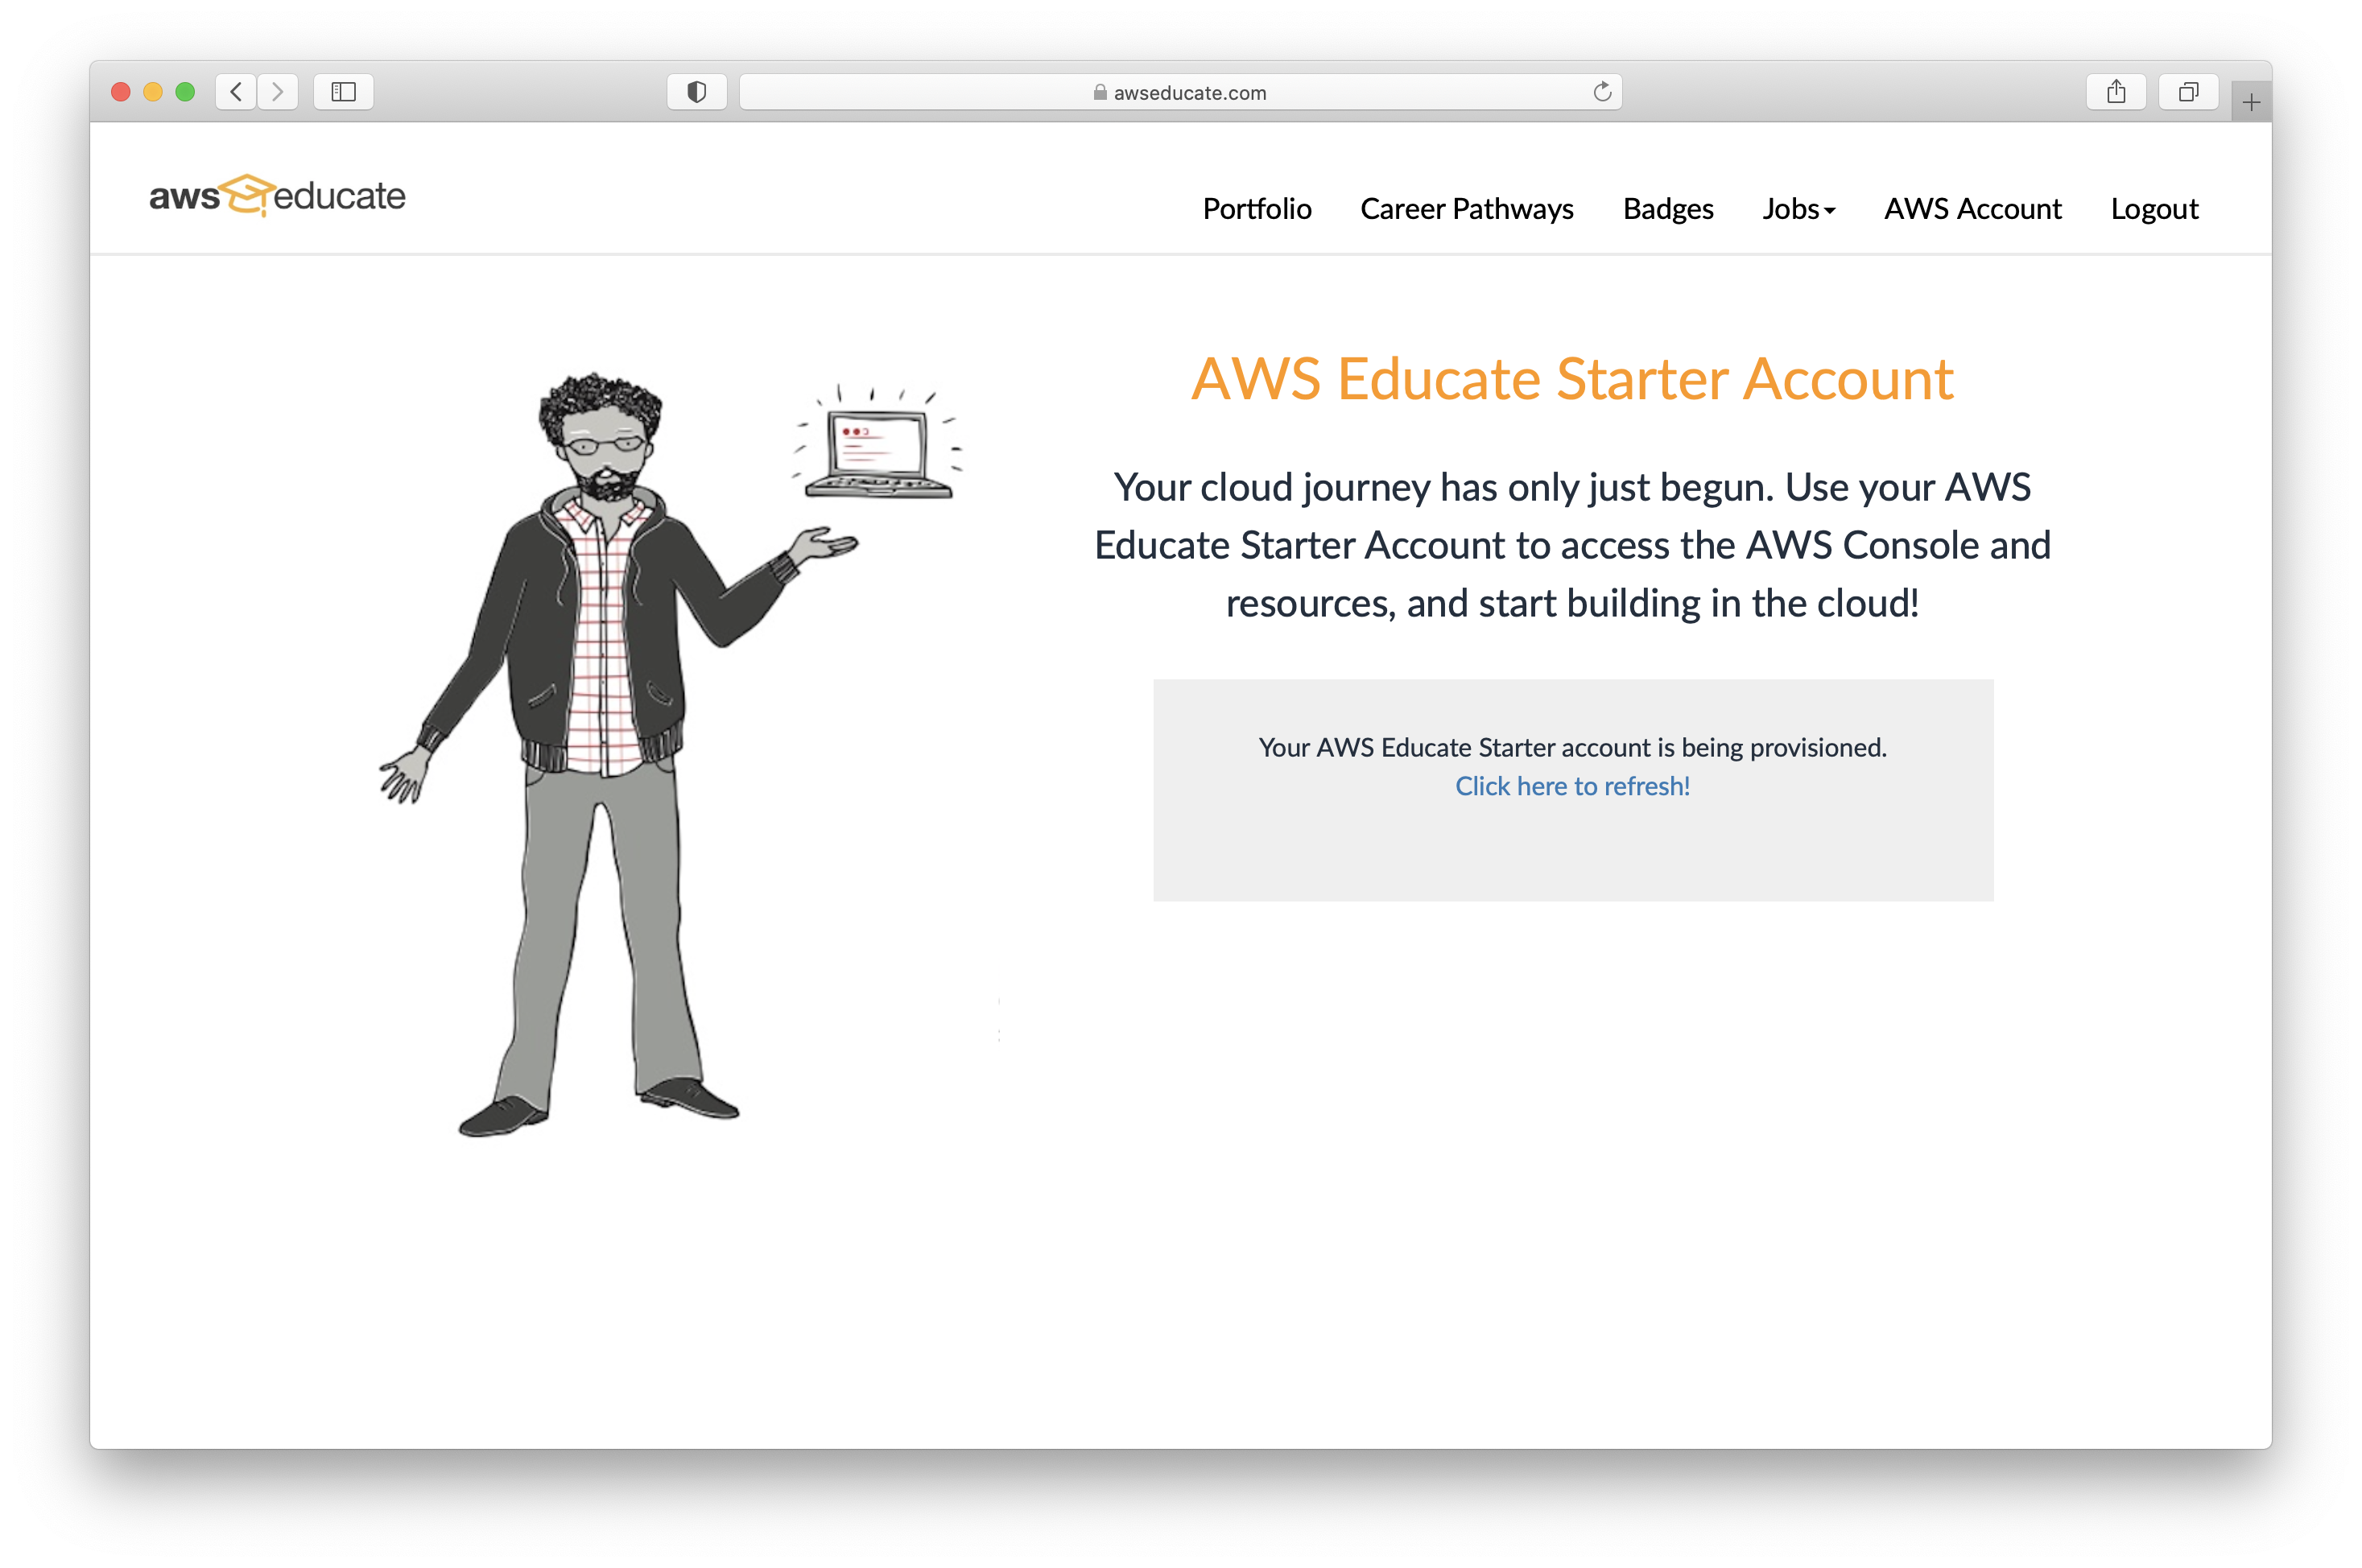
Your AWS Educate Starter account provisioning process has been started.
-
Click the "Click here to refresh!" link.
-
You'll see your starter account details including credits and expiration date.
-
Click "AWS Educate Starter Account".
-
A new browser tab will be open.
-
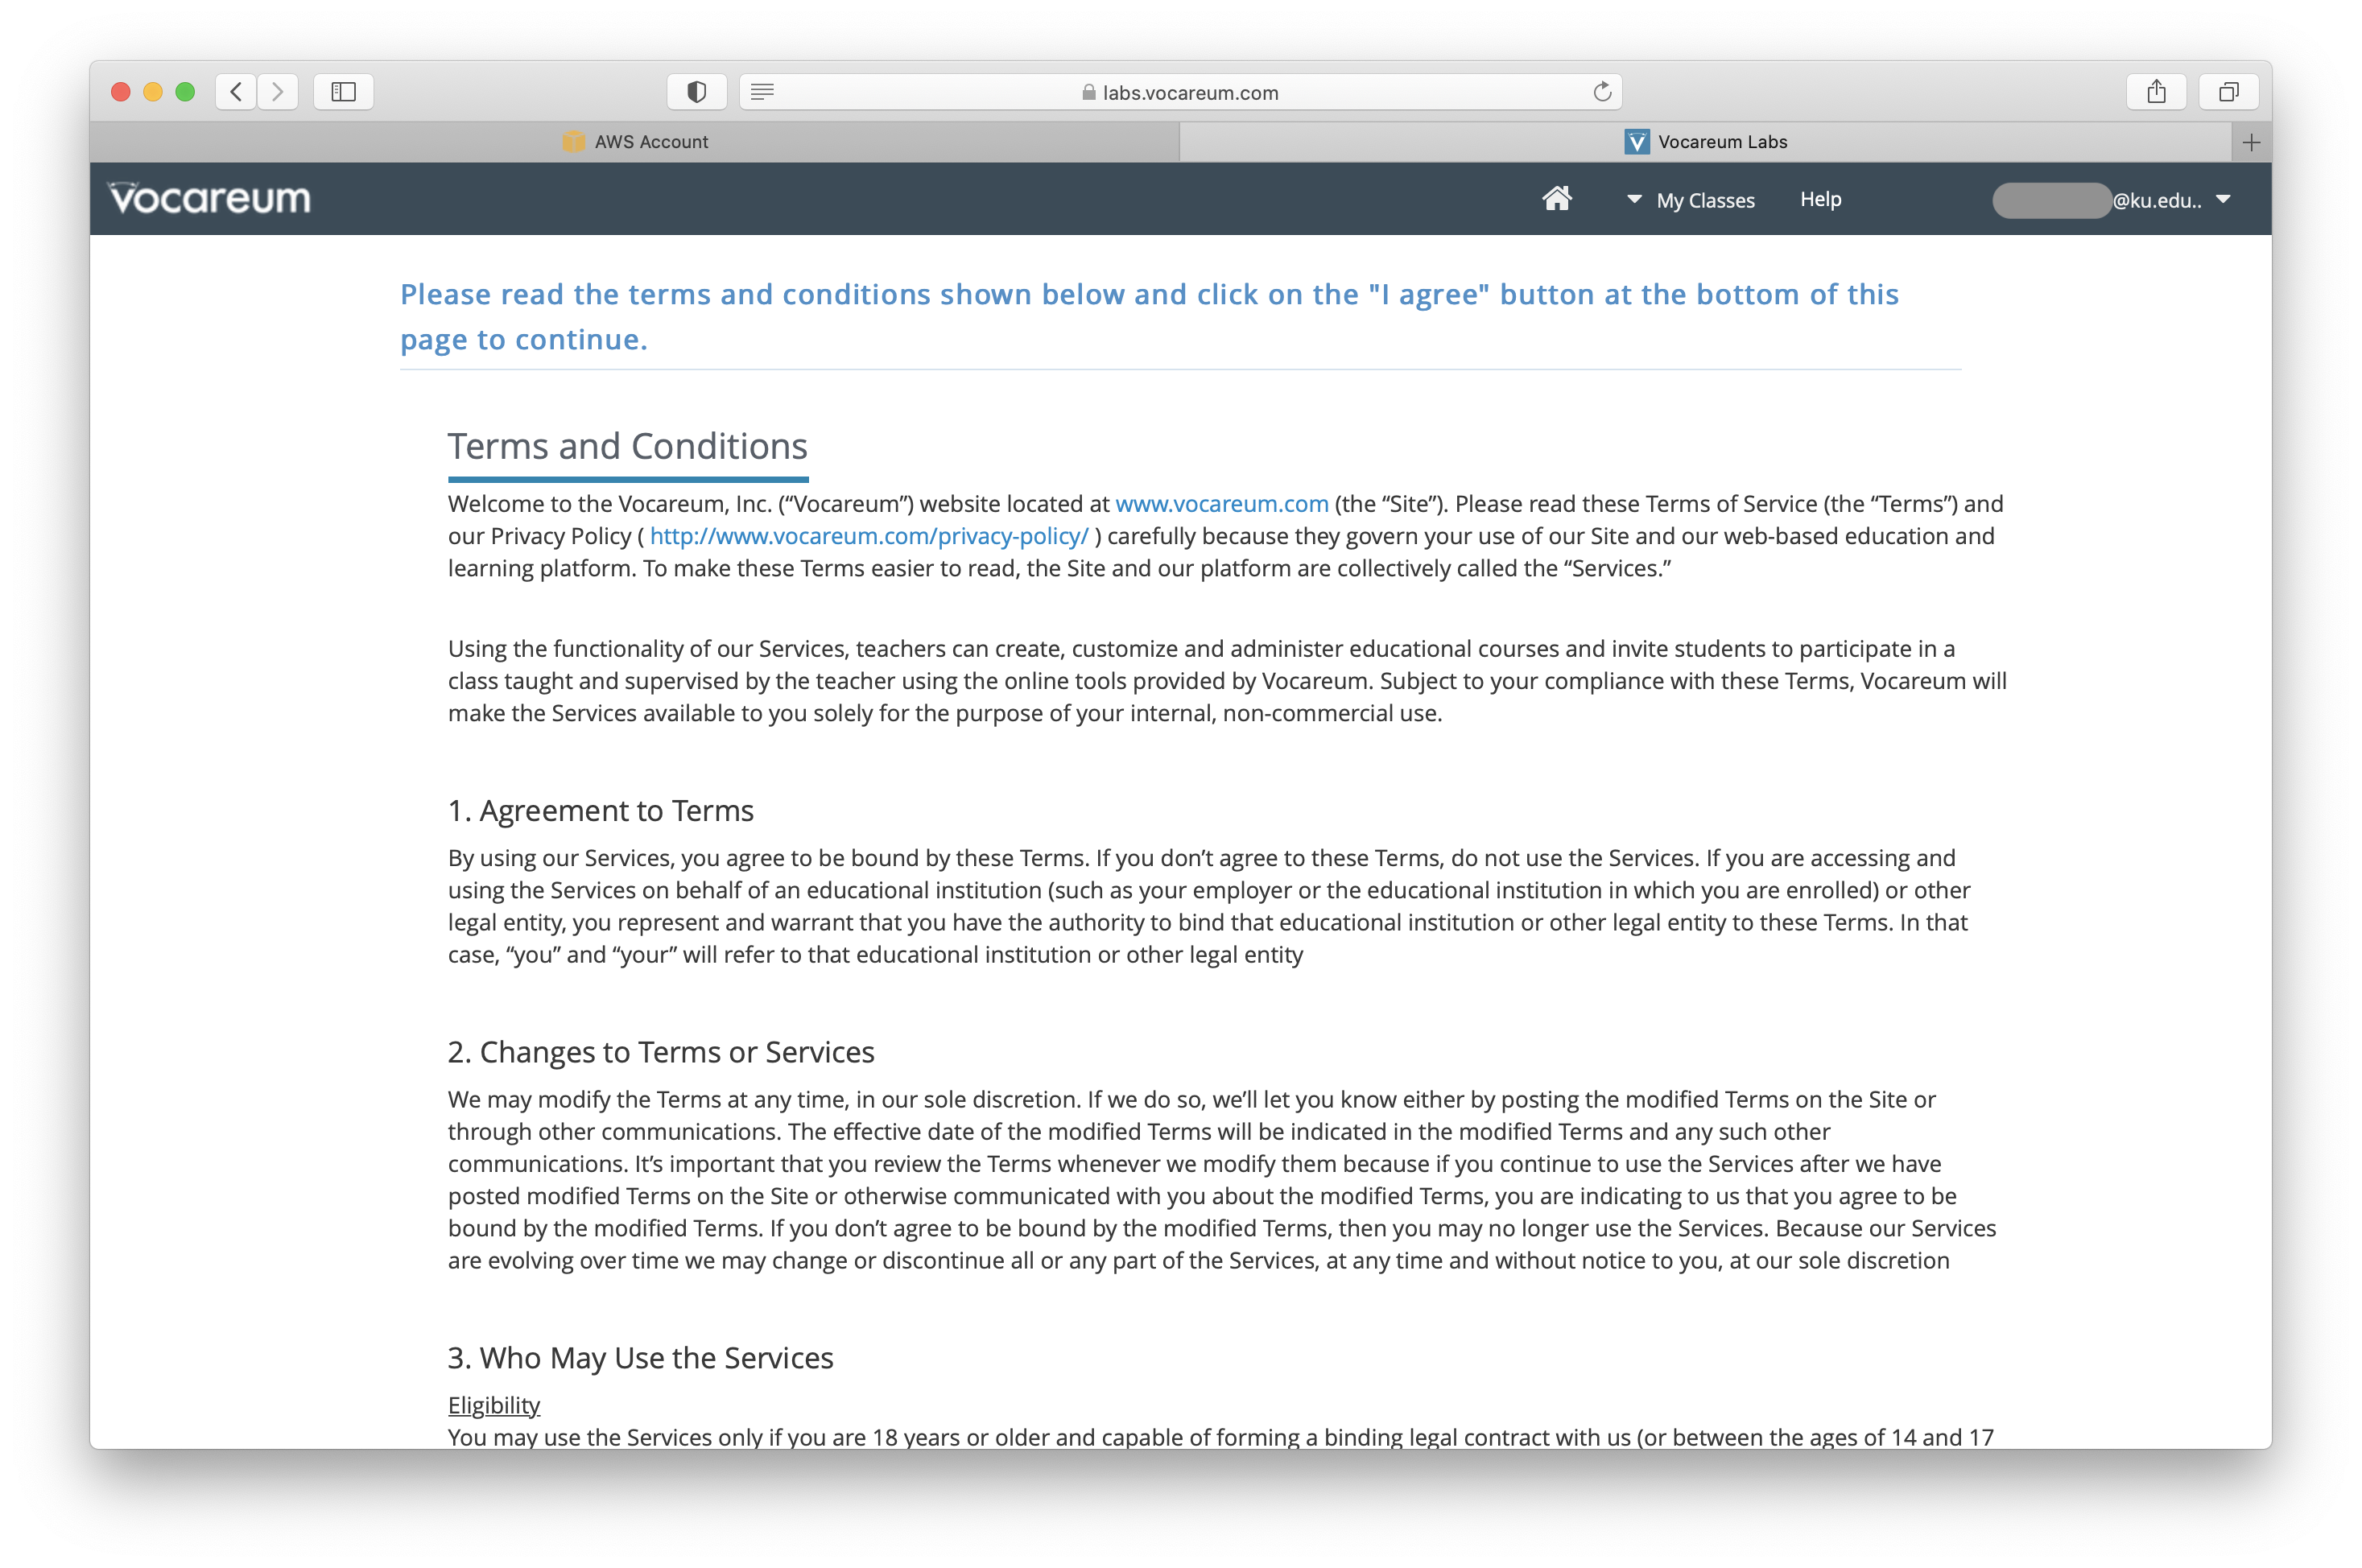
Read "Terms and Conditions" by scrolling down and click "I Agree" if you agree with terms and conditions.
-
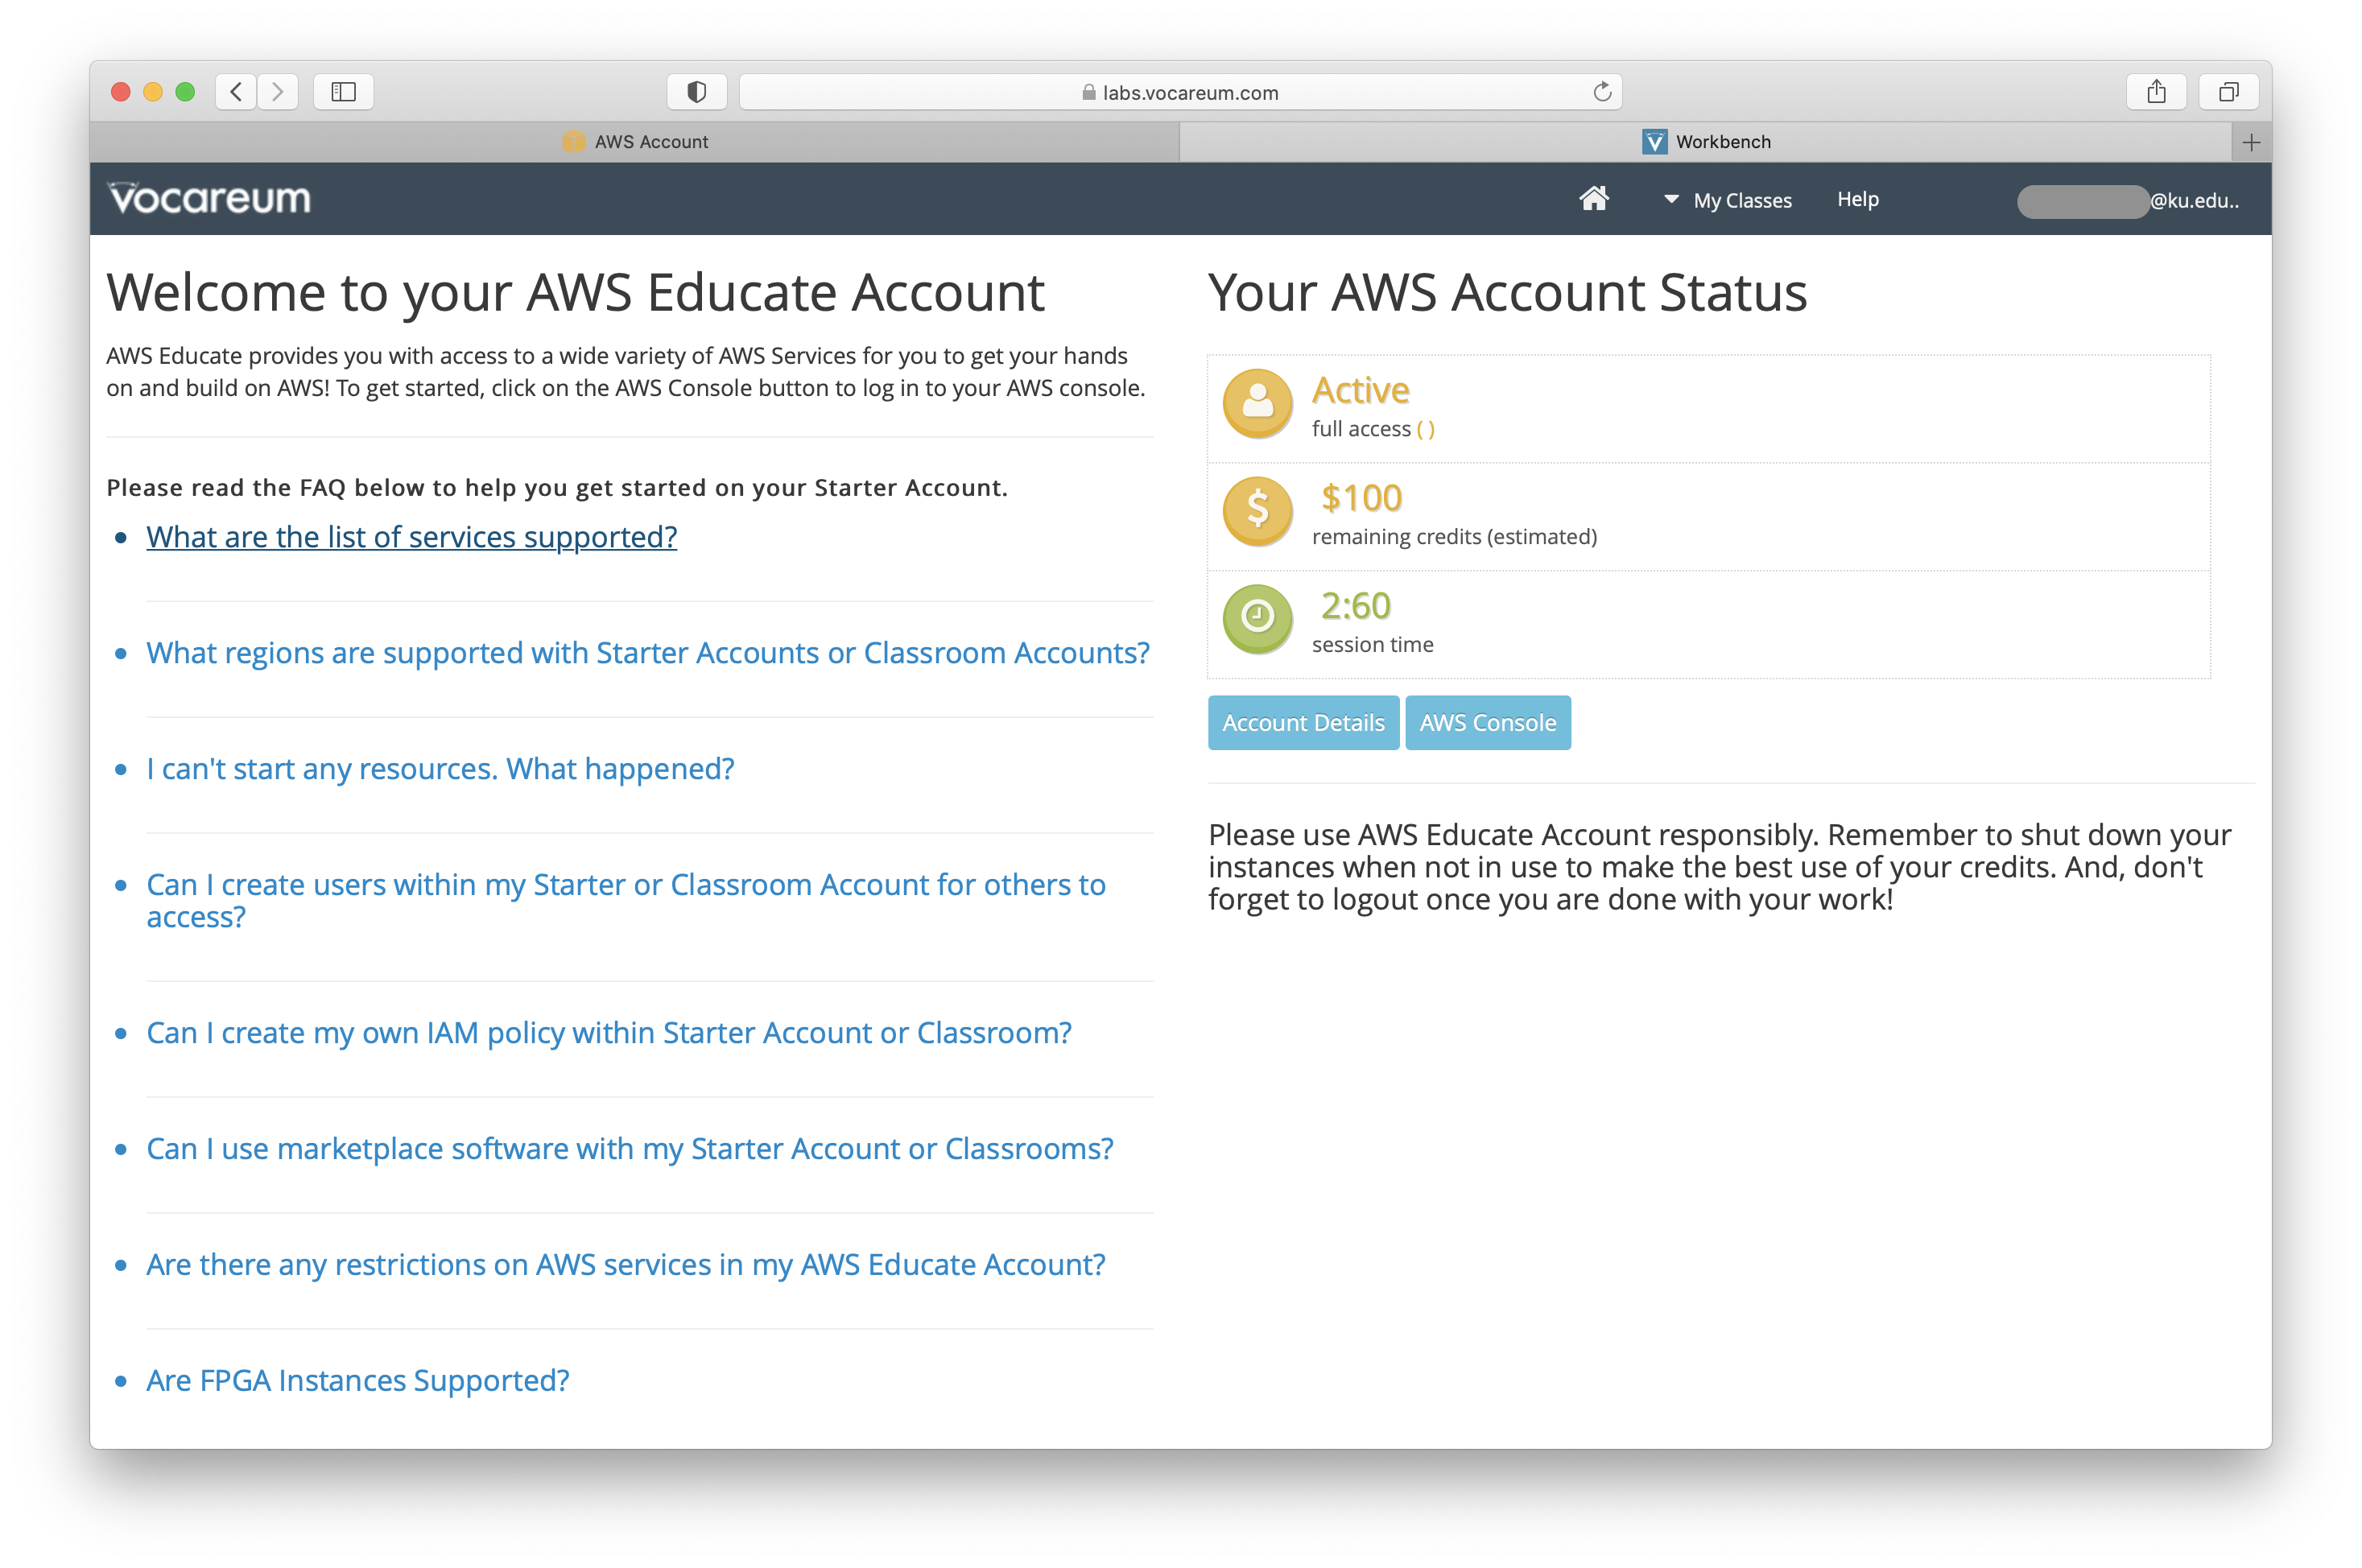
You'll be redirected to your AWS Educate Workbench.
-
You may read FAQ titles or click the Account Details button to see your AWS Educate Account details.
-
To continue to AWS Console and start using AWS resources click the "AWS Console" button.
Do not forget to enable pop-ups in your browser settings!
-
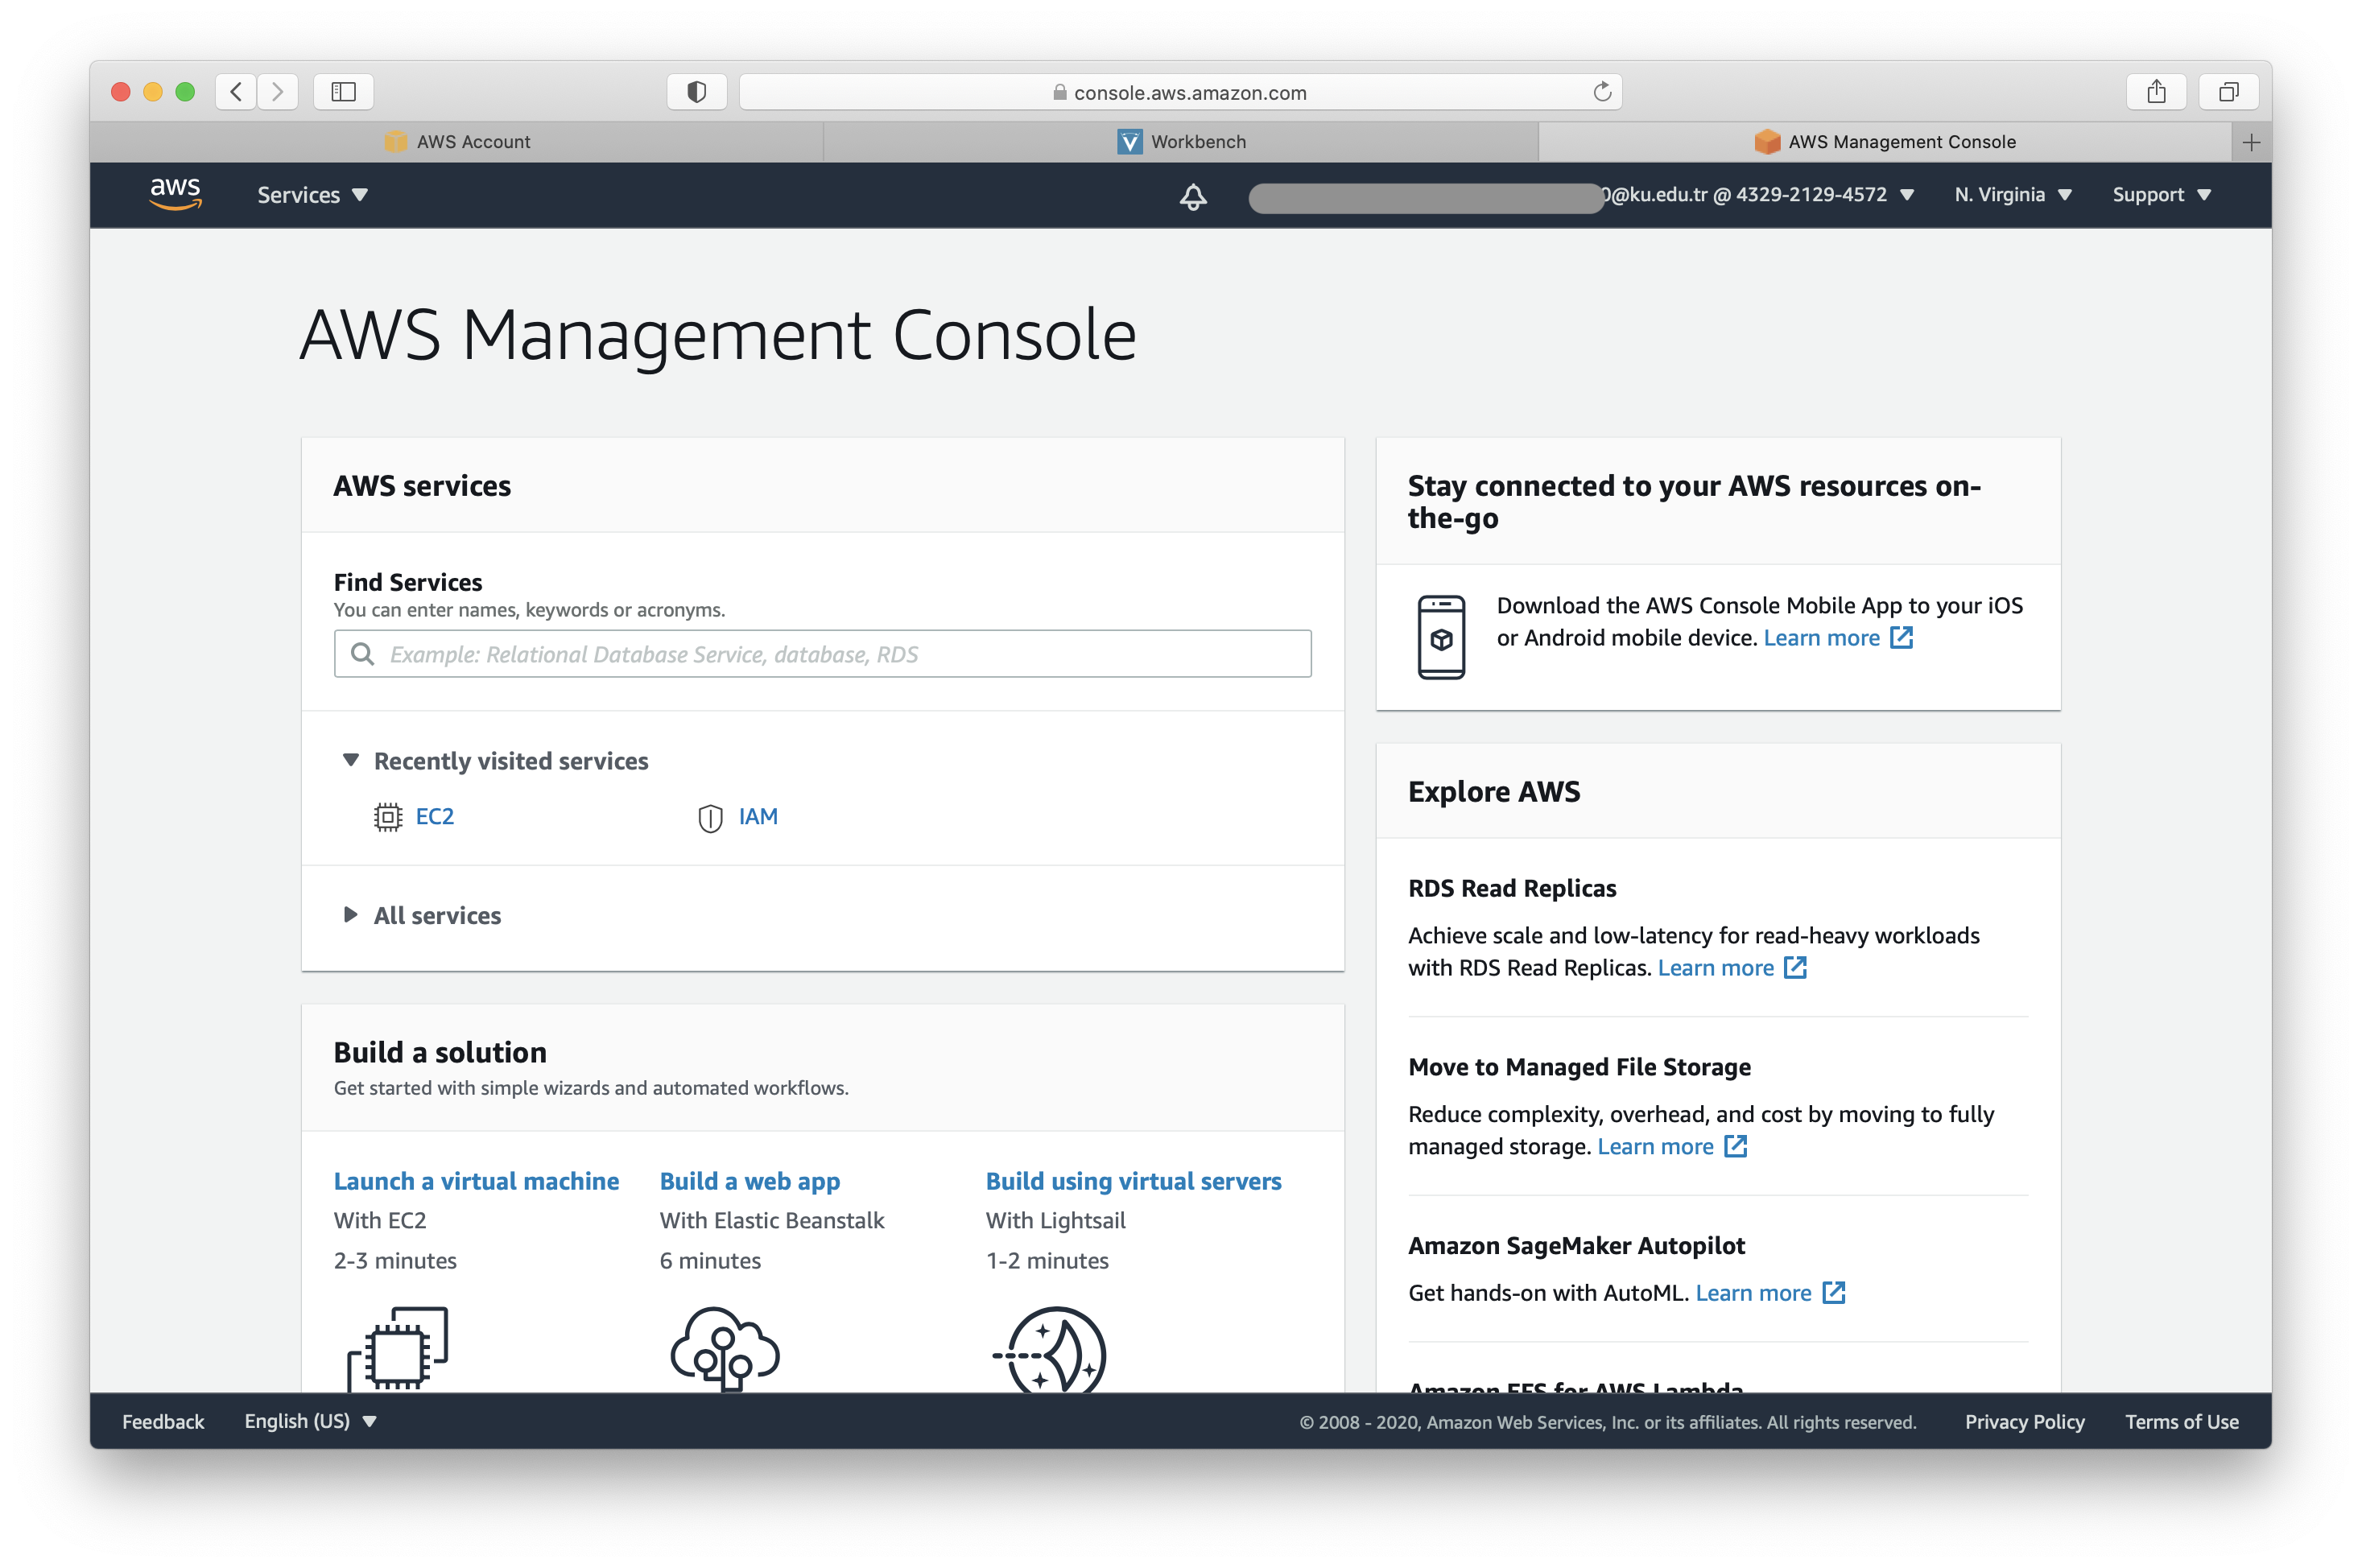
AWS Console opens in a new popup browser window.
Do not change AWS data center and stay at default data center N.Virginia (us-east-1). Otherwise, you'll not be able to create and use AWS resources like EC2.
-
To create a virtual machine or any other resource, type its name in to Find Services field or browse services using the menu or just create EC2 if you can see it in the Recently visited services section.
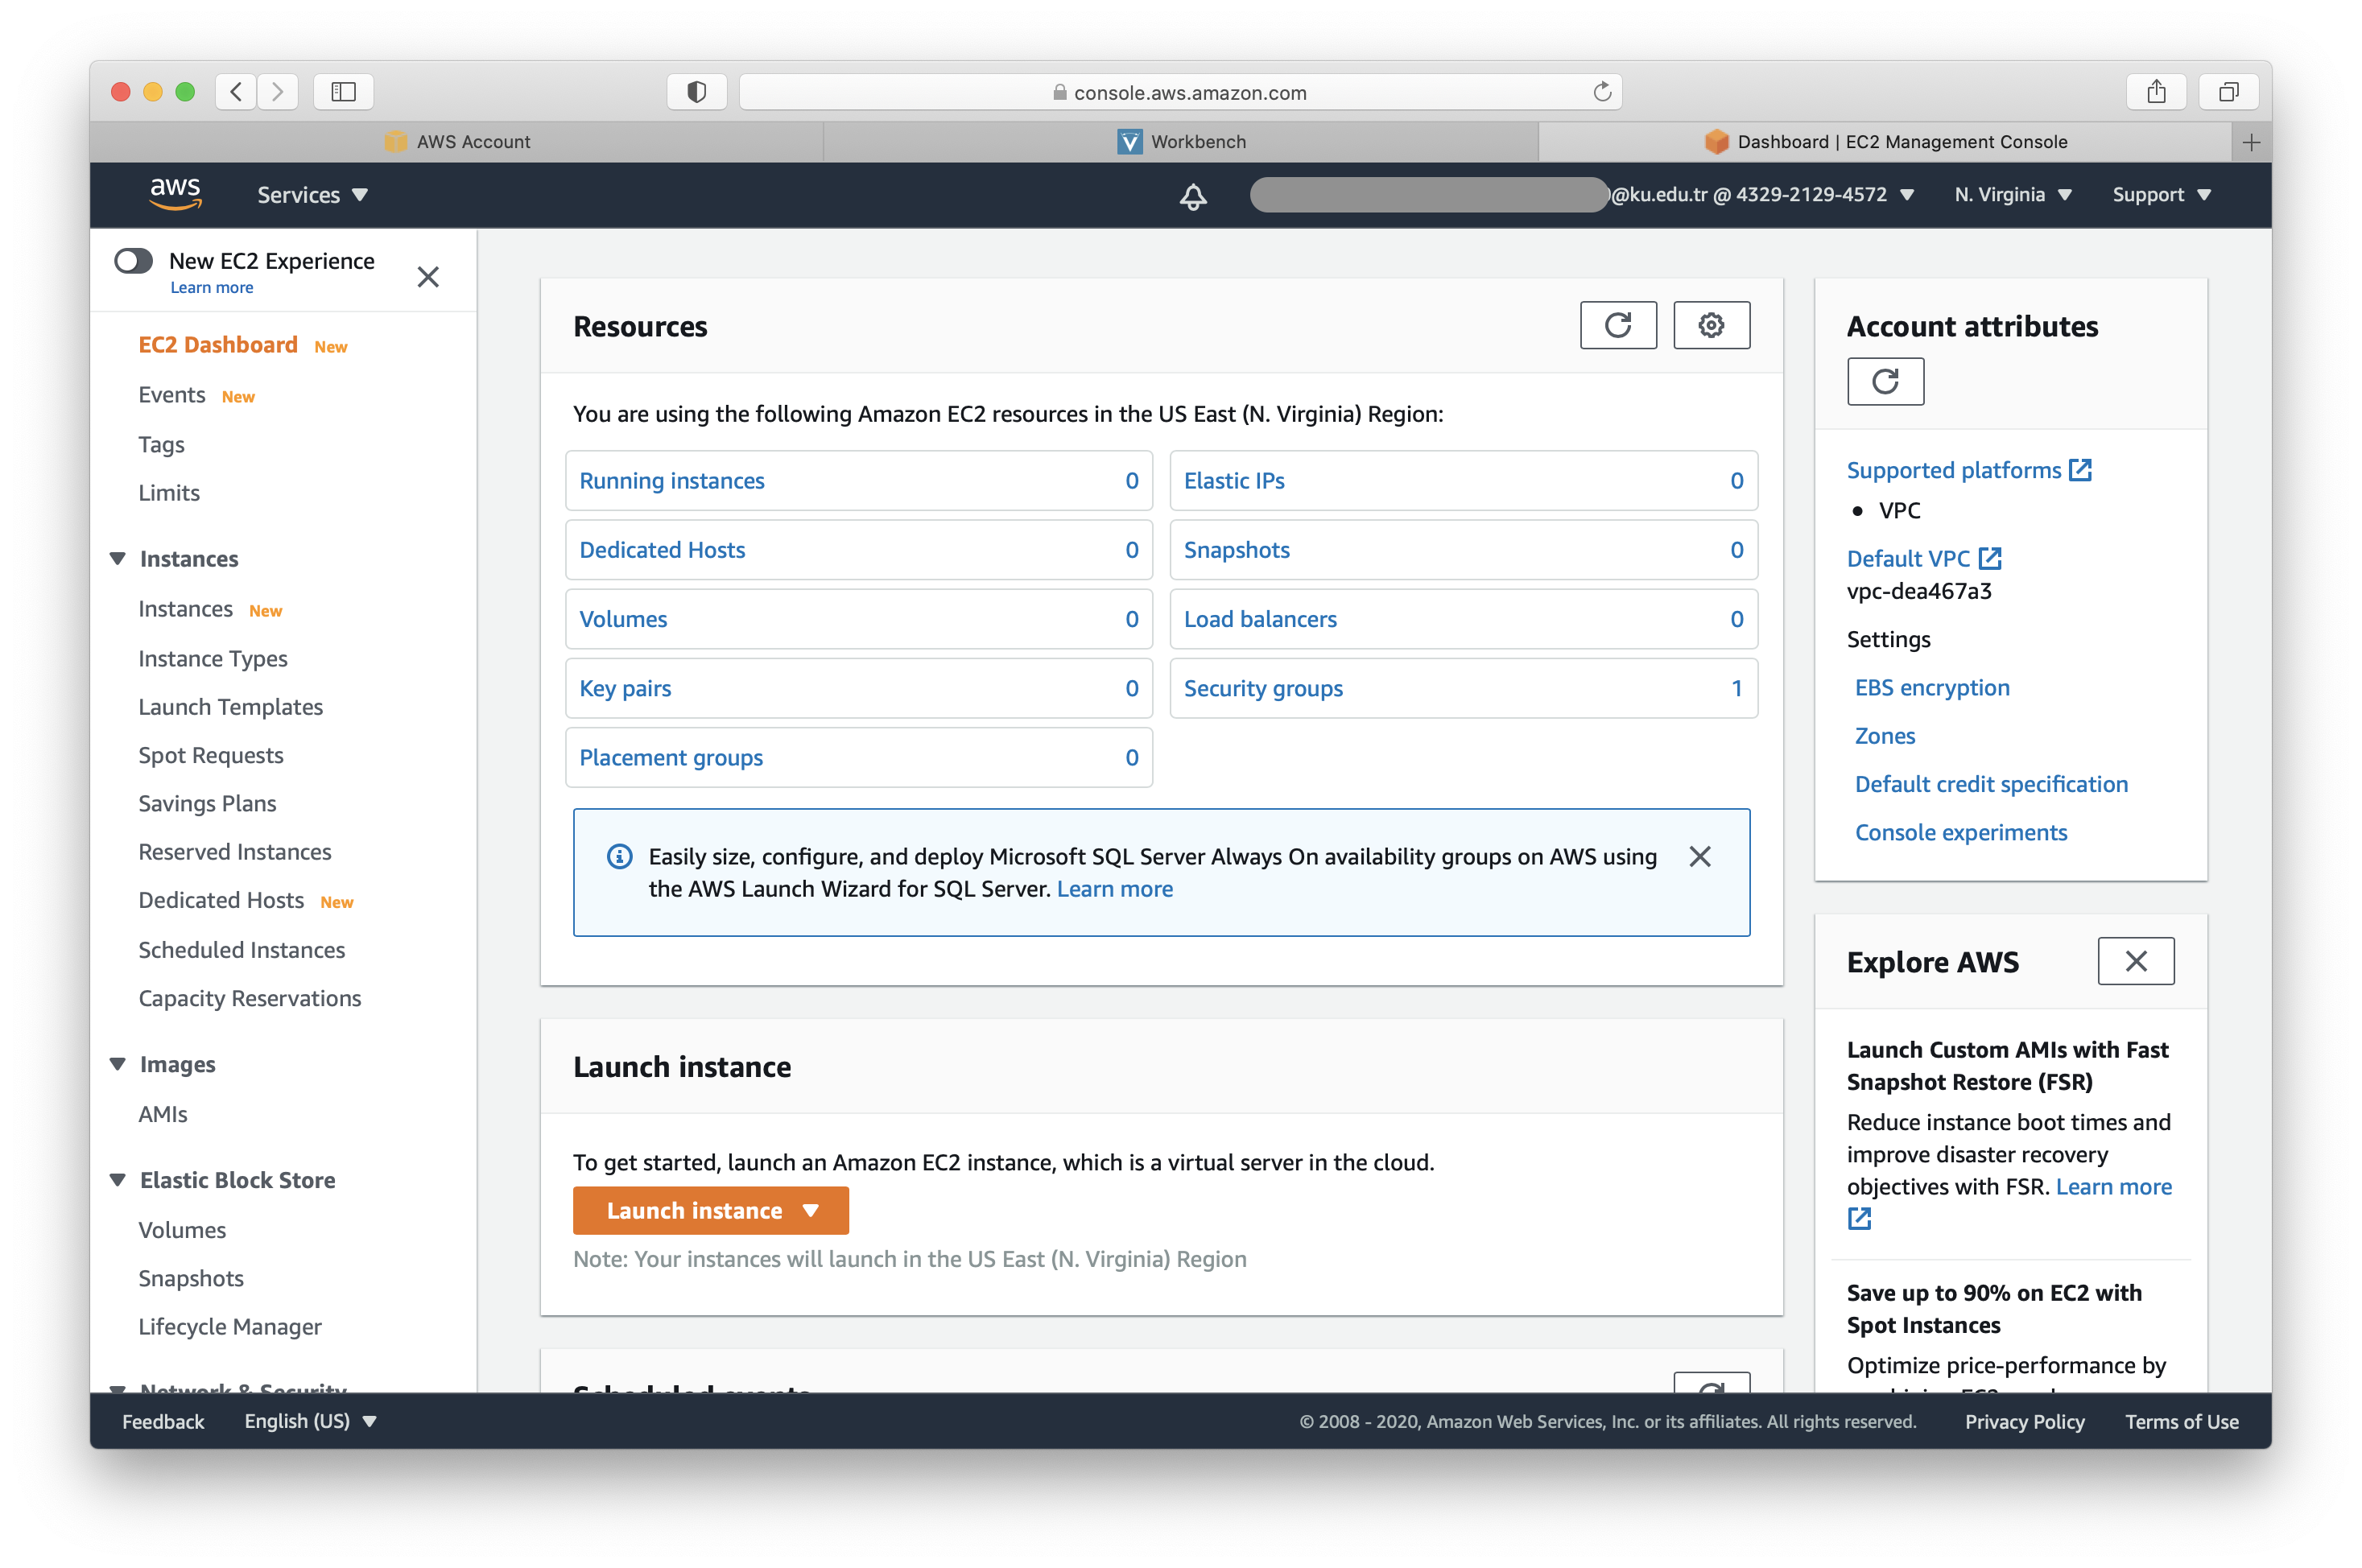
-
Click the "Launch Instance" button to create your virtual machine.